Brake Bleeding – 1966 VW Beetle Project

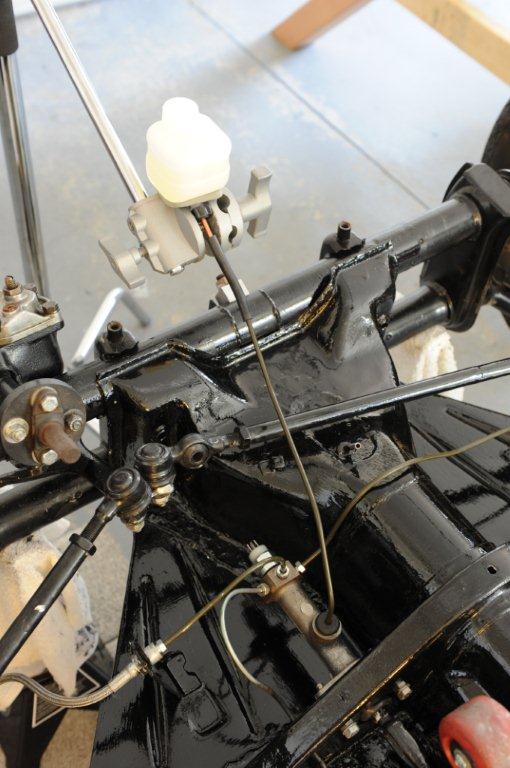
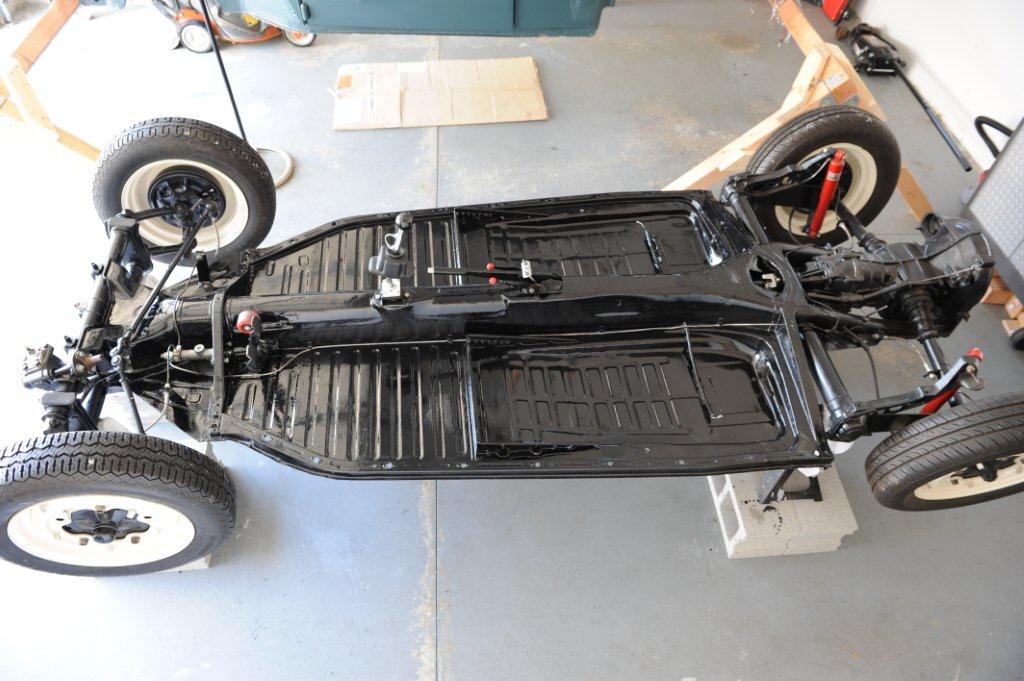
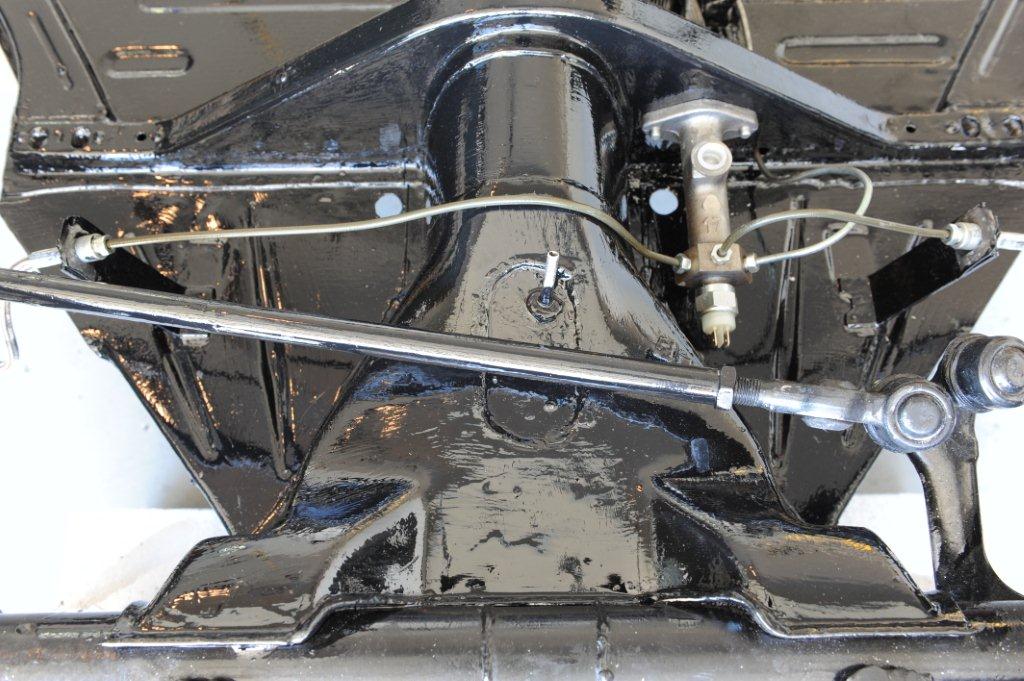
I bled the brakes today.  I did this because I wanted to make sure the braking system was solid prior to putting the body back on (the brake lines haven’t had brake fluid in them since I owned the vehicle).  I figured it would be easier to work on with the body off if anything was not functioning properly.  Since the fluid reservoir is typically mounted to the body, I had to figure out a way to hook it all up while the body was removed.  I used a Century Stand (C-Stand) to hold the brake fluid reservoir (see pictures).  C-Stands are great tools for photography and film making.  It’s amazing how often I’ve used mine as a 3rd or 4th hand while working on my VW’s. 

I realize I’ll need to unhook the brake fluid reservoir prior to putting the body back on.  Afterward, I’ll need to bleed the brakes again since detaching it and reattaching it to the master cylinder will probably introduce some air bubbles to the system.  At least I’ll know I can bleed the brakes again and feel confident everything is in working order.

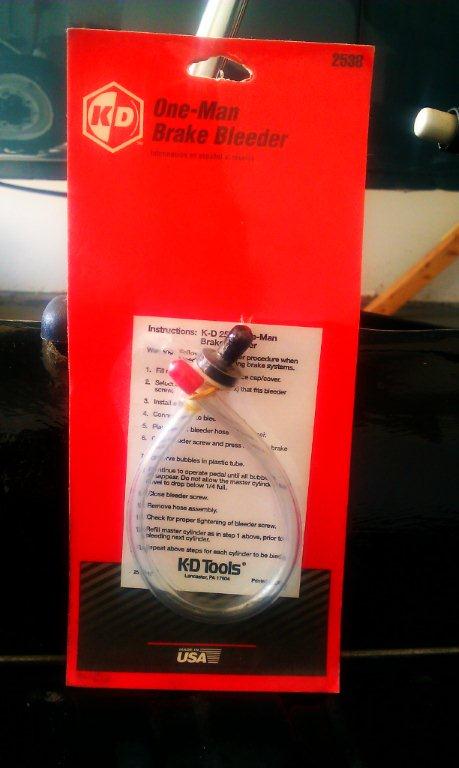
I used a tool called the “One Man Brake Bleeder” to help me bleed the brakes.  This thing worked great, and I highly recommend it.  It’s basically a clear plastic tube that you put over the wheel cylinder bleeder valve.  At the other end of the tube is a one way stop valve, which only lets fluid/air go in one direction (out).  You can see any bubbles in the fluid through the clear plastic tube.  Just hook it up, open the bleeder valve, and slowly start pumping the brake pedal, while keeping an eye on the clear plastic tube.  Make sure you don’t empty your brake fluid reservoir too, otherwise you’ll let air into the brake lines again.

The brake system seems to have bled out beautifully, and everything seems to be in great working order.  =)

Here are some pics:
Pedal Assembly, Master Cylinder, and Brake Lines Installed – 1966 VW Beetle Project

I  reinstalled the pedal assembly, master cylinder, and brake lines today.  Attaching the clutch cable to the clutch pedal is a bit tricky.  While attaching the clutch cable to the clutch pedal and mounting the assembly to the tunnel, you’ll want a helper (Thanks Aly!) to keep the cable nice and taut by pulling on it from the other end of the cable (back near the transmission).  If you don’t do this, you run the risk of the cable unhooking itself from the clutch pedal.

The car came with an aftermarket VW Bus master cylinder.  It’s the kind where the brake fluid reservoir is attached to the master cylinder itself.  I thought hard about whether to leave it as is, or replace it with the “correct” stock German master cylinder for the Beetle.  I decided to swap it out.  As much as I don’t like the thought of brake fluid dripping on the paint inside the front compartment, I also don’t like the idea of having to get up under the gas tank whenever I want/need to add more brake fluid.  The stock fluid reservoir holds a bit more fluid than the reservoir on the VW Bus master cylinder too.  I’m not sure if this is the correct decision, but it feels right to me at the moment.  Looks like I’ll have a Bus master cylinder to sell now. 

I’ll bleed the brakes tomorrow.  Here are some pics:

Master Series – Mastercoat Silver and AG111 – 1966 VW Beetle Project

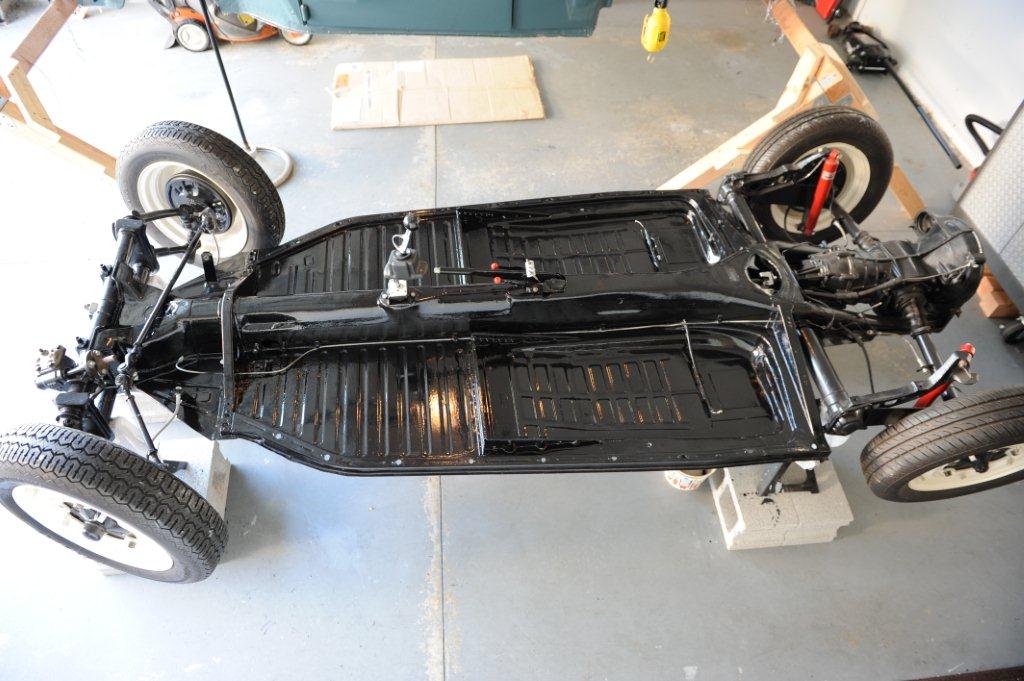
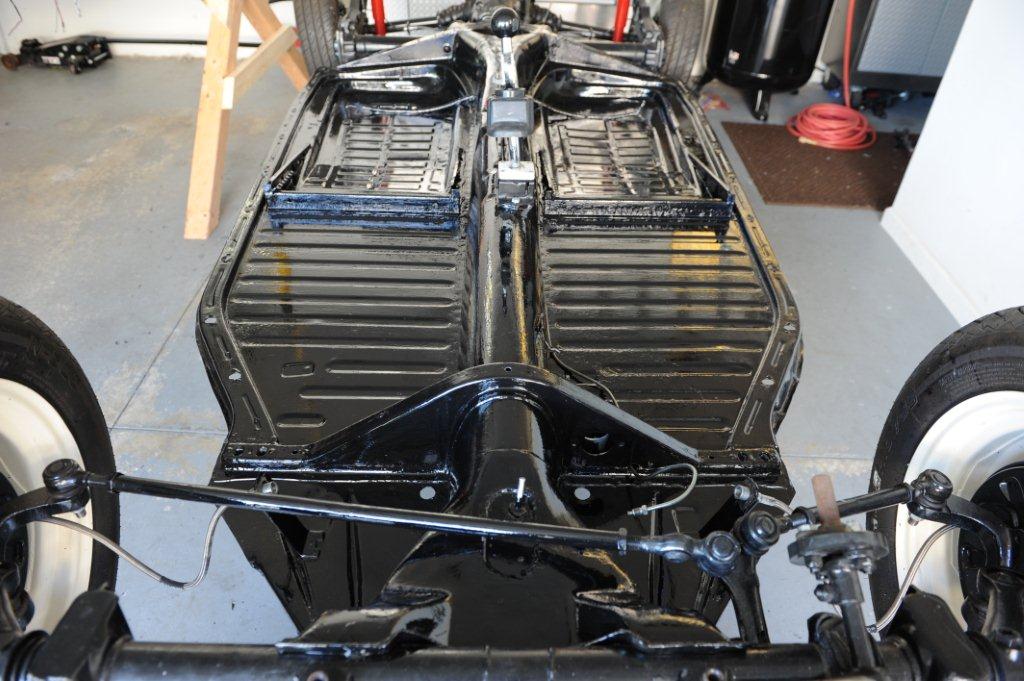
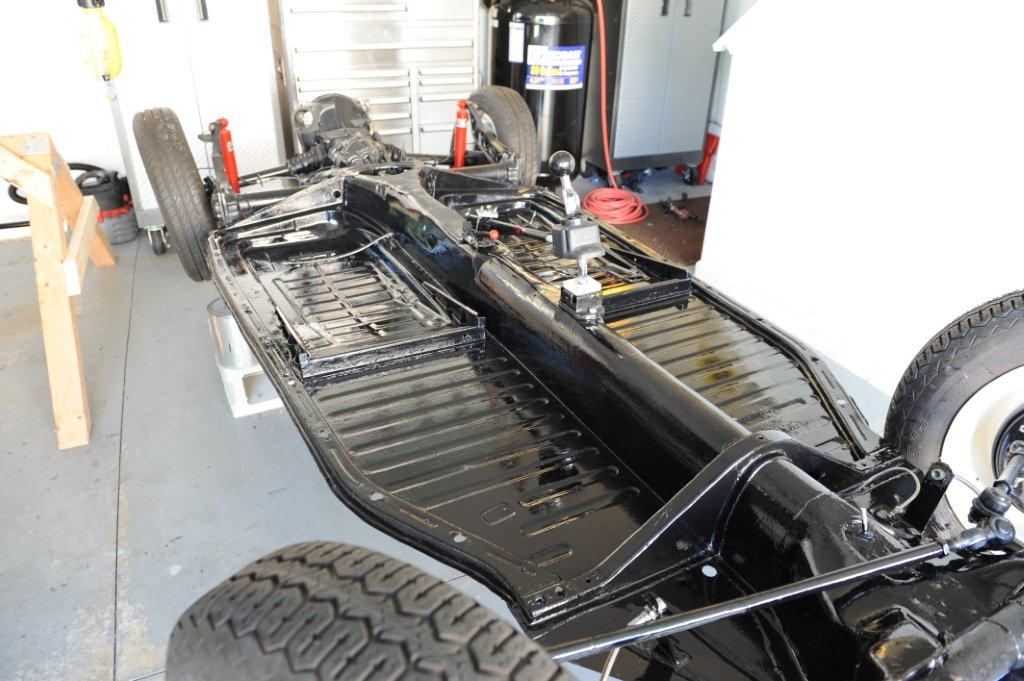
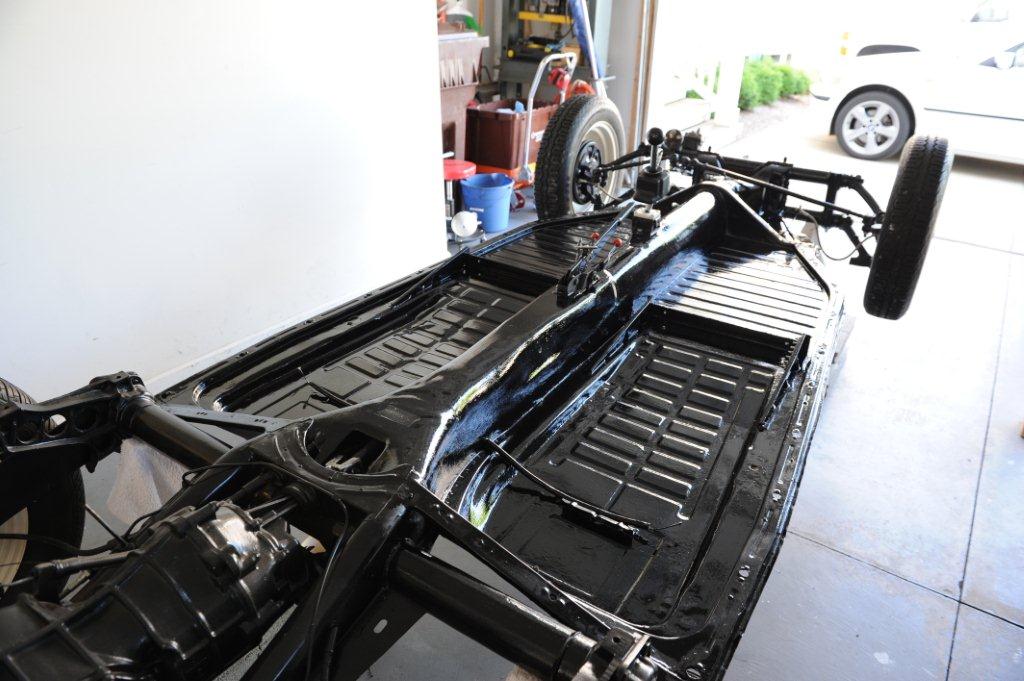
My mistake with the Master Series product was a pretty big setback (see previous post).  I’m guessing it set me back about 20-25 man hours in total.  Ouch!  Live and learn, I guess.  The final product is MUCH better though, and I’m  happy the problem presented itself sooner than later.  I would have been really bummed if I got the car all back together and then noticed the problem afterward.  The bright side is that the problem was caught straight away, and it was corrected before putting the body back on and putting the car back together.  I’m now done with the pan, and I’m EXTREMELY HAPPY with the final result.  🙂  I must also say that PM Industries (specifically Pat) was extremely helpful throughout this whole project.  I can’t speak highly enough of Pat and his company.  Thanks so much Pat!  Here are some pictures of the stripped pan, primer coat, and the *final* top coat:


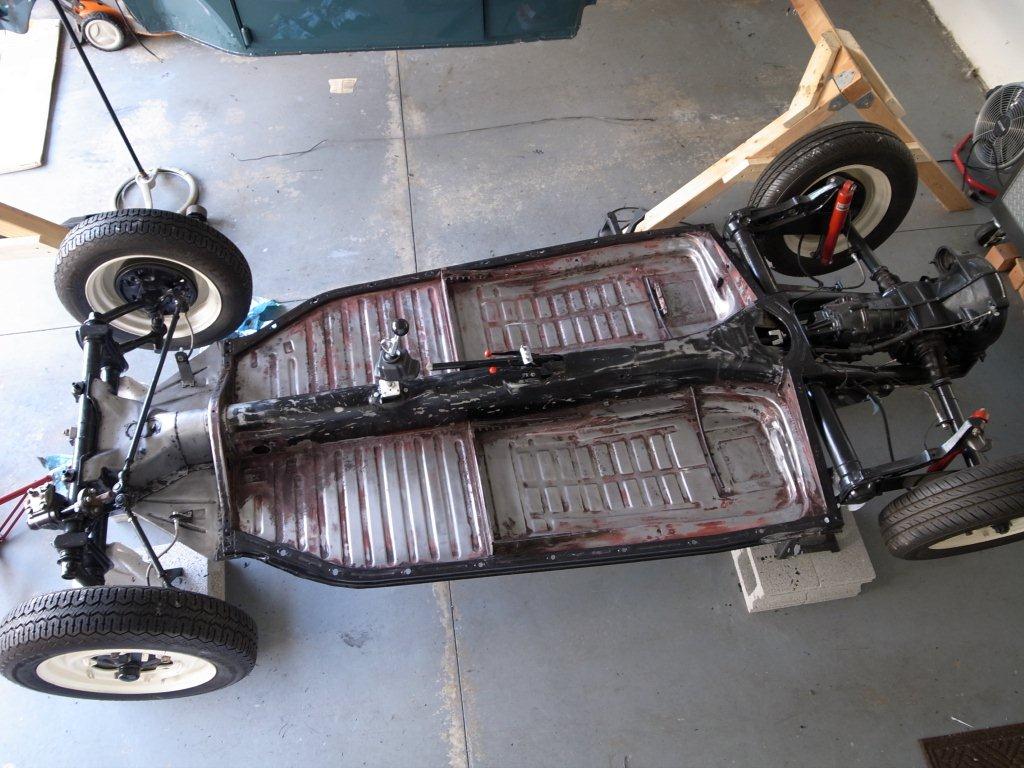
Top Of Pan Stripped, Degreased, and Cleaned:


Mastercoat Silver Primer:


Master Series AG111 Top Coat – Final Product – Looks GREAT!