Monthly Archives: March 2012

Seat Cover Issues – 1966 VW Beetle Project

I purchased some seat covers for the car from Wolfsburg West. To save myself some time, I found a local upholstery guy to install them for me. He’s well versed in vintage VW’s and owns several actually. I received an email from him today with an update on the progress. He said, “The front seat seat bottom covers will need to be over pulled and hog ringed underneath because the seat covers are too big.” I watched the Wolfsburg West video that came with the seat covers. In that video, they did not need to use hog rings to hold the bottom seat cover on. They used the spikey things that are already on the seat frame and they fit very tight in the video. Here’s how I asked the seats to be put together (or layered I guess)…

1. Layer of burlap between seat frame and coconut fiber cushions. This was already done prior to taking seats to him actually.
2. Coconut Fiber Cushions from Wolfsburg West.
3. Layer of felt.
4. Seat covers from Wolfsburg West. TMI brand?

I went over to the upholsterer shop this morning and took some pictures. These covers just look too big (seat backs too). See below. I also shot some video of him sliding on the seat back seat cover. It slides on almost as easy as if we were slipping on a garbage bag. In the Wolfsburg West video, he had to fold it inside out and slowly work on the cover.

I’m not sure what the issue is, but maybe the wrong covers were sent to me. Although, they were marked correctly when I received them (Item #: 113881005IV).

I think the pictures/video tell a better story…

Front Seat Bottom (5 pictures):


He could literally pull the cover almost across to the other side of that spring coil:

Front Seat Back (3 pictures – 1 Video):

He said that everything was ok top to bottom, but they’re just too wide left to right. He said he’d have to put an inch of foam on each side (2 inches total) just to take up that slack.


Video – Front Seat Back Rests:


Stay tuned to see how this unfolds…
Replace “Main” Wiring Harness – 1966 VW Beetle Project

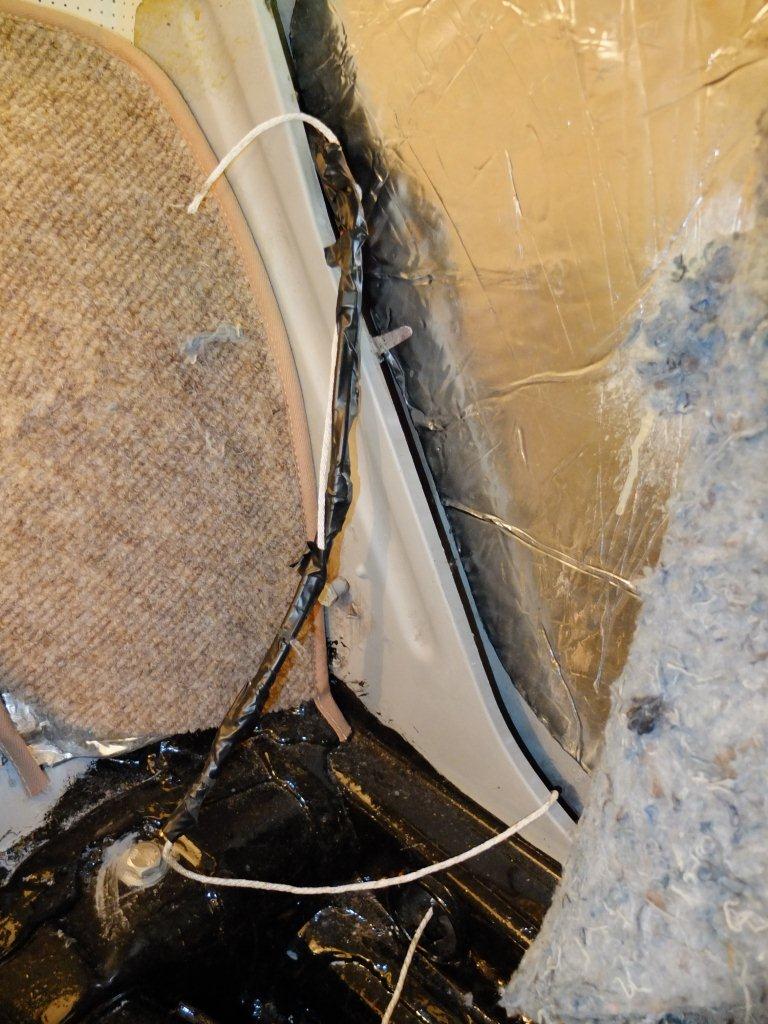
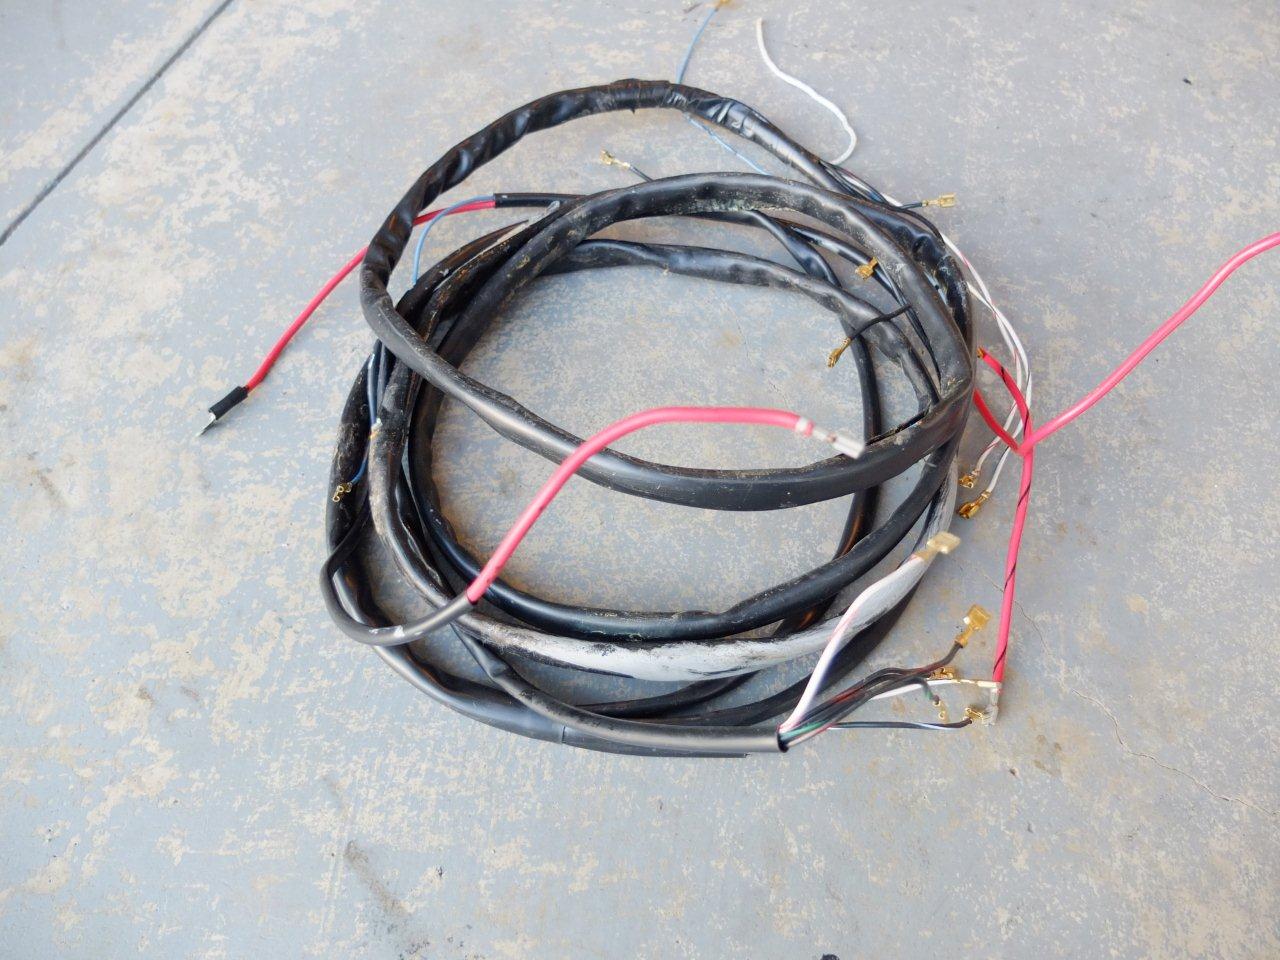
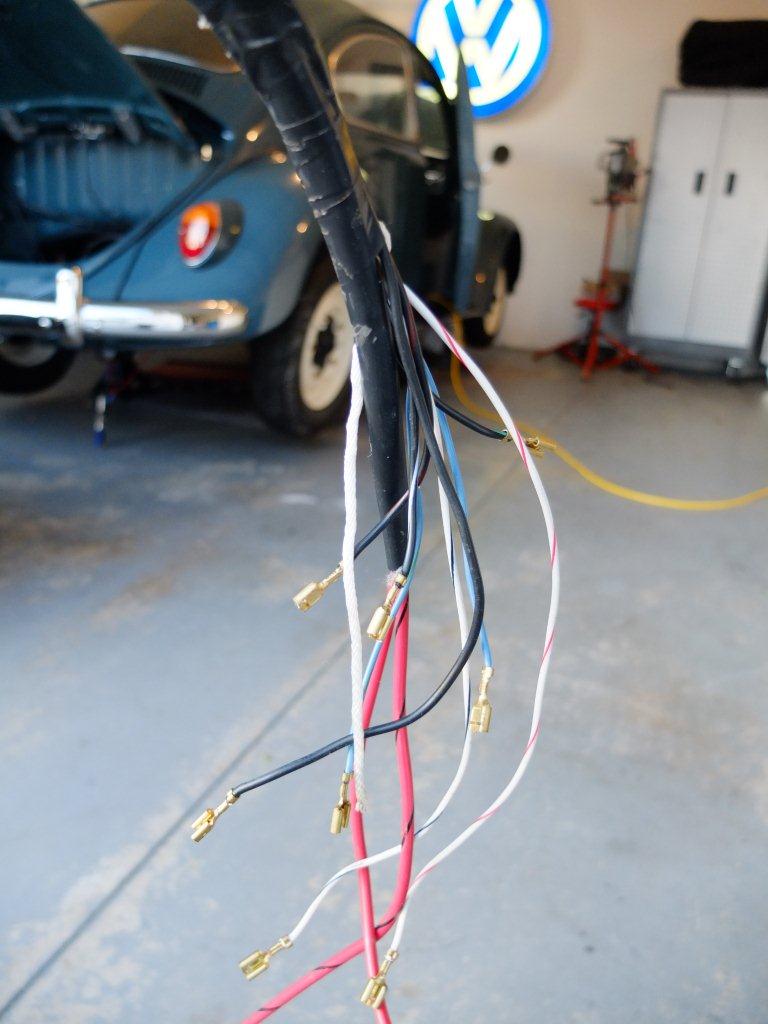
I replaced the “main” wiring harness today.  The wiring harness that was in the car got some over-paint on it while I was doing the undercoating of the car last summer.  I should have removed the wiring harness before doing that, but I didn’t.  Live and learn I guess.  No one would really see the paint on most of the wiring harness, since most of it is hidden anyway.  I would have known though, and it was bugging me.  I ordered a new “main” wiring harness from Wiring Works and it arrived today.  It was pretty easy to replace and only took me about an hour to do.  The main thing I did was make note of where all the connections went.  I did this by taking pictures.  I then unhooked the wiring harness from the fuse panel and tied a rope to it using electrical tape.  I pulled the wiring harness out through the back of the car, along with the rope.  Once the old wiring harness was out, I taped the new wiring harness to the rope and pulled it back through.  I probably went a little overkill on the electrical tape to hold the rope to the wiring harness, but better to be safe than sorry.  I really didn’t have to pull too hard on the rope to get the new wiring harness through.  The main part where I needed the rope was in the rear quarter panel and not a lot of pressure was needed to pull it through.  I don’t have pictures of the new wiring harness installed, but here are a few of the rope in the car, along with a shot of the new wiring harness being pulled through the rear quarter panel near the back seat.  I also included a few pictures of the old wiring harness and the paint that was on it (Am I too anal?).

Tracer rope taped to old wiring harness in front luggage compartment…

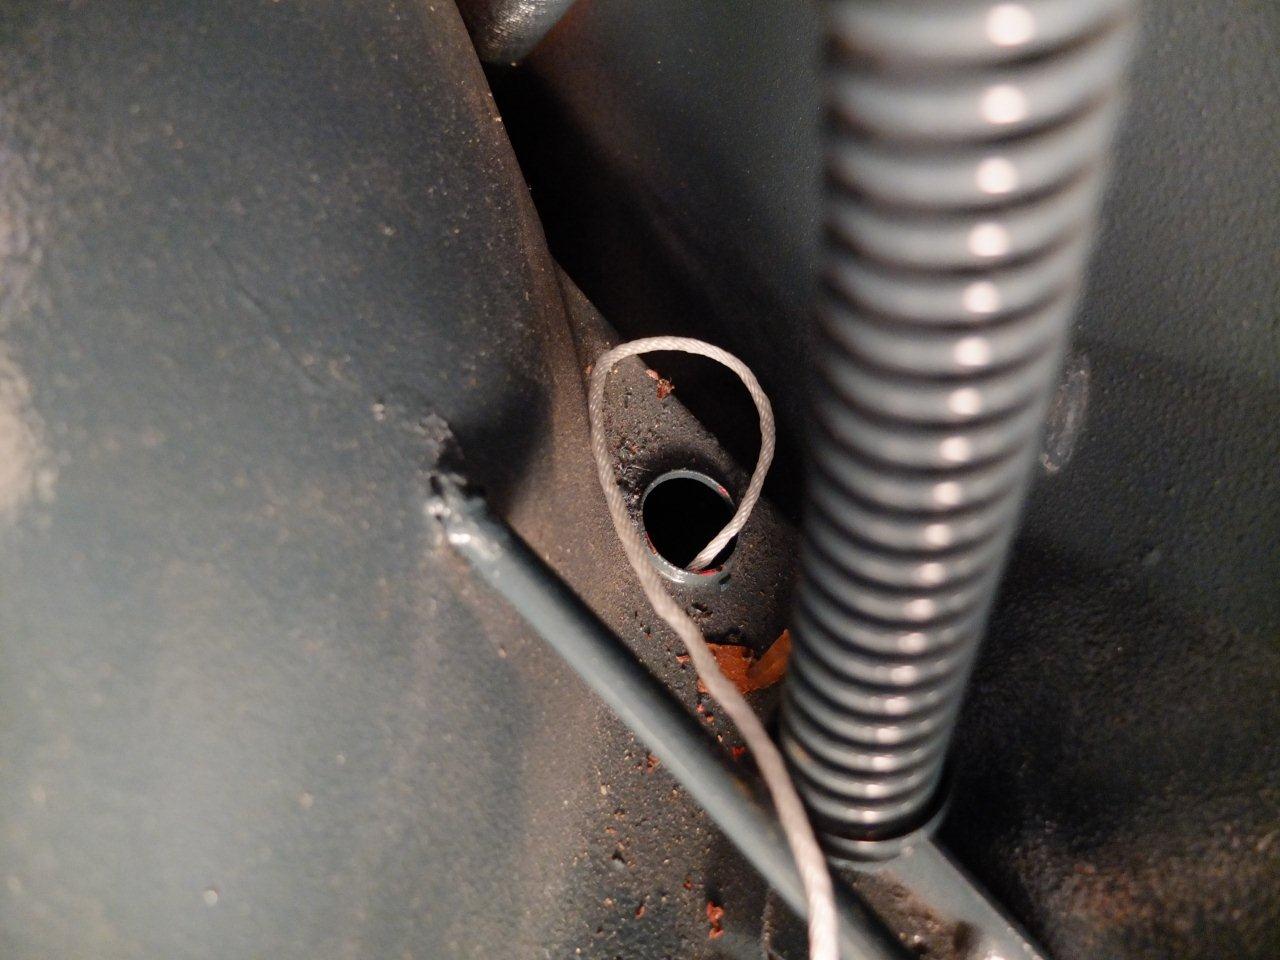
Old wiring harness pulled through hole in front luggage compartment to inside of car.  Rope following along behind (man, I need to dust!)…

Picture from inside of car.  Same hole as in last picture.  You can see the rope has been pulled through along with the old wiring harness.  You’ll need to pull the carpet back a bit to get in there…

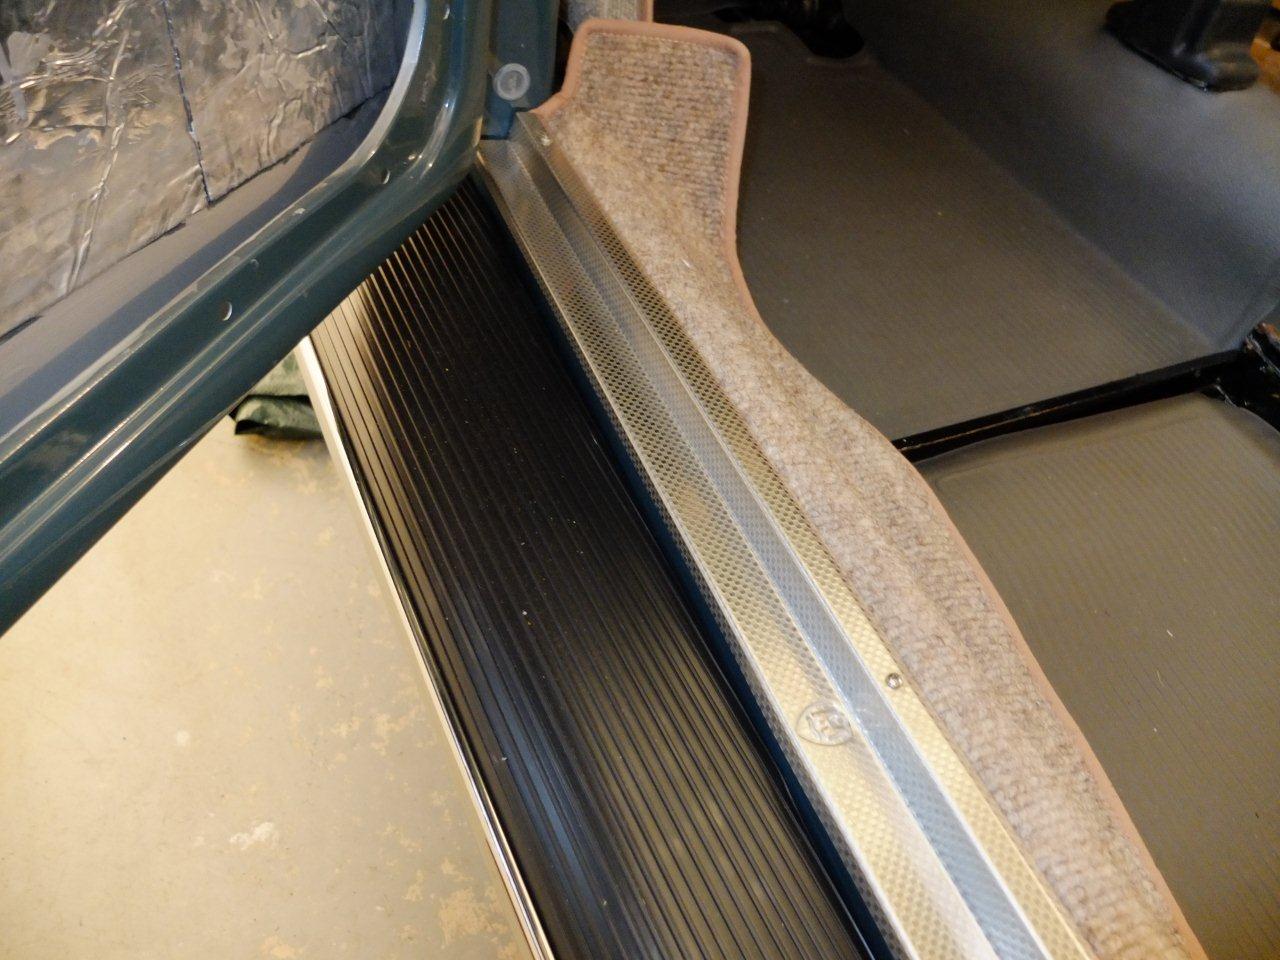
The wiring harness runs under the driver side door sill carpet.  You’ll need to pull that back a little bit…

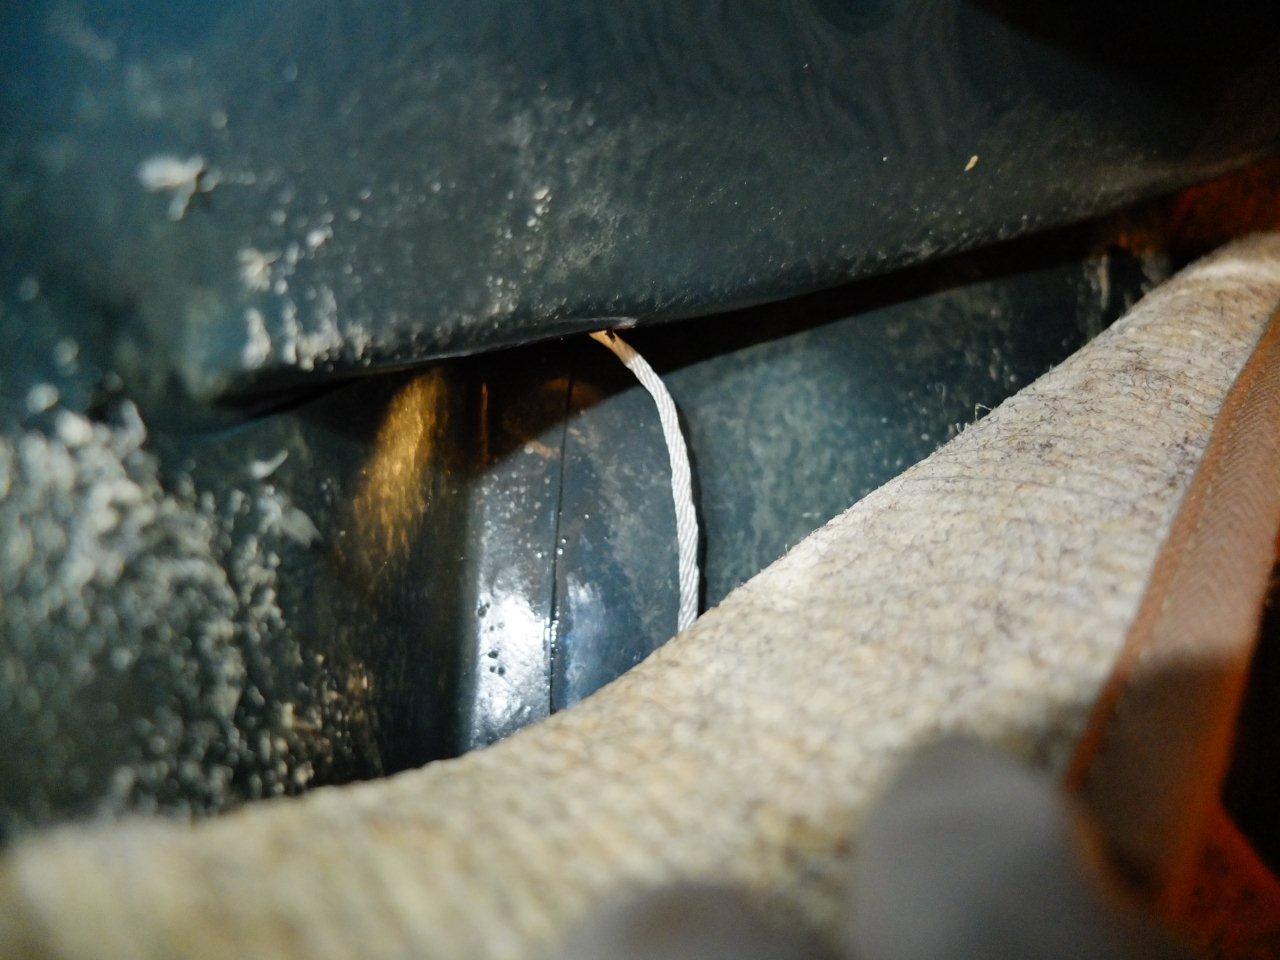
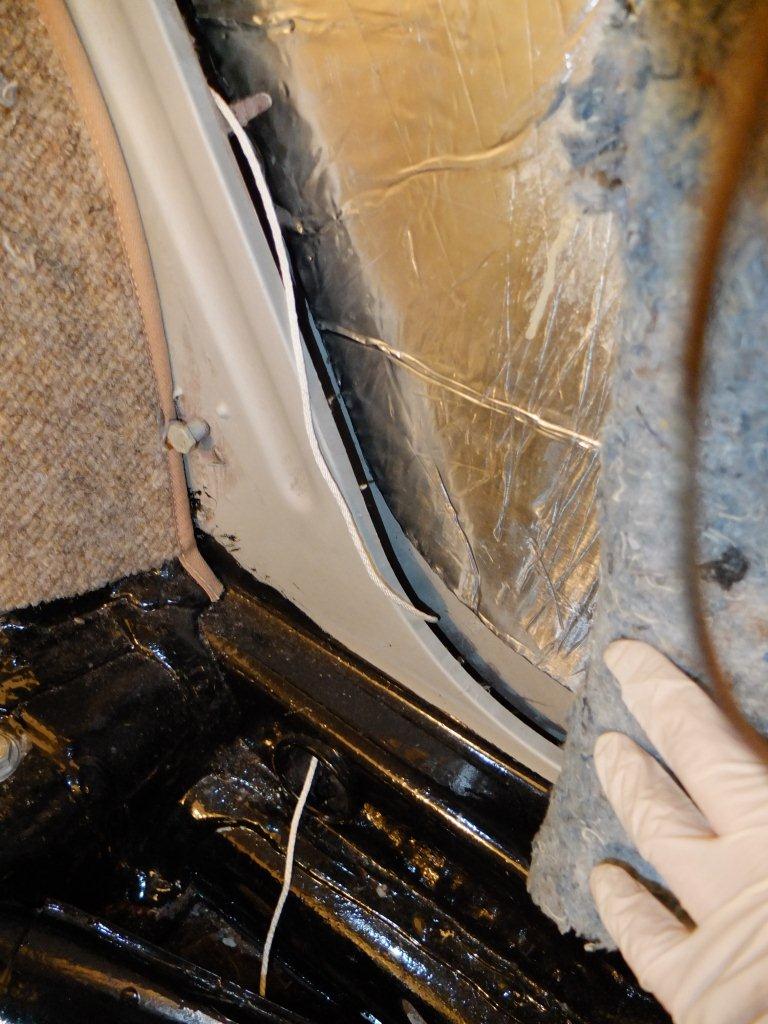
The old wiring harness has been pulled through the rear quarter panel into the engine compartment.  Here’s the rope…

The old wiring harness is out, and the rope runs all the way from the front luggage compartment back to the engine compartment.  You can see a little bit of the foam insulation from the rear quarter panel has fallen into the engine compartment.  No biggie, just wipe it away.  Time to tape up the rope to the new wiring harness…

Pulling the new wiring harness through the rear quarter panel.  I used a lot of tape to hold that rope to the wiring harness…

Here are some pictures of the *OLD* wiring harness out of the car.  Probably didn’t need to replace it, but I’m pretty picky I guess…  😉

You can see where I taped the tracer rope to the old harness.  I just cut the rope once it was pulled through, instead of trying to untape it from the old harness. No point in wasting time on the old harness by carefully removing the tape. 😉

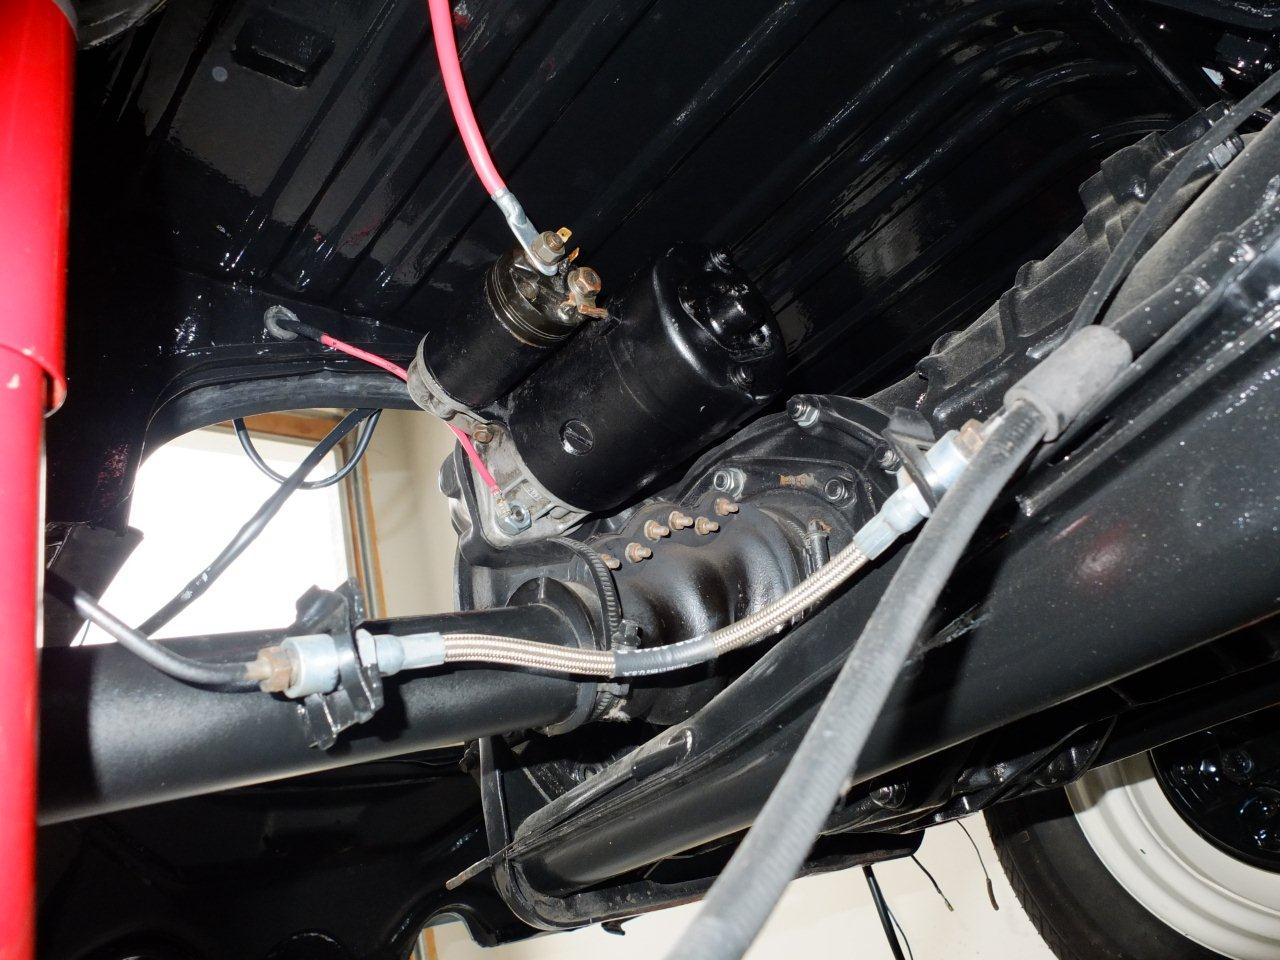
Installed Starter, Horn, and Fixed Wiring – 1966 VW Beetle Project

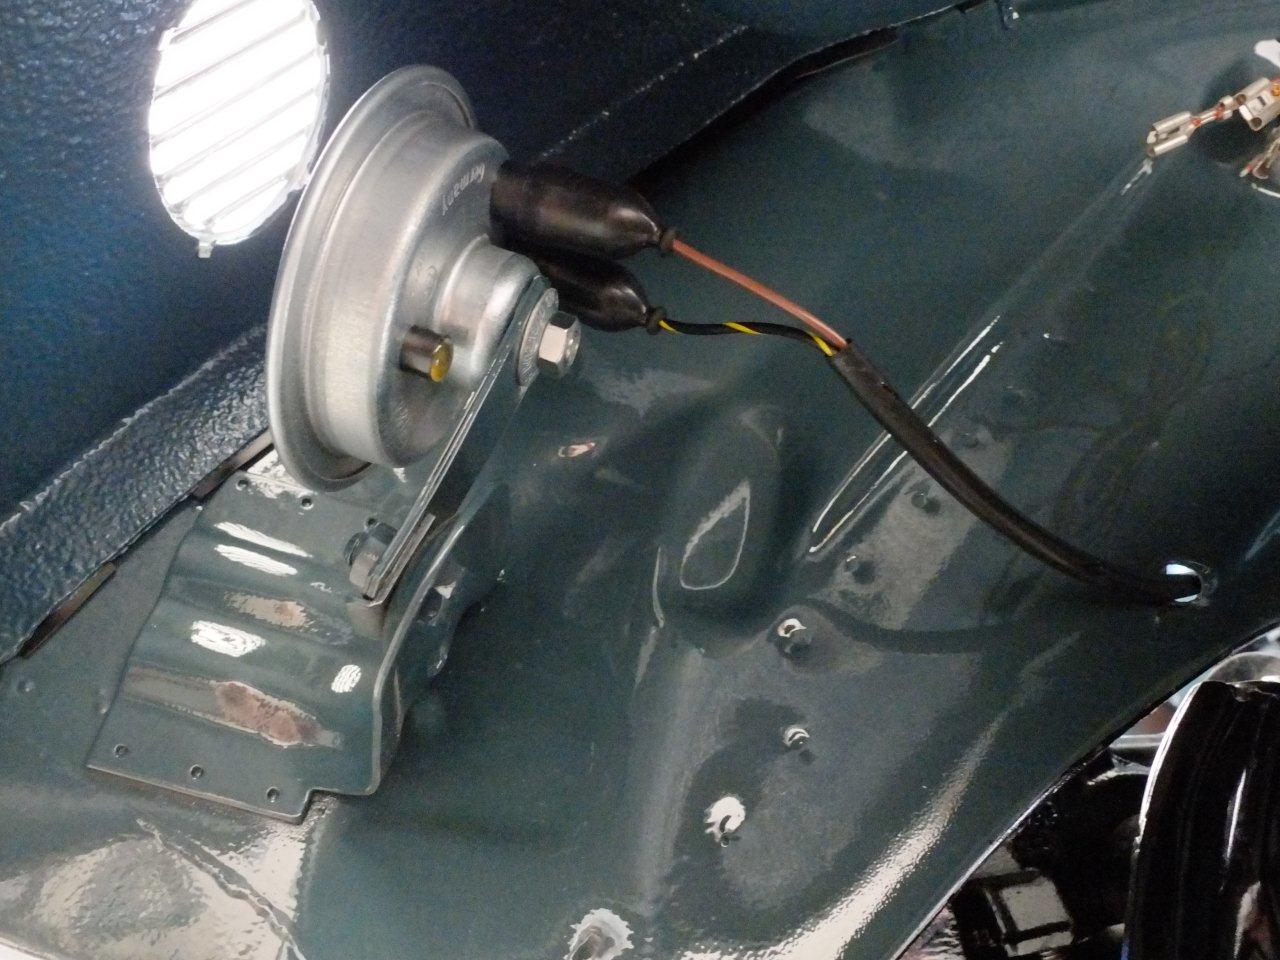
I mounted the starter motor today and also hooked up the horn. I temporarily hot wired the horn to see if it worked and it worked great! I love that VW Beetle horn sound… Meep meep!!

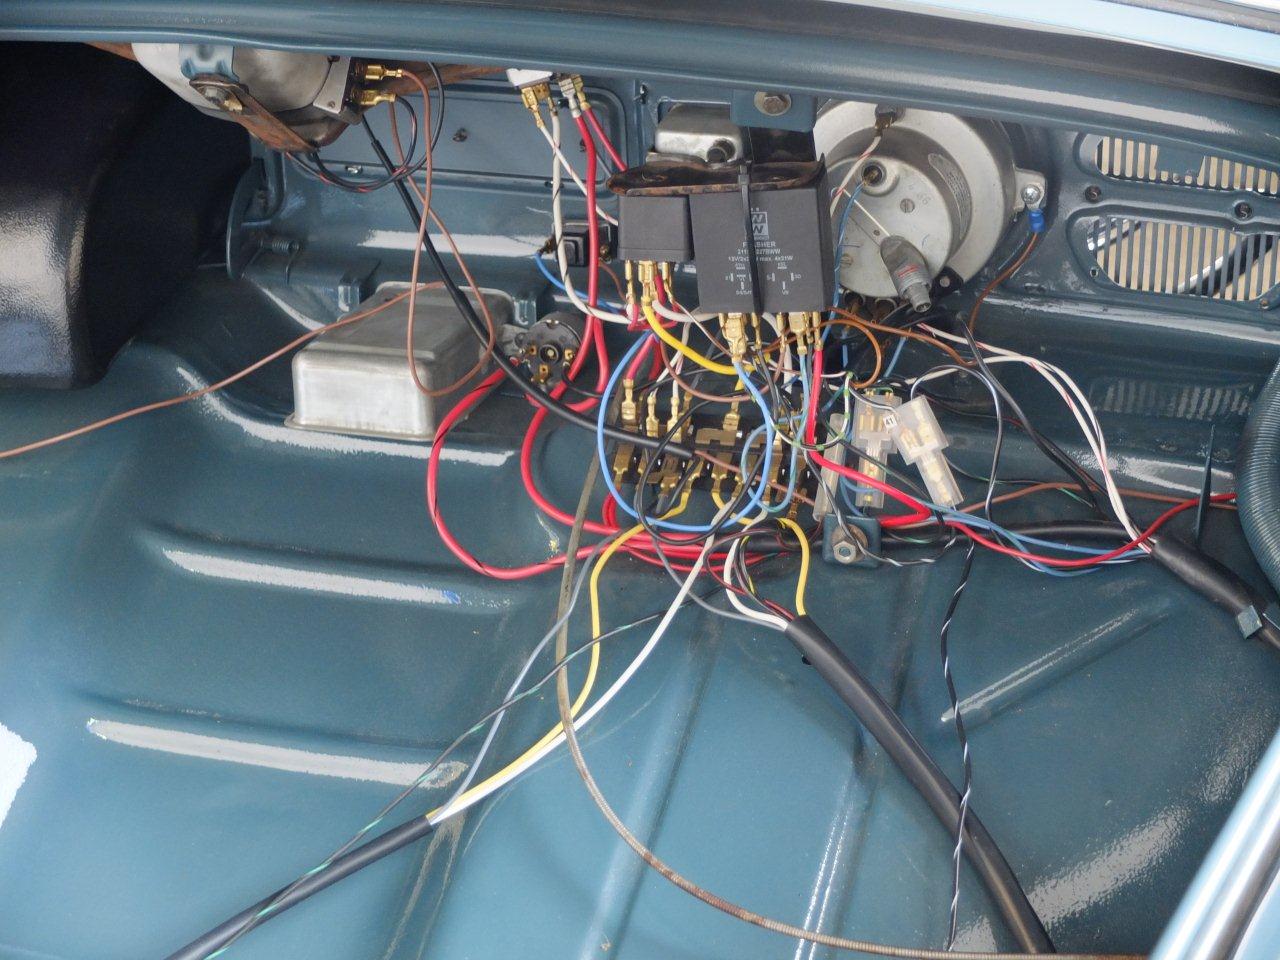
I also went through every wire in the wiring harness to make sure it was all hooked up correctly. It ends up it wasn’t. I’m glad I went through it, because it could have been disastrous if I didn’t. (Note: I’m still waiting for my new “main” wiring harness to arrive from Wiring Works.)

It’s all comin’ together. =) Here are some pictures from today:

Horn Installed

Starter Motor Mounted To Transaxle

Wiring Harness – Lookin’ pretty darn clean in there!