Monthly Archives: November 2011

Engine Picked Up From Builder – 1966 VW Beetle Project

I picked up the new engine from William Page (Willie) yesterday.  Willie is the gentleman that built the engine for the car.  I’m in Ann Arbor, MI, and Willie is in Lake Village, IL.  It was a long drive, but well worth the trip.  We got to stay the night in Chicago too, and it just happened to be the night downtown Chicago had their tree lighting ceremony and parade.  Michigan Avenue was all lit up, and there were tons of people.  That was a fun surprise.

I found Willie on The Samba via one of his ads offering engine building services.  Willie has been building engines since the 70’s. He really knows his stuff. I contacted him via email, told him what I was looking for, and agreed to have him build it.  I’m happy I did, because the engine turned out great.  It was a several month process, as he had a couple of engines in front of me.  Plus, it took some arranging of the schedules to make the trip to Lake Villa, IL.  All communication was done via email, and his attention to my project was top notch.  I had some special requests, such as using a certain oil for break-in (Brad Penn Break-In Oil), and he had no problems with that at all.  We didn’t actually speak on the telephone until the day before I was to pick it up.  Isn’t the Internet great?

Here’s a video of Willie’s car Underdog
drag racing at the VW -2007 Quick 16:


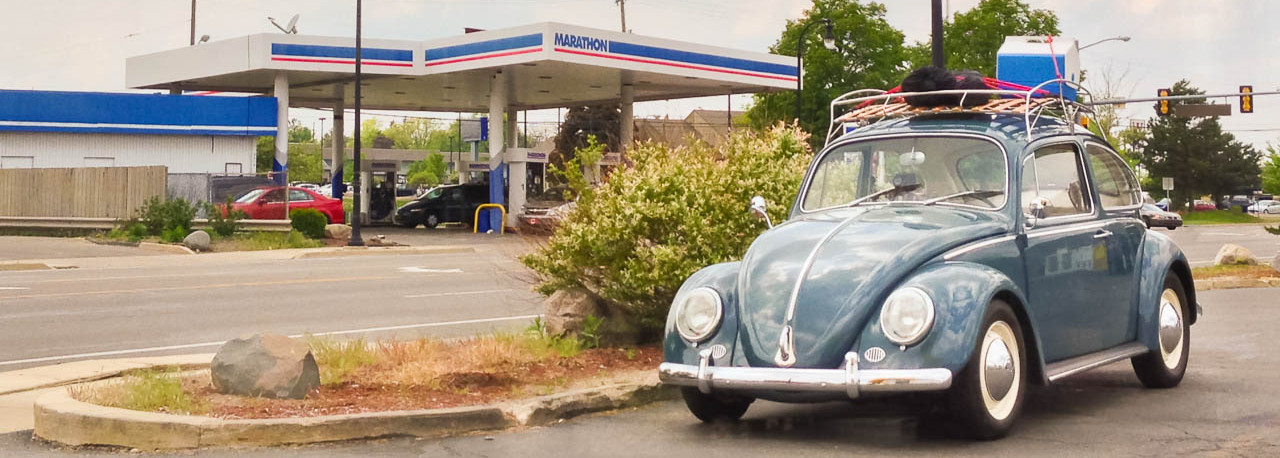
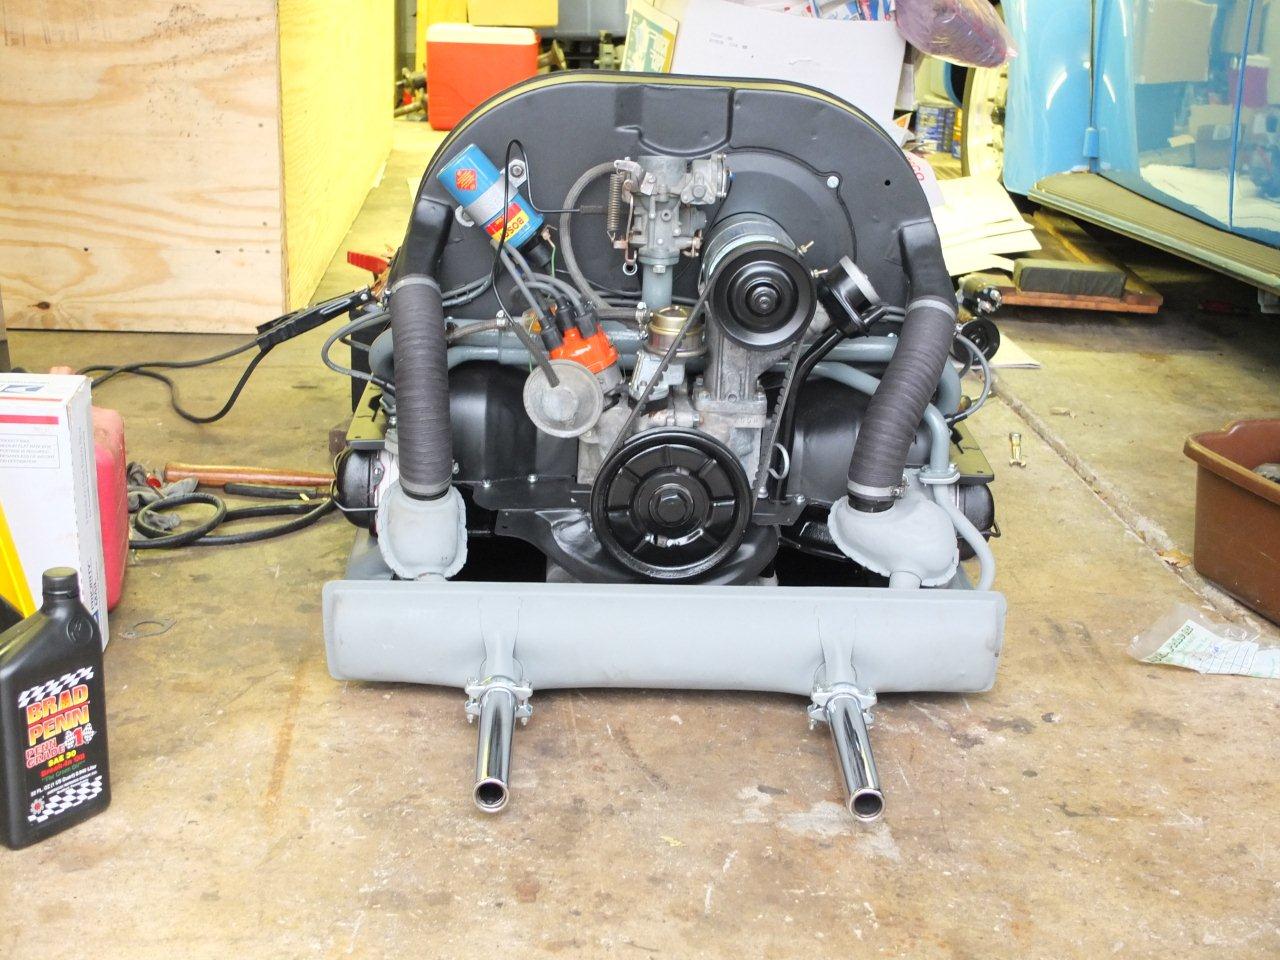
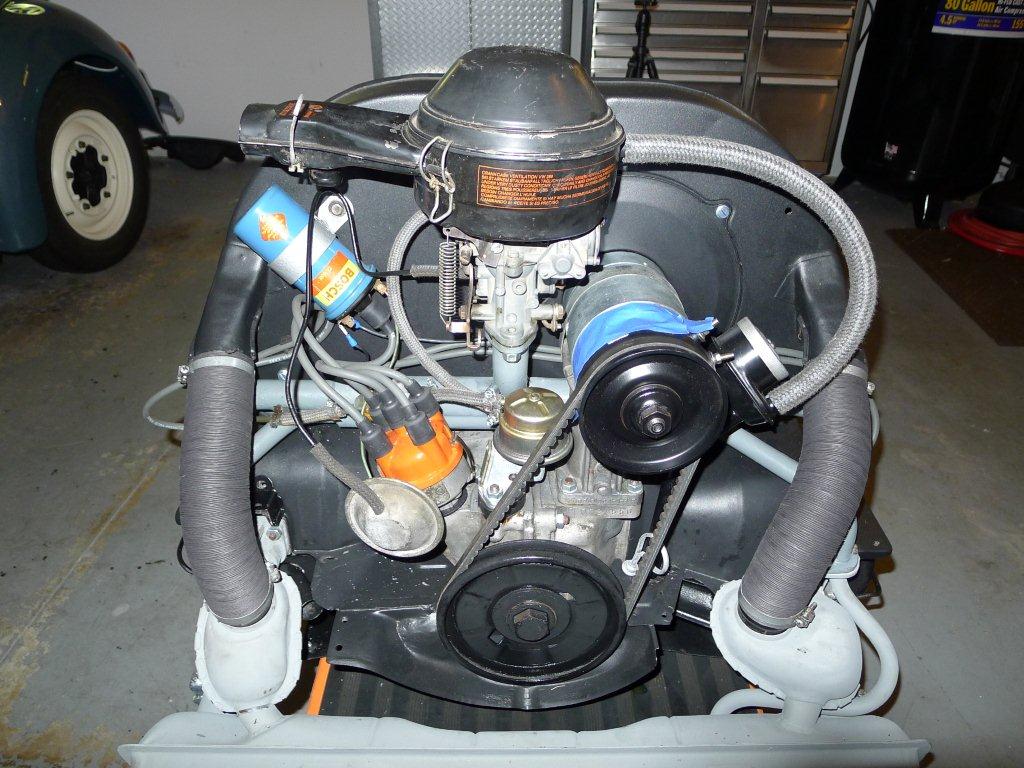
In short, I wanted the engine to look “correct” for 1966.  The 1966 Beetle had a 1300cc F block engine.  I wanted the engine to have a bit more pep than a 1300 though, so we built it out to 1600cc.  Everything up top looks “correct” for a ’66, but down below it’s a 1600cc.  =)  Here’s Willie’s description of what was done to the engine:

“For the beginning, we took a great 1966 F block that was still untouched.  We had it cleaned and degreased so it looked new again. We inspected it for cracks, pulled head studs,  etc.  After getting the blessing that it was all good, we sent it to Mofoco in Milwaukee to get linebored.  The block was linebored only to the first oversize and the thrust was checked.  It was like brand new!  We then took a reground crank and a set of Mahle main and rod to complete the rotating assembly.  Mahle 85.5 pistons were fitted with N.O.S. German rings, and the cylinders were honed like new.  The cylinder heads were bead blasted and checked for cracks.  After cleaning, they received silicone bronze valve guides and all new valves. The heads recieved a mild flycut to make sure that it would not leak any compression.  After it was all machined, it was assembled and checked, and rechecked.  A rebuilt Solex 30 Pict carb topped off the engine along with an original 1966 Bosch distributor. The engine tin was powdercoated by Awesome Powdercoat in Ohio.”

Here’s a short video of Willie starting the engine
the day we picked it up at his house:


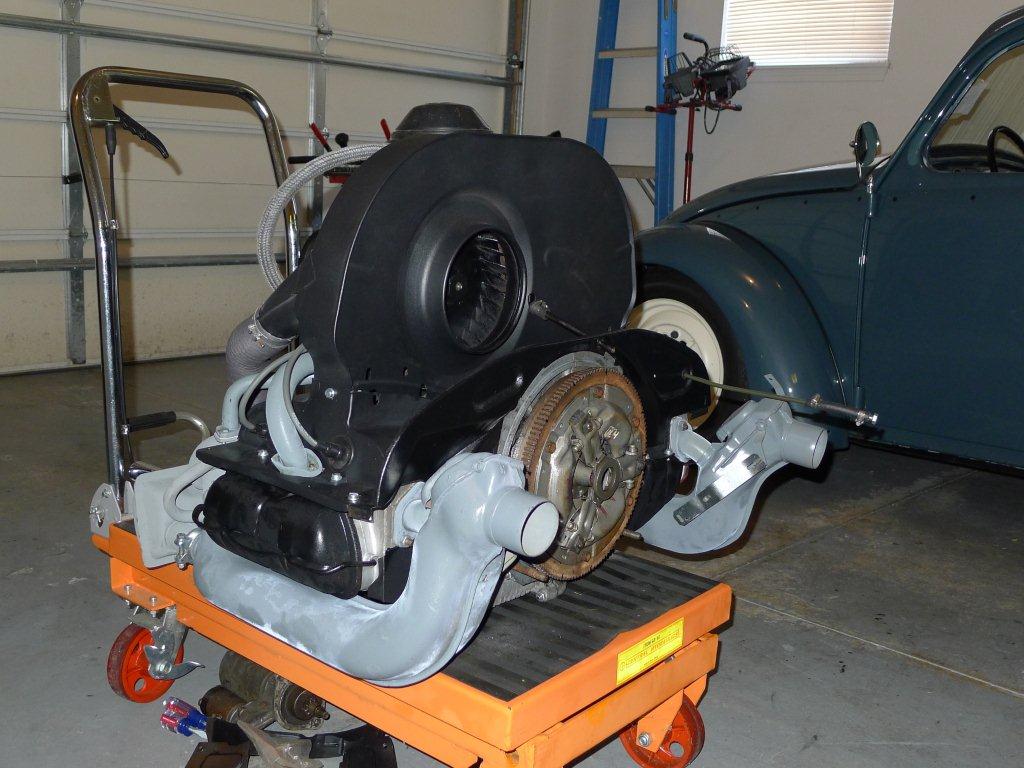
Here are some pictures of the engine sitting in my garage on my hydraulic lift cart, ready to be installed:

So far I’m extremely happy with the engine, and I’d highly recommend working with Willie. I don’t think you’ll be disappointed. Now I just have to get it installed in the car. Can’t wait! =)

Here’s Willie’s contact information, if you’re interested in working with him:

Contact: William “Willie” Page
Phone#: 630-470-2737
Email: pages4256@sbcglobal.net

Door Sill Protection Plates Installed – 1966 VW Beetle Project

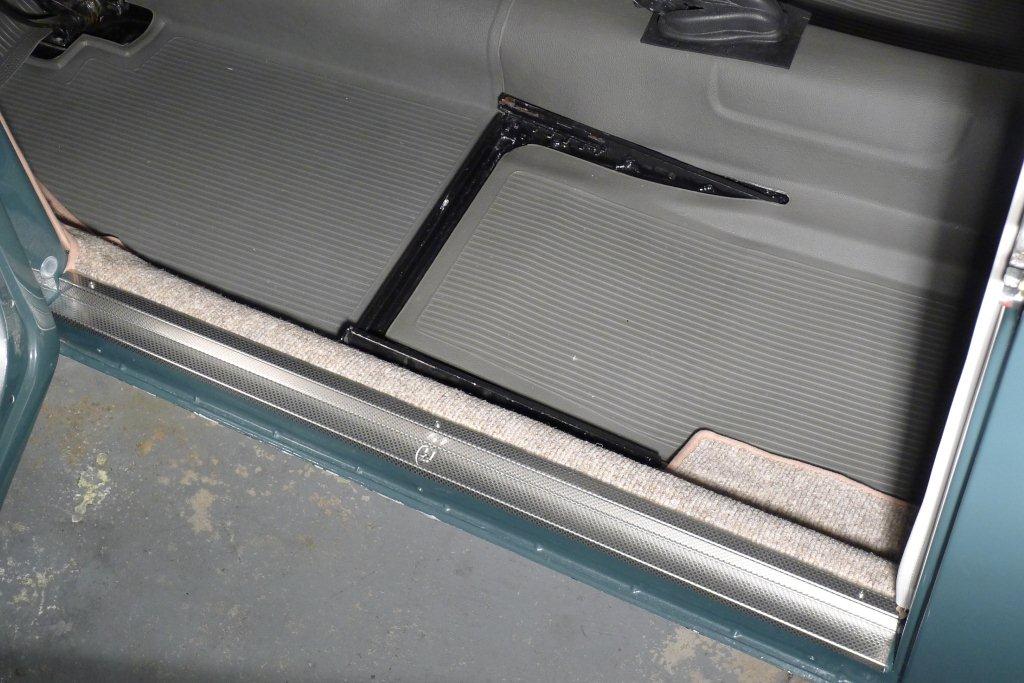
I installed my Wolfsburg West door sill Threshold Protection Plates this evening.  It was a pretty easy job to do, and looks really sharp.  I’ll start by showing you a picture of the finished product.

(Click Images To Enlarge)

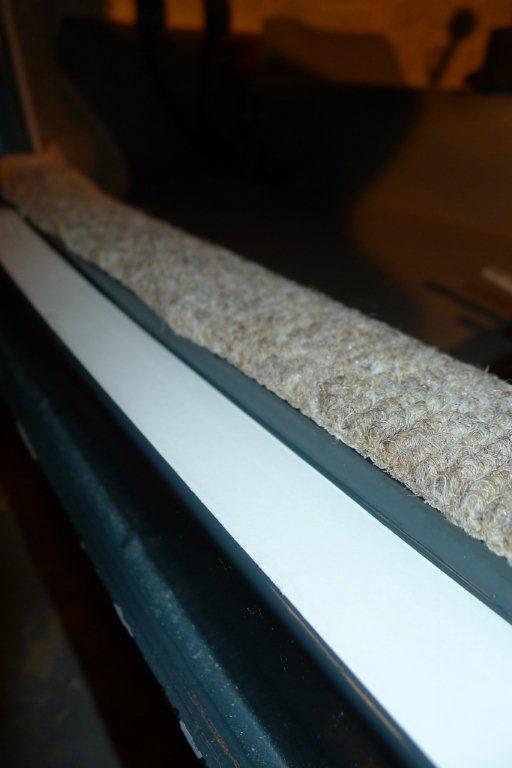
The first thing I did was install some 3M Paint Protection Tape on the door sill.  The image below shows the tape laying in place (not attached yet) to illustrate how it currently lays on the door sill.  This gets covered by the threshold plate, and will protect the paint from getting scratched by the threshold plate (I know, I’m pretty anal).  The 3M Paint Protection Tape is very cool.  It installs exactly the same way you install an InvisibleShield screen protector on your mobile phone, iPad, or iPod (if you’ve ever done that).  It’s basically the same stuff that was developed by the military to protect helicopter blades from whirling dirt and debris.

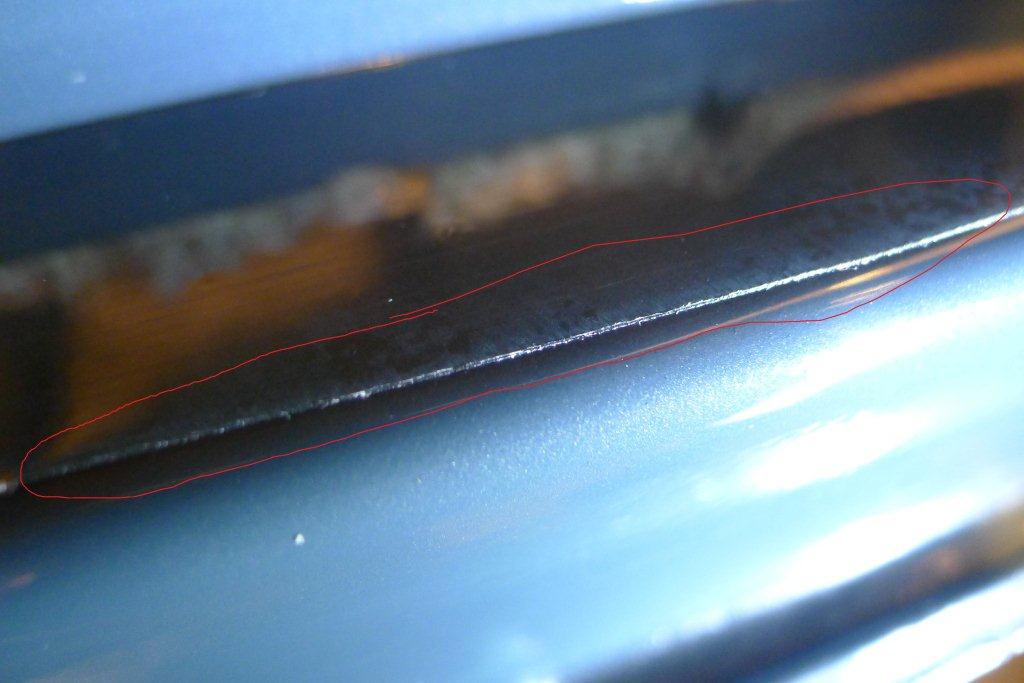
Here’s a picture of the 3M Paint Protection Paint Installed.  I circled the edge of the tape in red to show what the tape looks like.  As you can see, it’s clear tape. The white in the previous picture was just the backing.

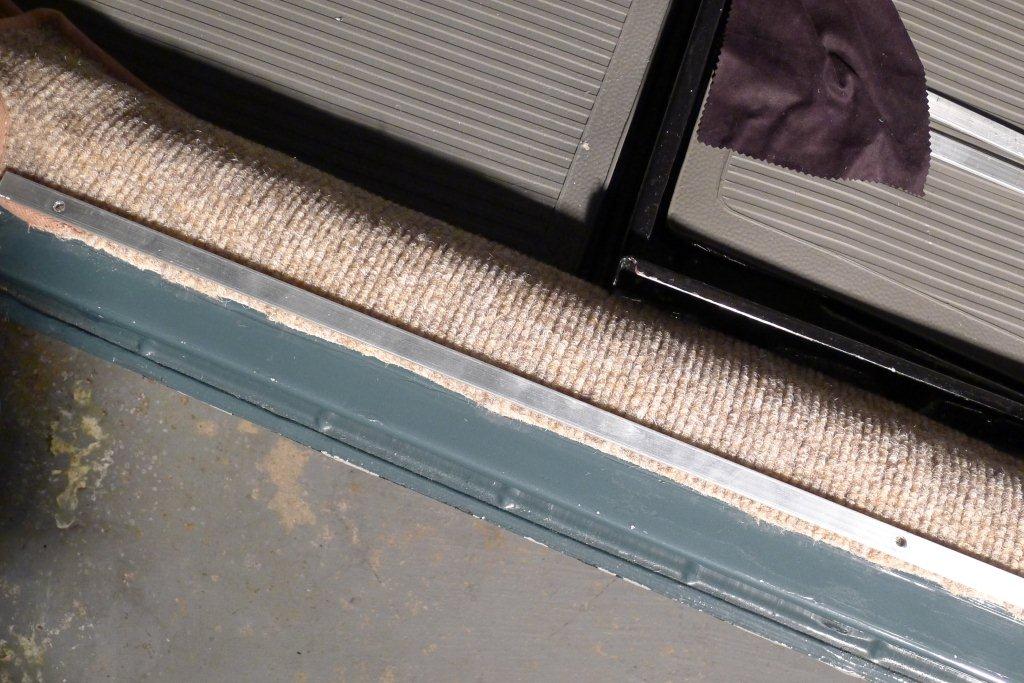
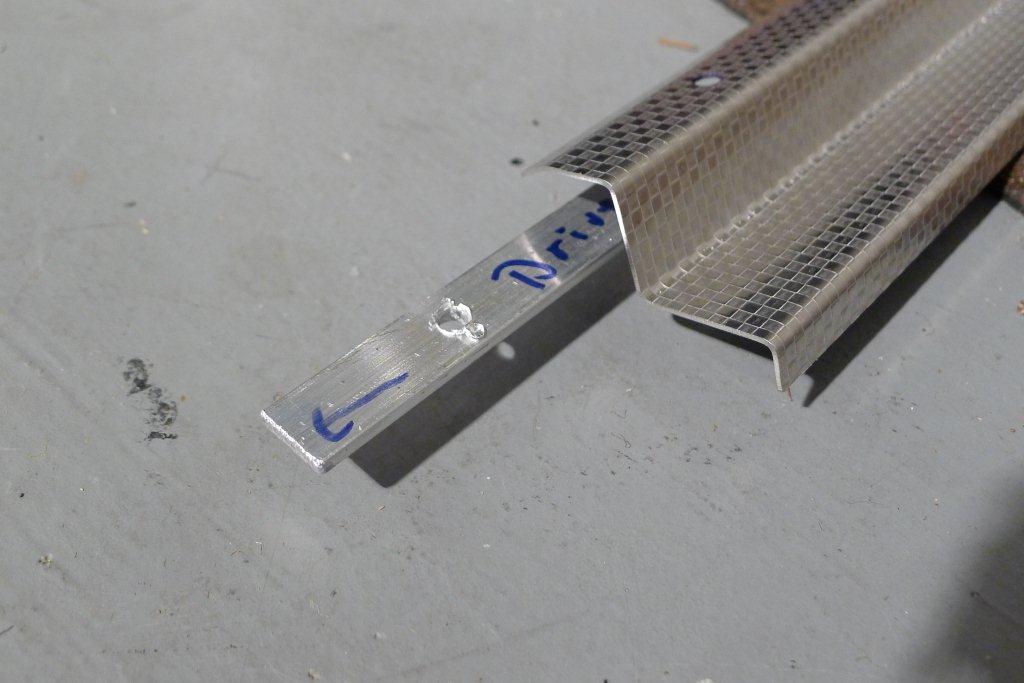
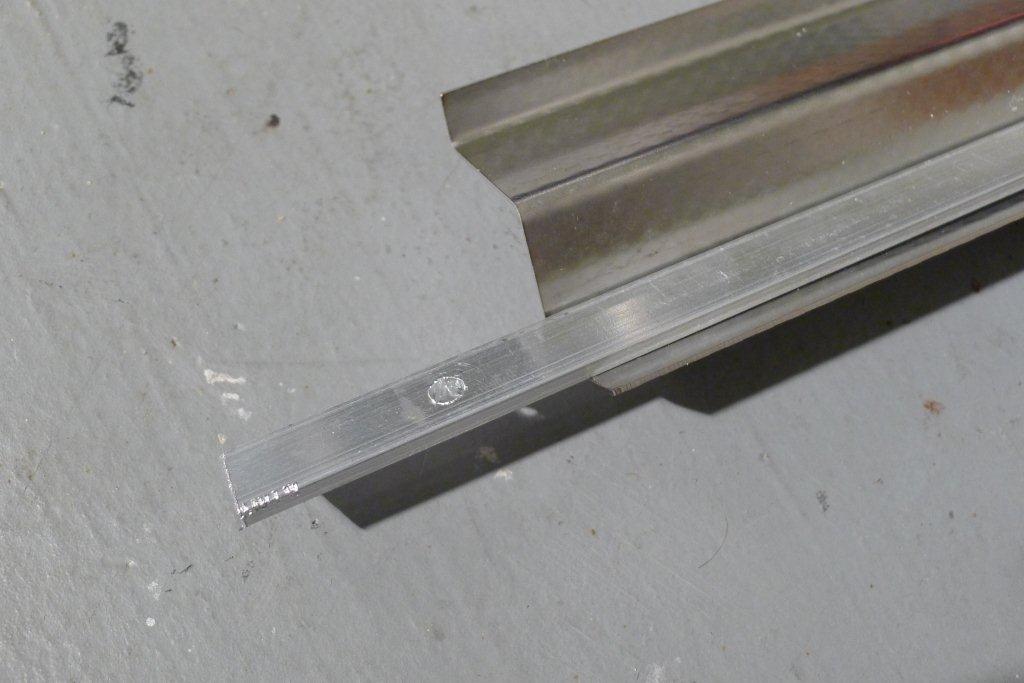
The next thing I did was build a thin aluminum plate (purchased from the local hardware store) to fit underneath the threshold plate.  As you can see from the image below, the original stock door sill rail is gone.  The rail is used to hide the edge of the carpet and hold it in place (especially if you don’t have door sill protection plates).  The door sill rails were shaved by the previous owner.  Not a bad idea, and is something I probably would have done too.  They typically get pretty beat up and start to look ugly after a while.  Anyway, this threshold plate is designed (imho) to fit over the door sill rails.  Since the door sill rails are not present, I felt that the threshold plates needed some support underneath where the rails would have appeared.  I drilled 3 holes in the thin aluminum plate to make room for the 3 screws that hold the threshold protection plate to the door sill.  I drilled 3 holes in the door sill and used stainless steel screws to attach it.  In addition, I used some anti-sieze on the stainless screws to prevent them from galling to the door sill sheet metal.

The aluminum plate I fabricated fits under the threshold protection plate within this channel.  I offset the aluminum plate for illustration purposes in this image.

Here it is again from below.

Final Product Again

Here’s a quick video showing the 3M Paint Protection Tape

https://www.youtube.com/watch?v=8nIeGy8CtD8

Installed Carpet Kit and Rubber Floor Mats – 1966 VW Beetle Project

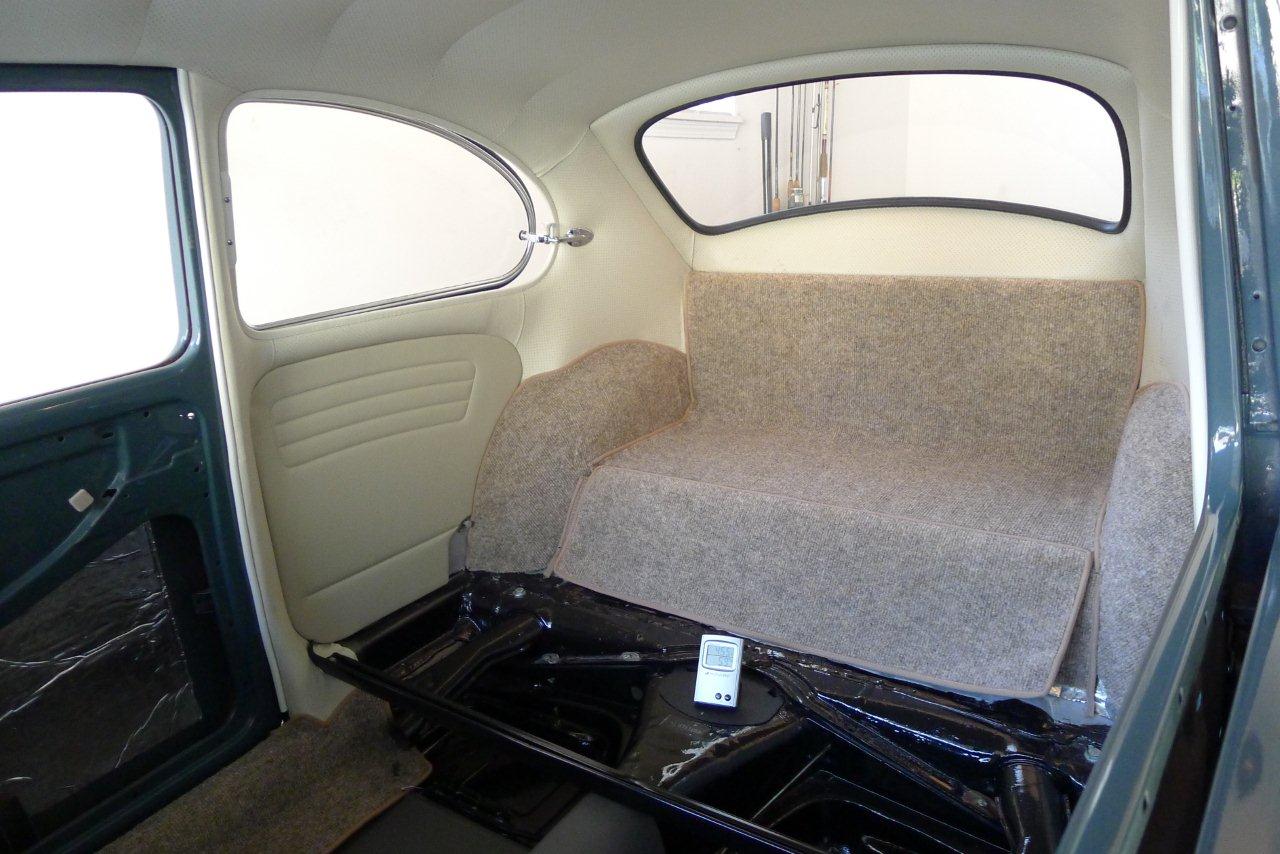
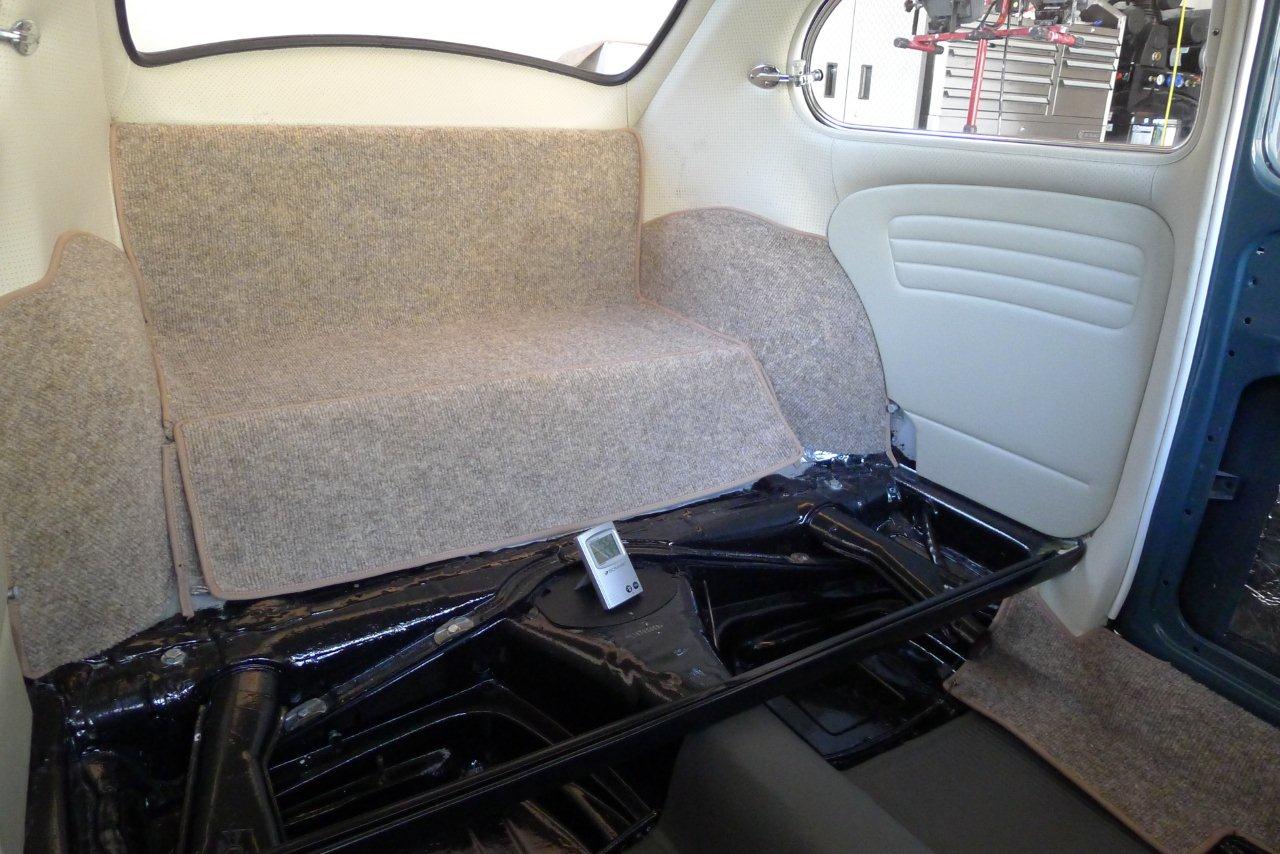
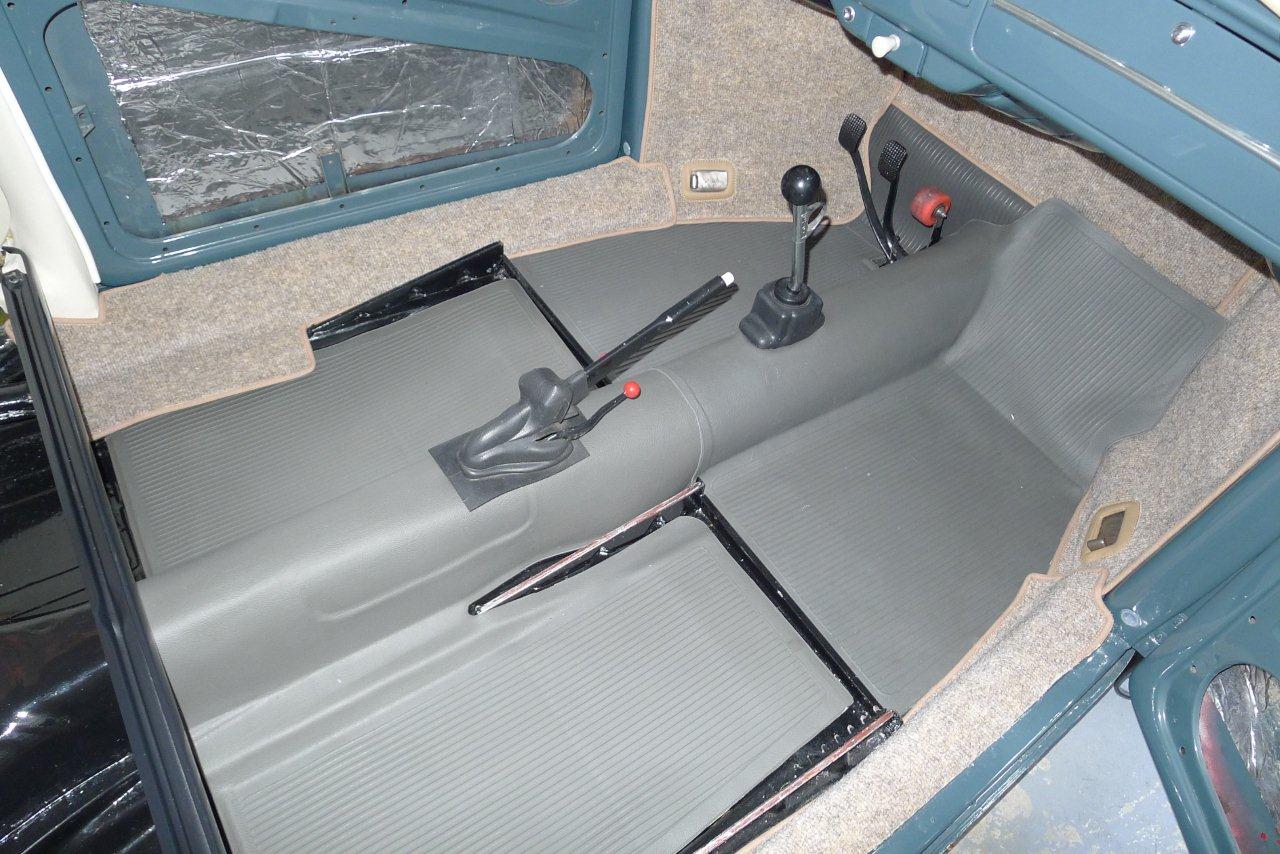
I installed my new Wolfsburg West carpet kit this weekend. It isn’t a hard job, but it takes some time. I used a product by 3M called Super Trim Adhesive. It comes in a spray can and works really well. I was going to use Weldwood Contact Cement, but decided the 3M product would be easier to work with. I also installed the new rear quarter interior side panels (see pictures), also from Wolfsburg West . The car is really starting to come together now. On a side note, the new engine should be here in a couple weeks too! =) Here are some “after” pictures from this weekend’s work:

(CLICK IMAGES TO ENLARGE)