Category Archives: 1966 VW Beetle Project

Reattaching Body To Chassis/Pan- 1966 VW Beetle Project

Today was the day!  Dad and Joy came down this weekend for a visit.  It was really nice seeing them.  We put the body back on the chassis while they were here.  It went so much faster with 3 of us working.  Thanks Dad and Joy!  =)  The body basically went right back on in the reverse order that I originally removed it (see my removal post here).  It all went really smooth.  Here are some pics from today:


Chassis Lined Up Under Body…


Dad and Joy…


Here we go…  Front end lifted and loosely attached to body via the 2 front beam body bolts.  The bolts were threaded about 1/2 way in so the pan/chassis could pivot while lifting/attaching the rear.


Back end jacked up and attached to body via shock tower mounting bolts…  The rest of the body bolts were attached once the vehicle was set down on the jack stands.  All the body bolts were loosely bolted on.  They’ll all be torqued (14ft lbs) once back down on the ground.  It’s easier to get them all started when the car is on the jackstands (more room to work under there).


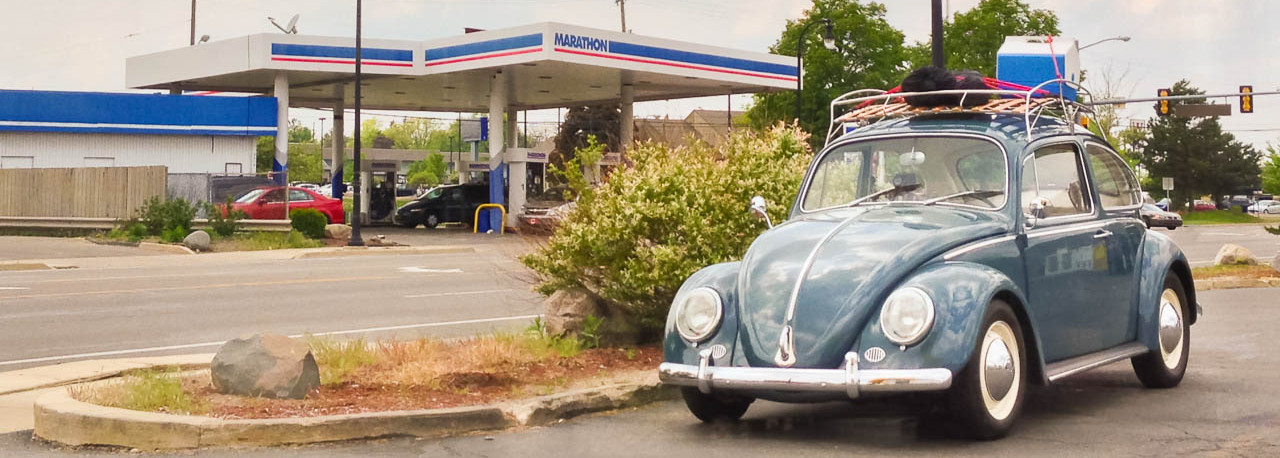
After 2 months, it’s finally back on the ground…  Looks awesome!  I want to drive it around looking just like that.  LOL!  =)

Body Gasket Installed – 1966 VW Beetle Project

Got the body gasket installed.  I used some clear silicone to hold it all in place.  Small nails were originally used to secure this seal in place at the factory.  I have a ton of clamps, which were really necessary to hold the gasket in place while the silicone was drying.  Joan says, “You can never have too many clamps.”  That’s for sure!  =)  The gasket was cut into two pieces.  One piece for the front cross panel support, and then the 2nd piece for the other 3 sides (driver, passenger, and rear cross members under rear seat).  Looks good!  All ready for the body now!  =)


Pieces cut and held in place by clamps…


Where the two pieces meet at the front cross panel support…


Strategic cuts to make it bend around the corners…


Section on rear cross members clamped while silicone dries…

Brake Bleeding – 1966 VW Beetle Project

I bled the brakes today.  I did this because I wanted to make sure the braking system was solid prior to putting the body back on (the brake lines haven’t had brake fluid in them since I owned the vehicle).  I figured it would be easier to work on with the body off if anything was not functioning properly.  Since the fluid reservoir is typically mounted to the body, I had to figure out a way to hook it all up while the body was removed.  I used a Century Stand (C-Stand) to hold the brake fluid reservoir (see pictures).  C-Stands are great tools for photography and film making.  It’s amazing how often I’ve used mine as a 3rd or 4th hand while working on my VW’s. 

I realize I’ll need to unhook the brake fluid reservoir prior to putting the body back on.  Afterward, I’ll need to bleed the brakes again since detaching it and reattaching it to the master cylinder will probably introduce some air bubbles to the system.  At least I’ll know I can bleed the brakes again and feel confident everything is in working order.

I used a tool called the “One Man Brake Bleeder” to help me bleed the brakes.  This thing worked great, and I highly recommend it.  It’s basically a clear plastic tube that you put over the wheel cylinder bleeder valve.  At the other end of the tube is a one way stop valve, which only lets fluid/air go in one direction (out).  You can see any bubbles in the fluid through the clear plastic tube.  Just hook it up, open the bleeder valve, and slowly start pumping the brake pedal, while keeping an eye on the clear plastic tube.  Make sure you don’t empty your brake fluid reservoir too, otherwise you’ll let air into the brake lines again.

The brake system seems to have bled out beautifully, and everything seems to be in great working order.  =)

Here are some pics: