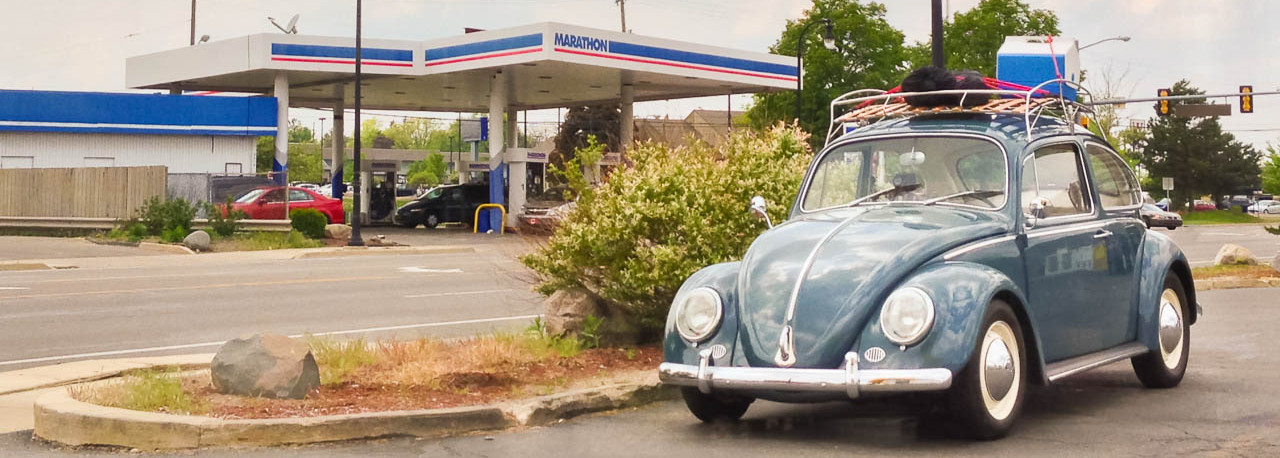
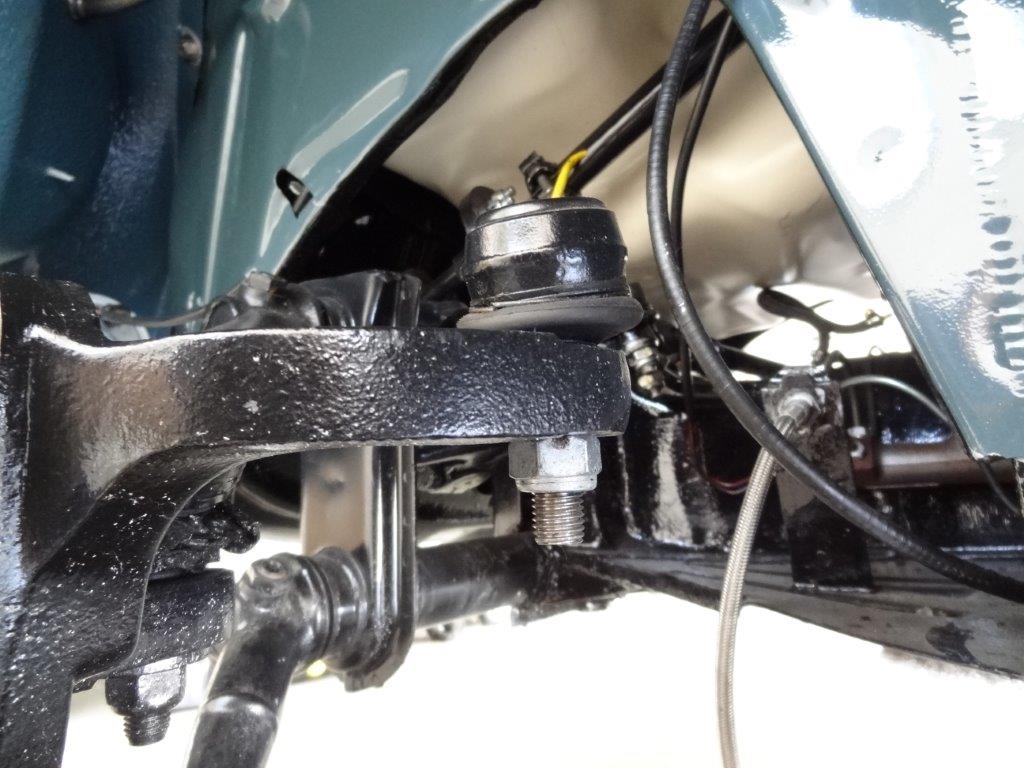
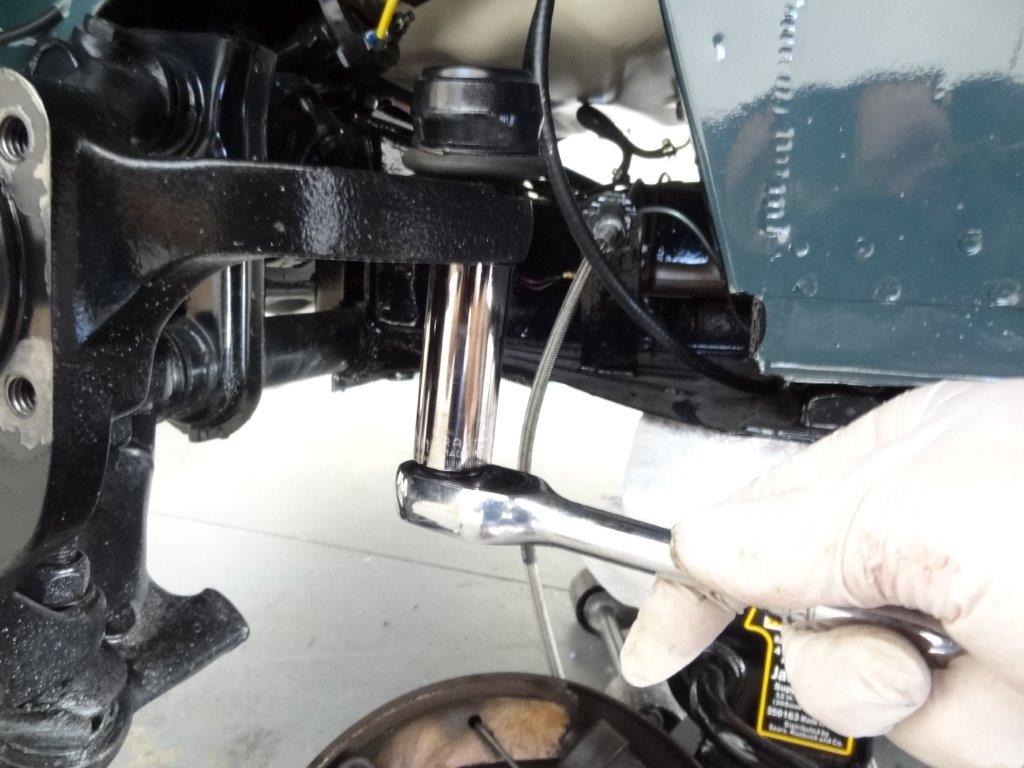
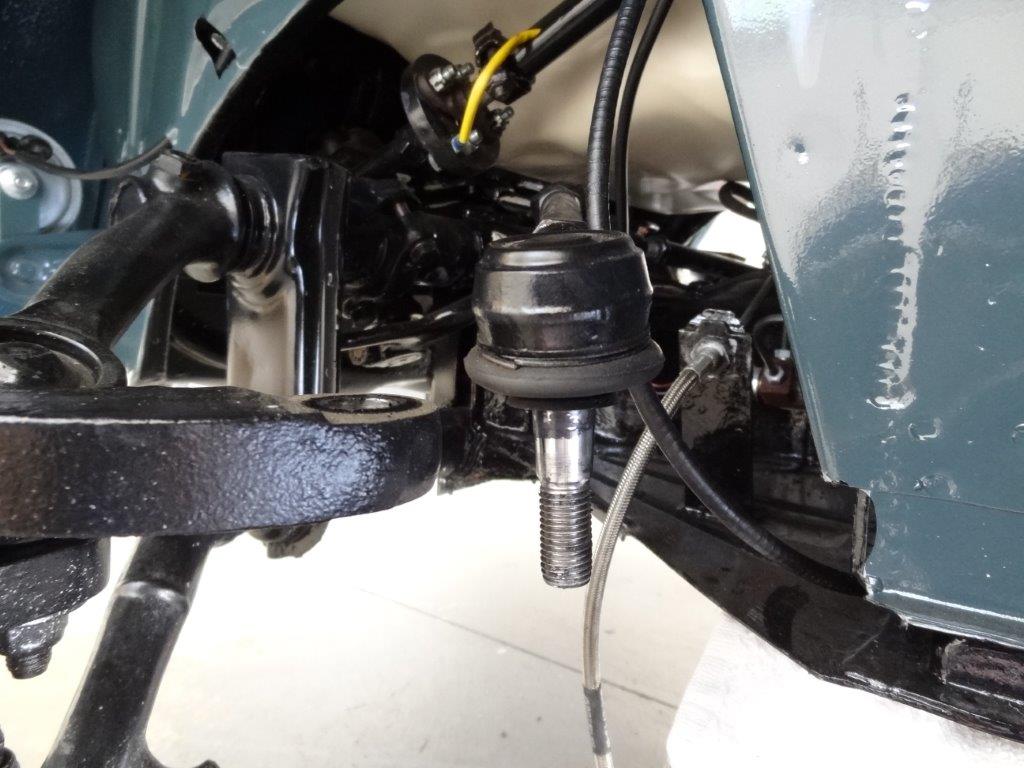
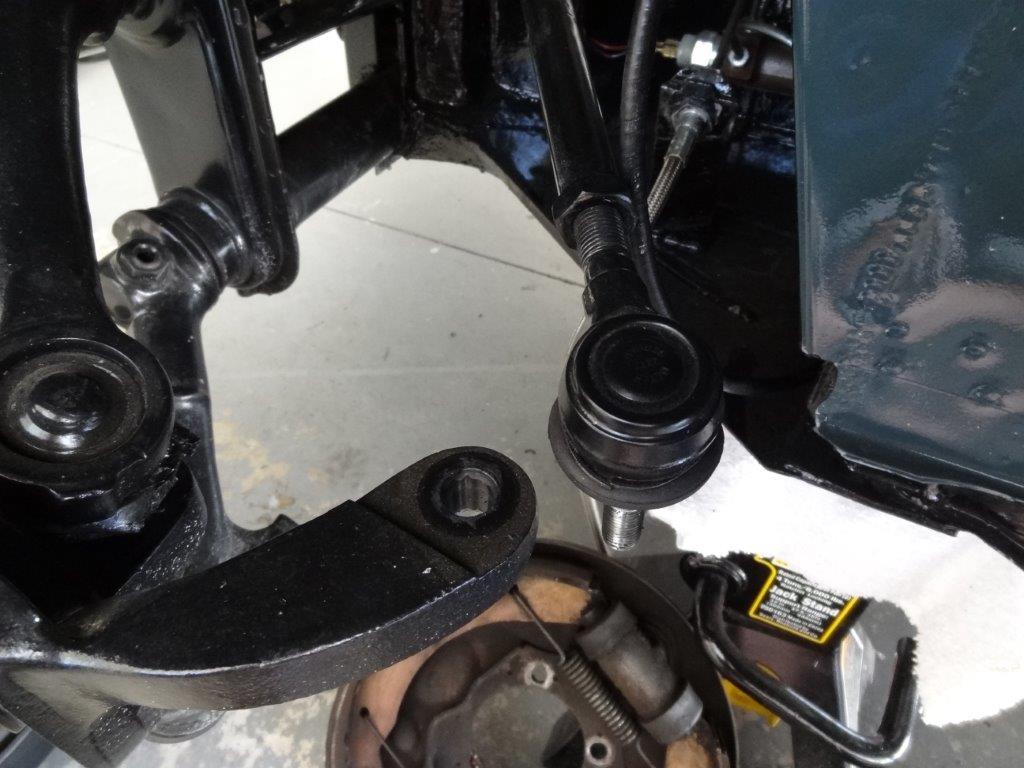
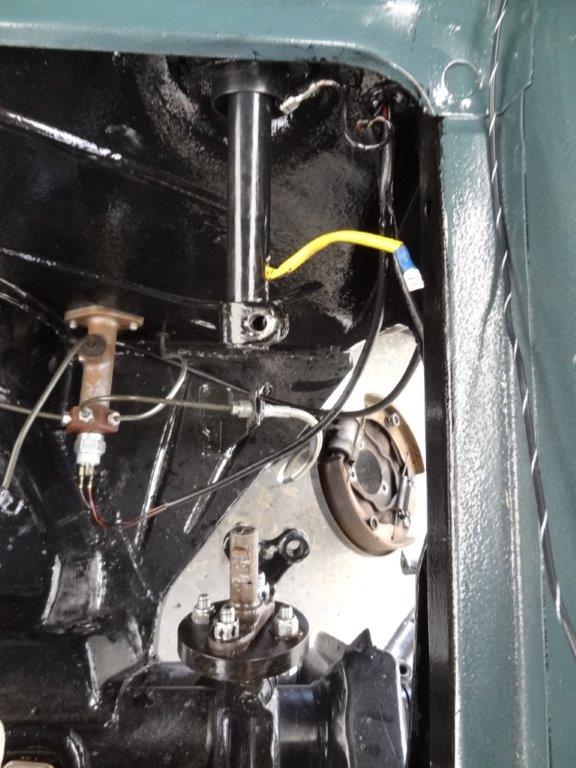
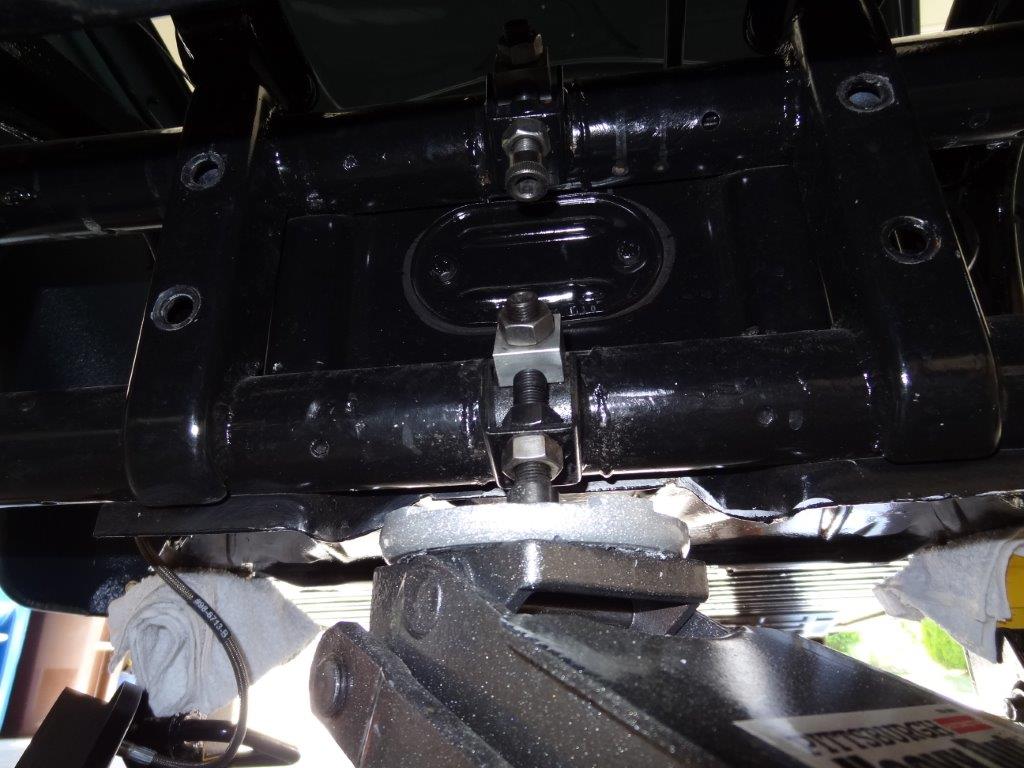
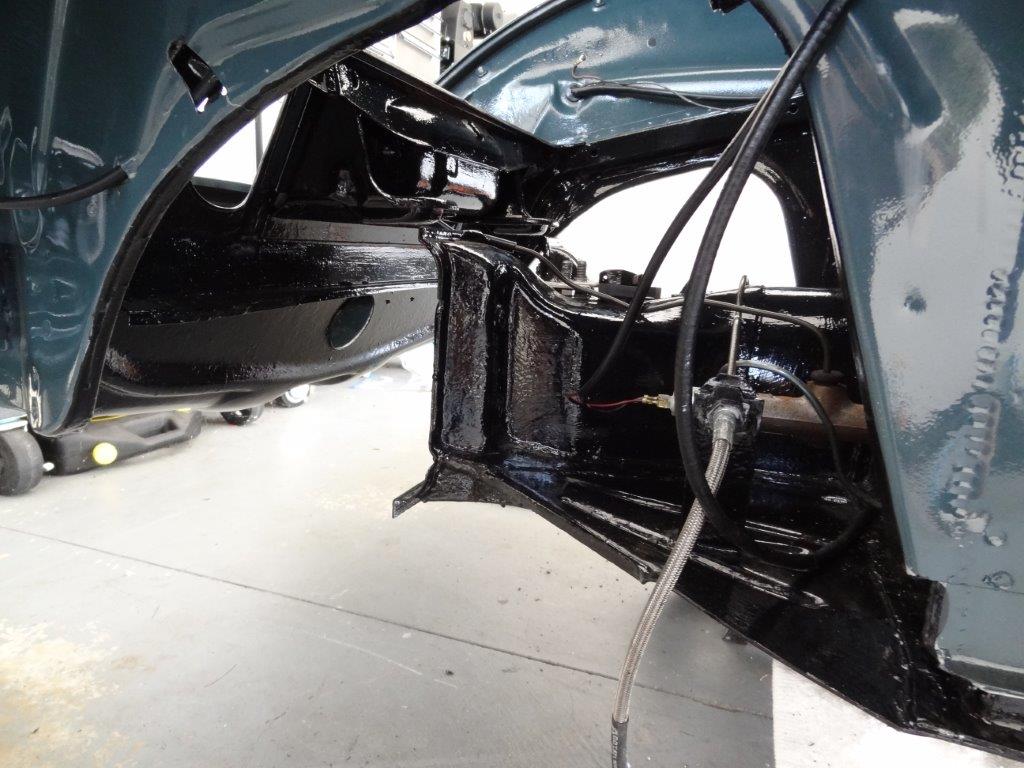
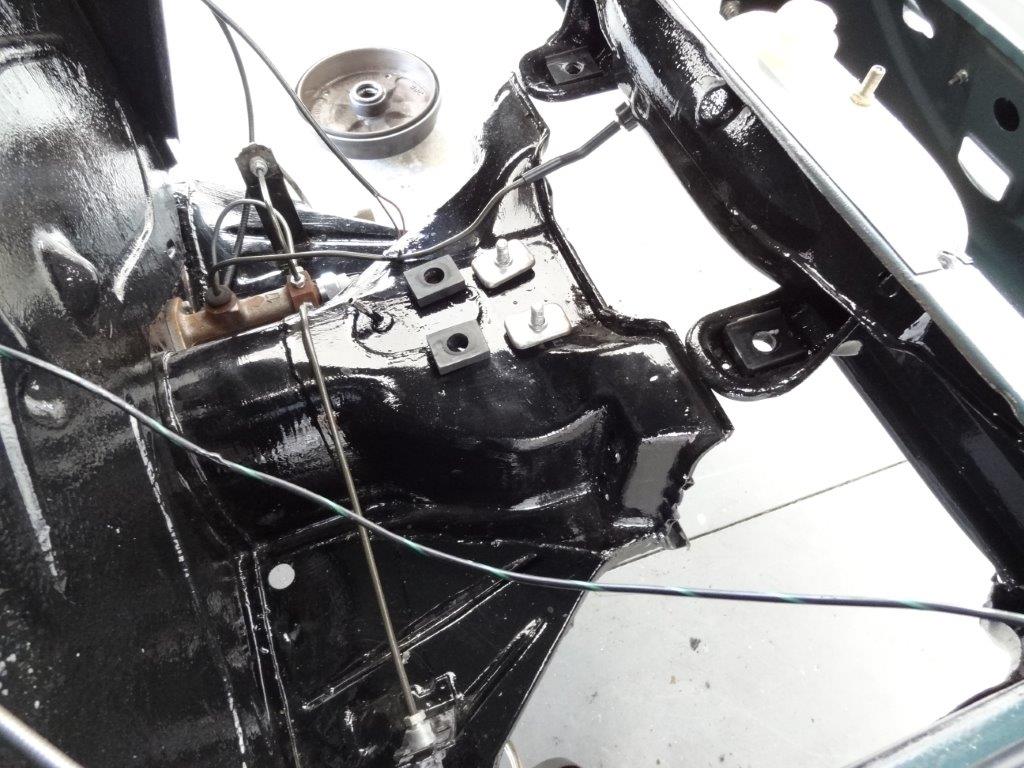
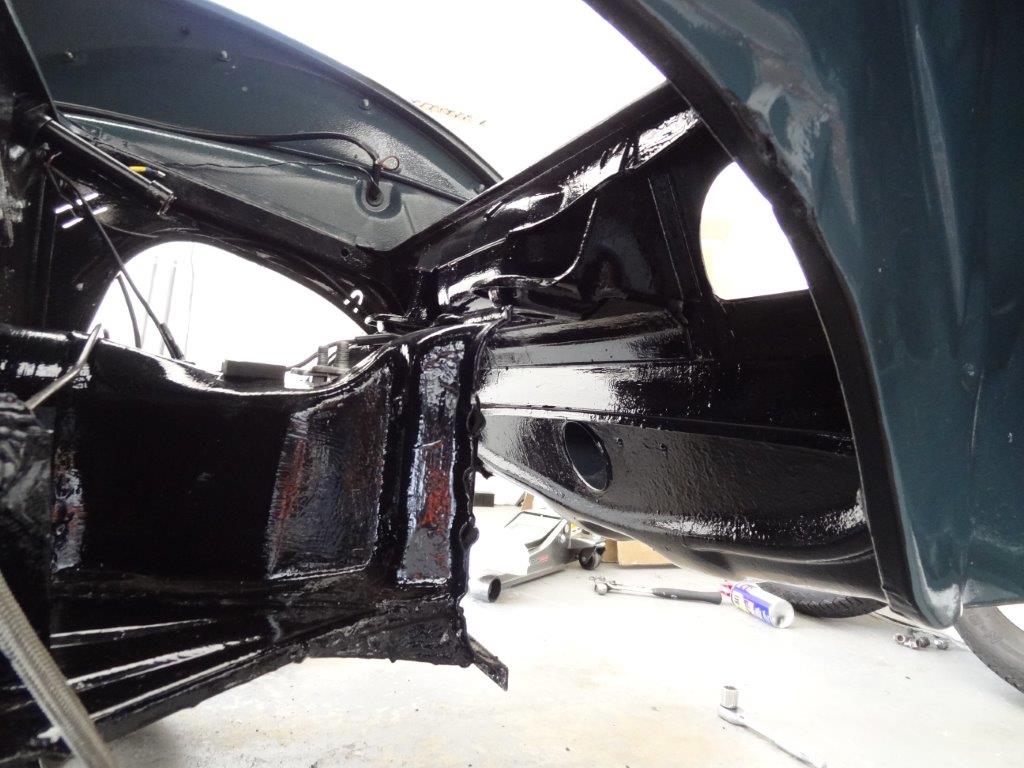
When I purchased the vehicle, I knew it had a shockless 6″ narrowed beam. Never having a narrowed beam before, I thought it would be fun to try it out. I knew that if I didn’t like it then I could switch it out for a stock beam at some later time. Well, the time has come. The narrowed beam looks good, but it’s just not practical for these horrible Michigan roads. I got tired of having to brace myself for impact every time I’d go over a speed bump or highway overpass. The beam was so low that the smallest of bumps would cause me to bottom out on the beam. The beam would hit the road on it’s lowest point, which was the adjuster bolt on the beam. Honestly, I’m quite surprised that bolt didn’t break off on impact. I actually dug some blacktop out of the center of the bolt at one point. I’m looking forward to my stock beam!
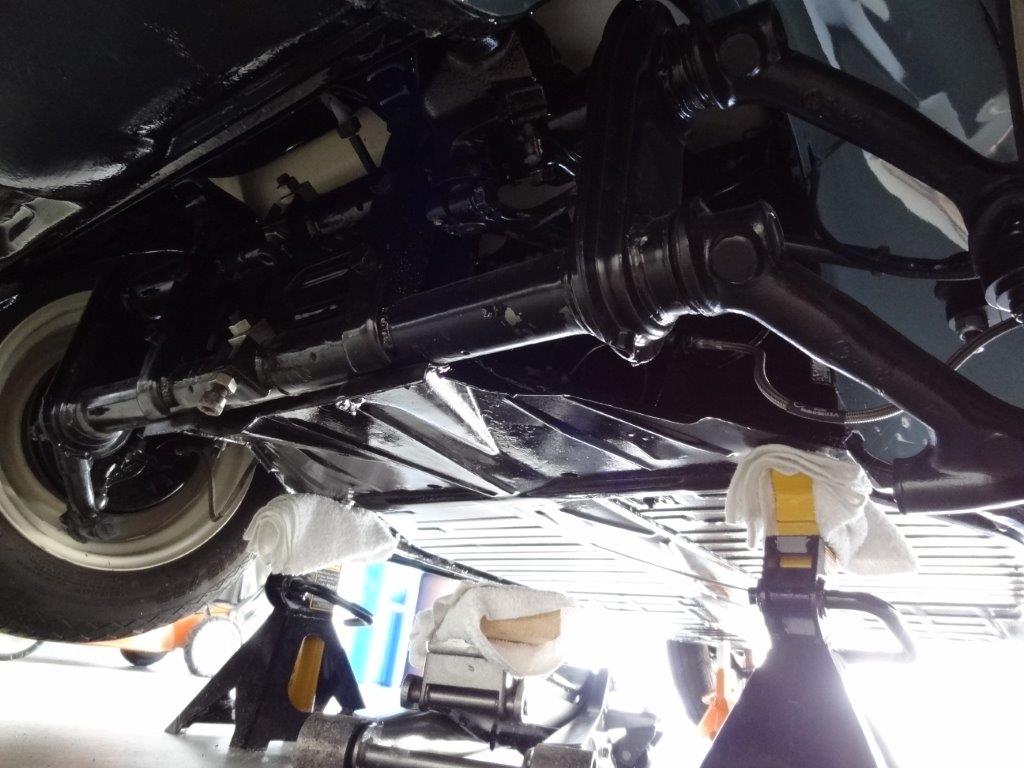
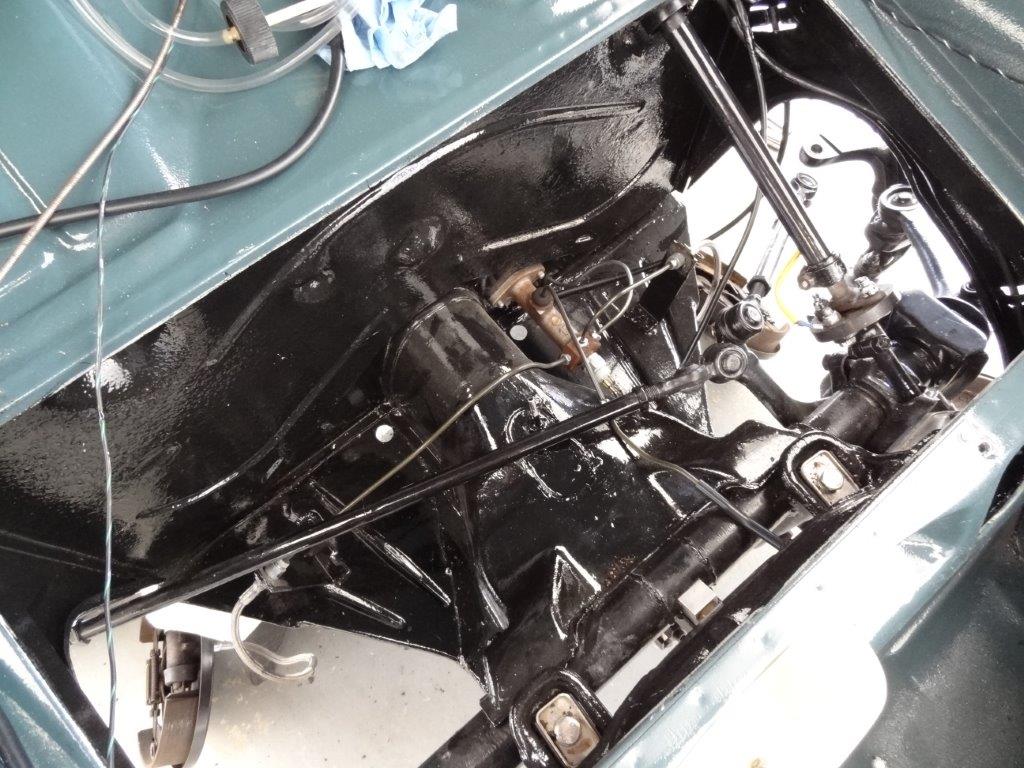
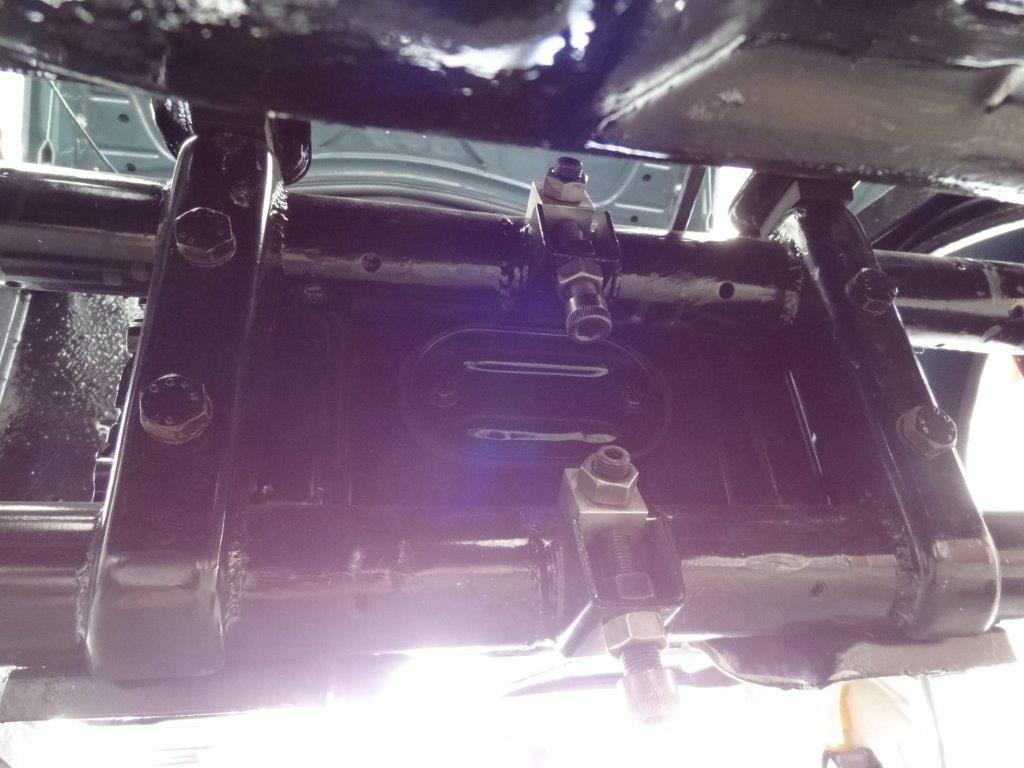
Here’s the beam from below before starting the project. Let’s get those tires off…
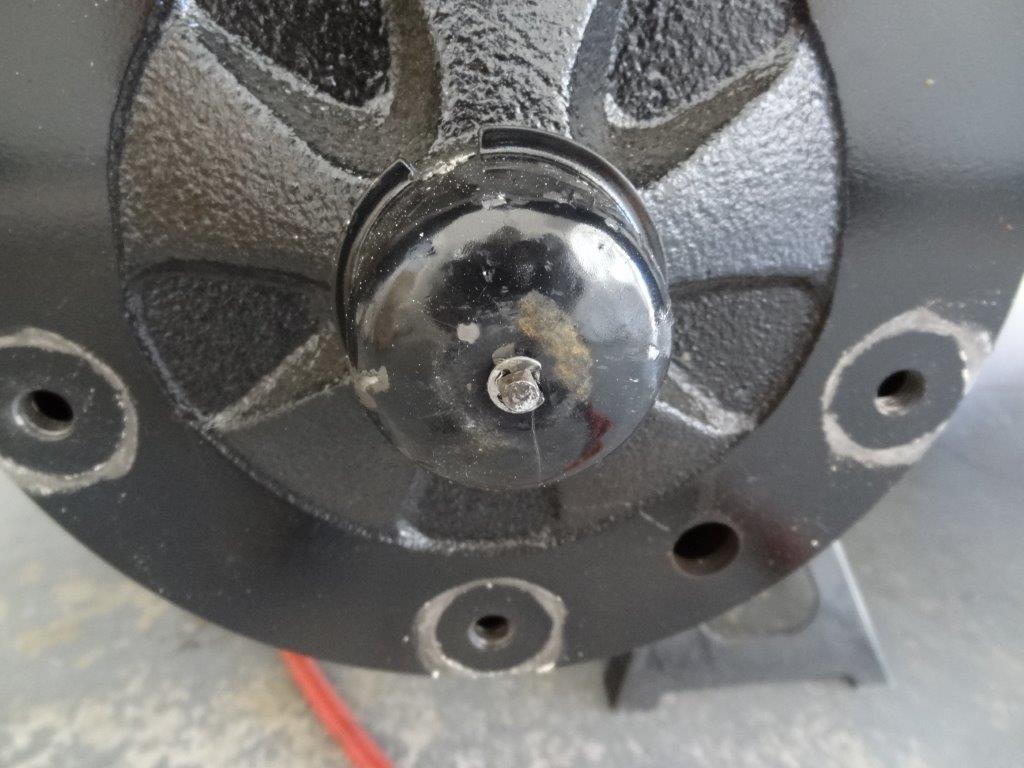
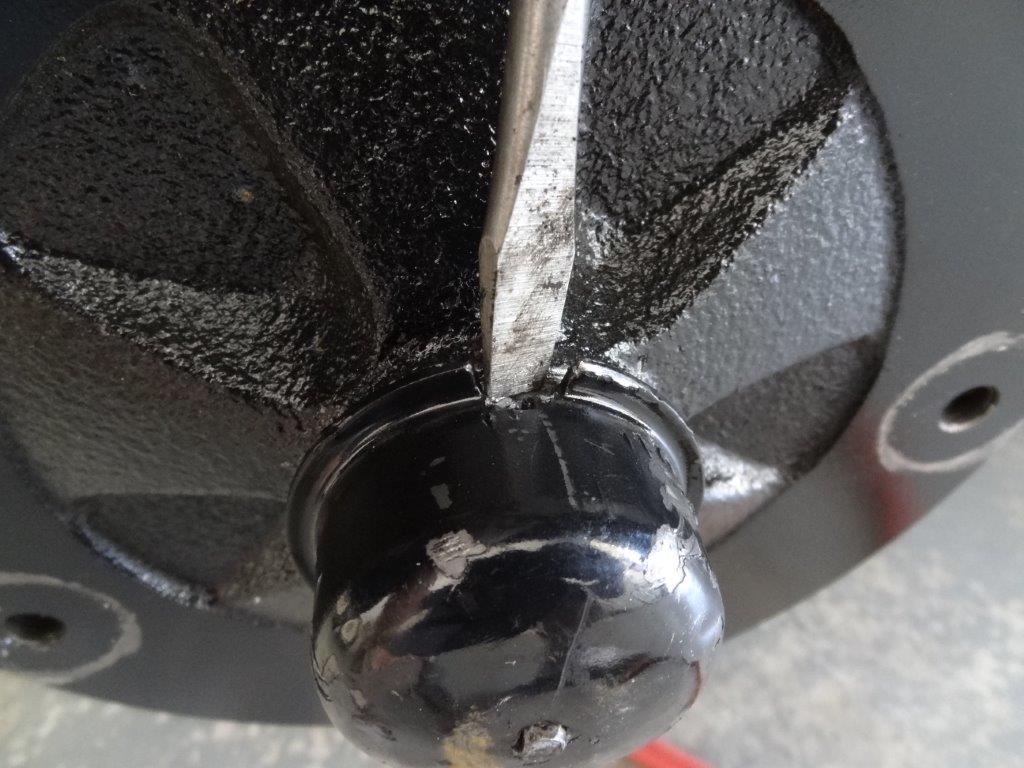
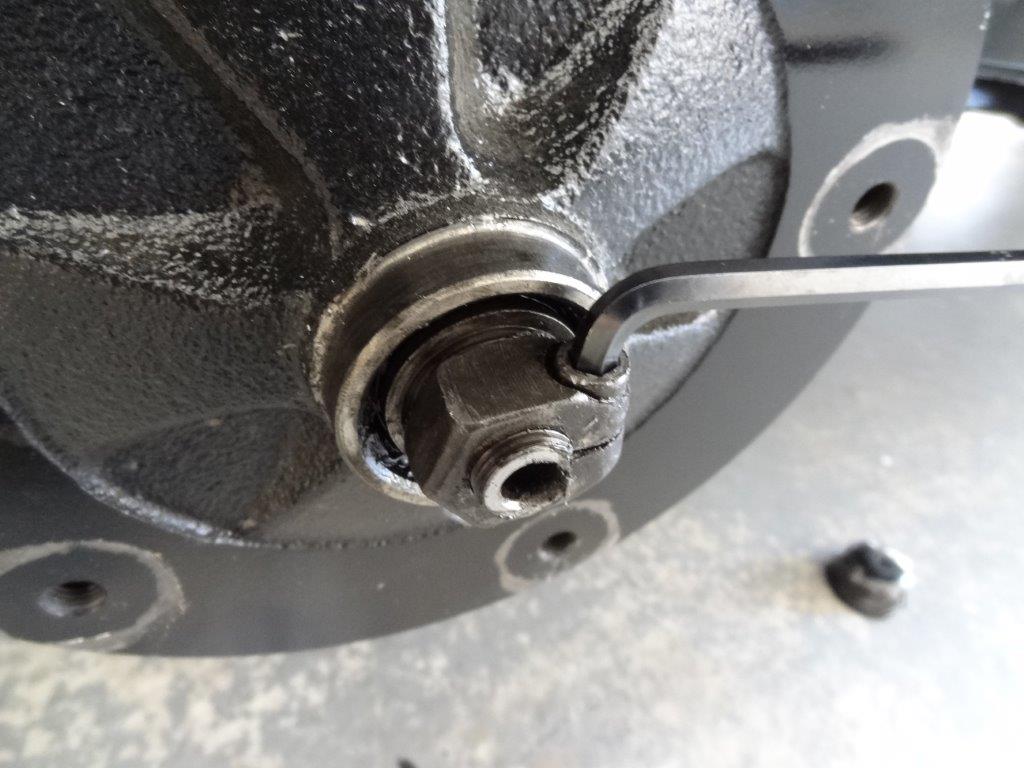
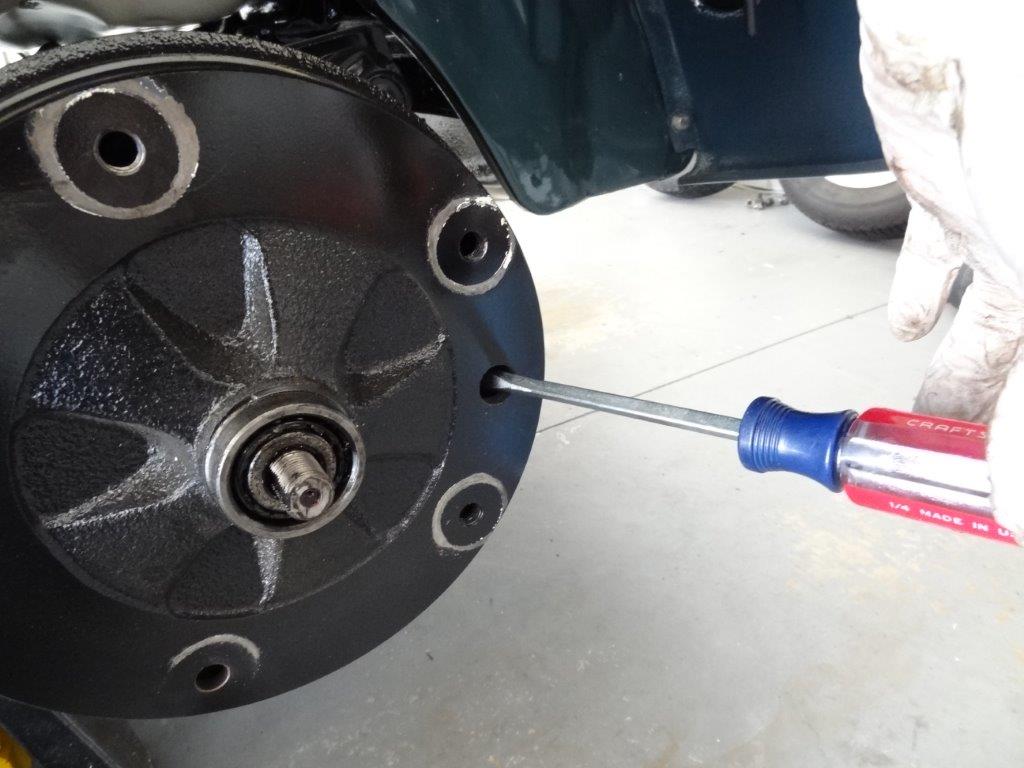
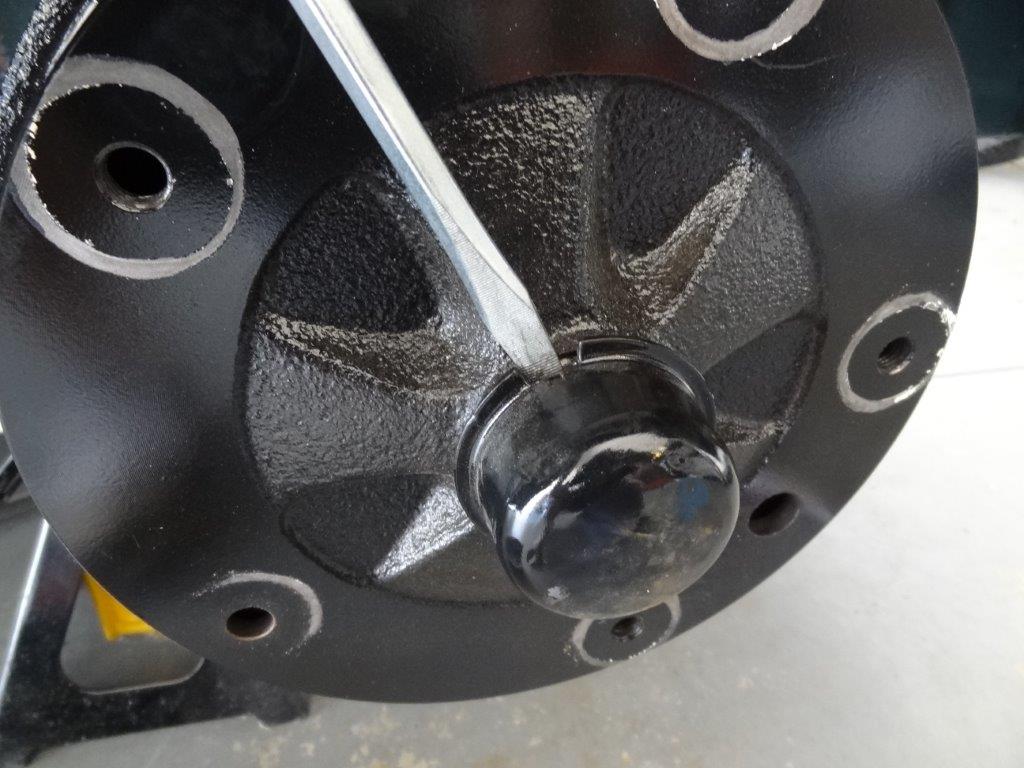
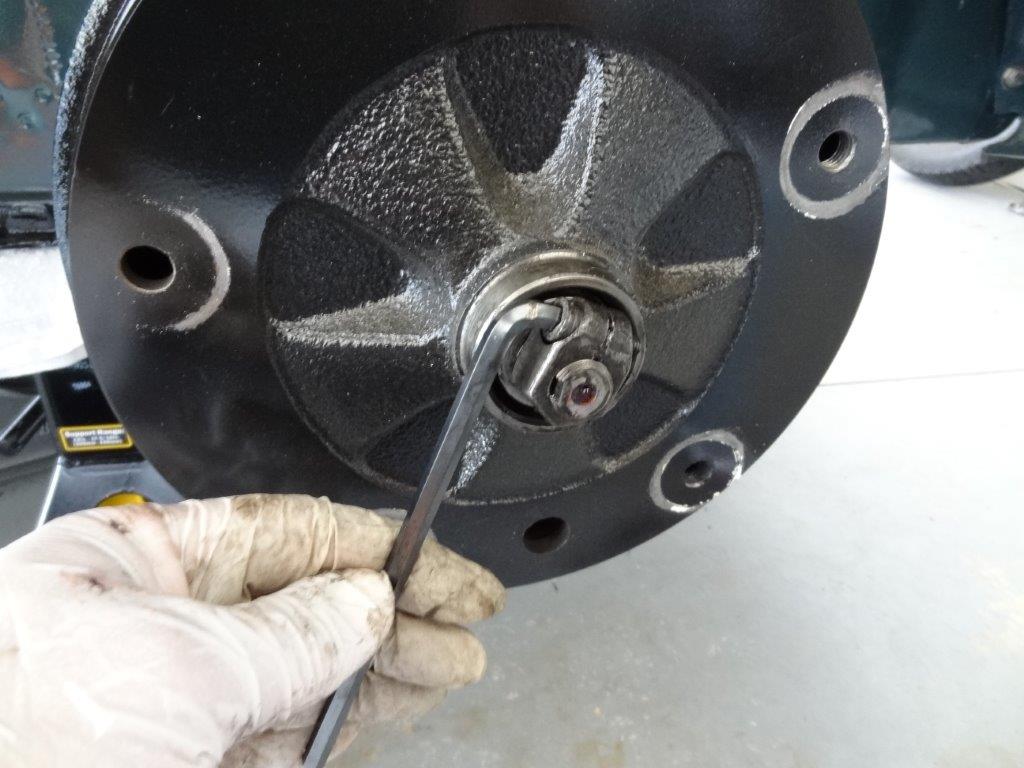
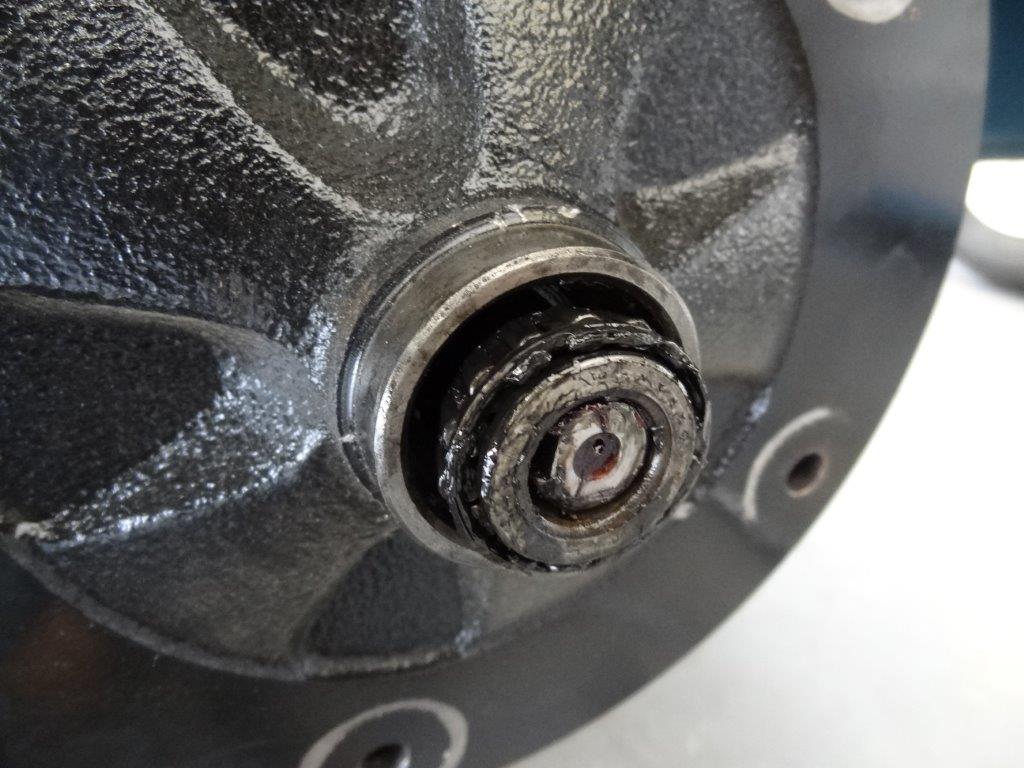
Next, I removed the drums from the spindles starting with the driver side. The first thing I did was remove the speedo cable. Unclip the e-clip in the center of the cap, as shown here:
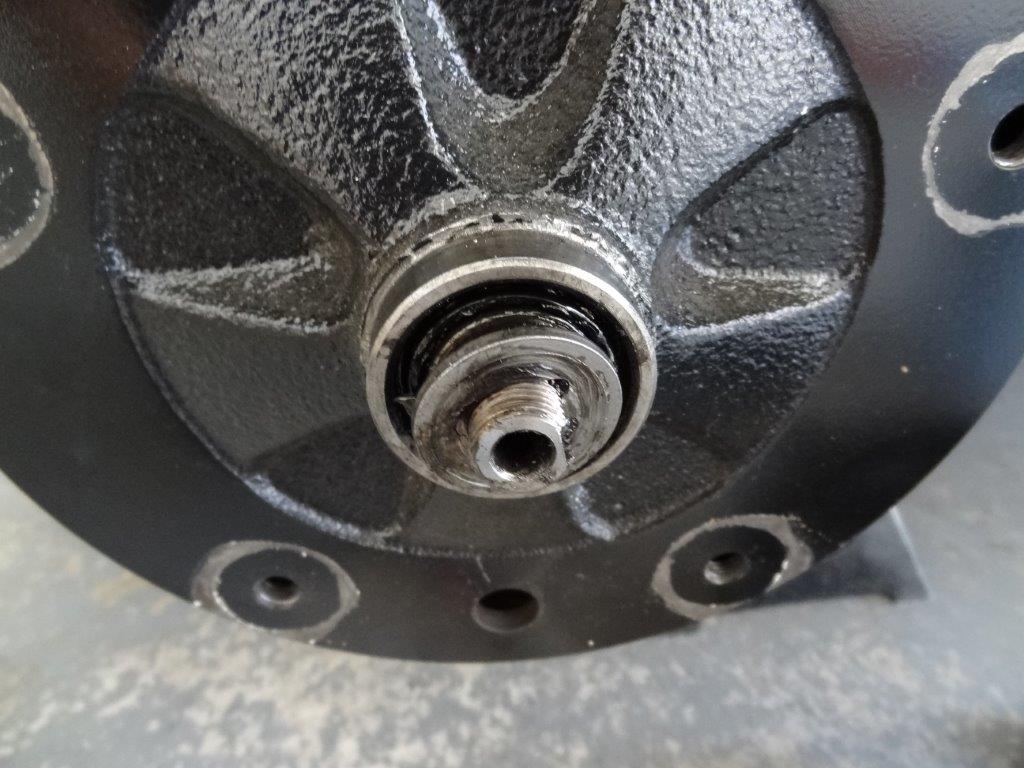
Remove the cap.
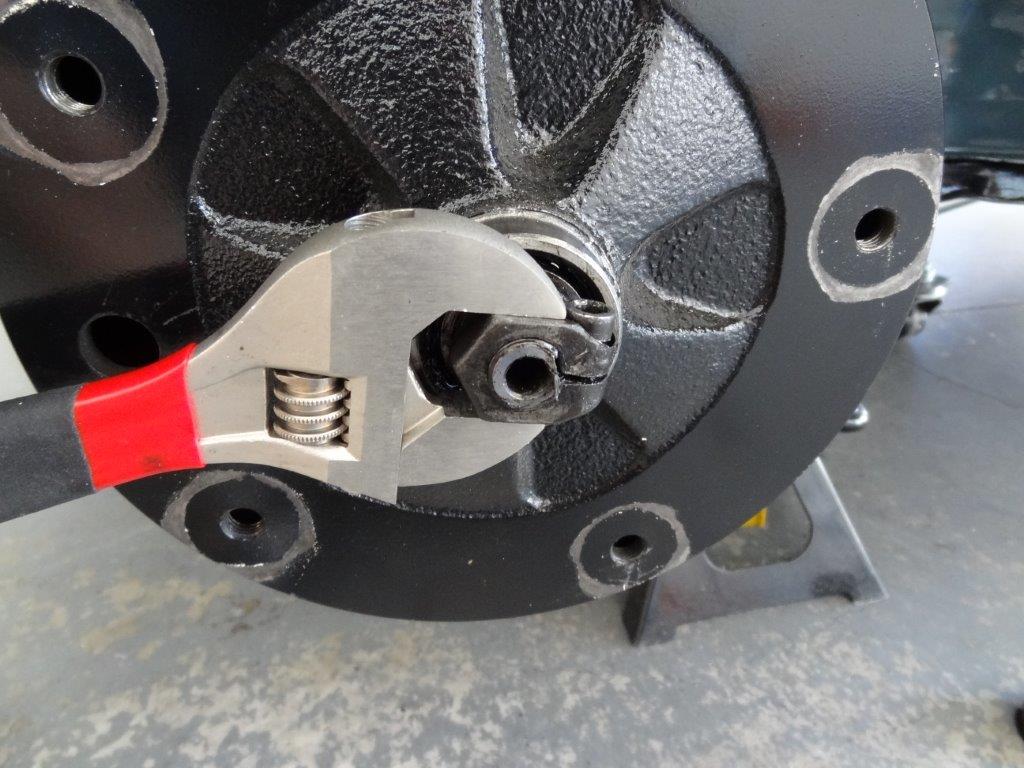
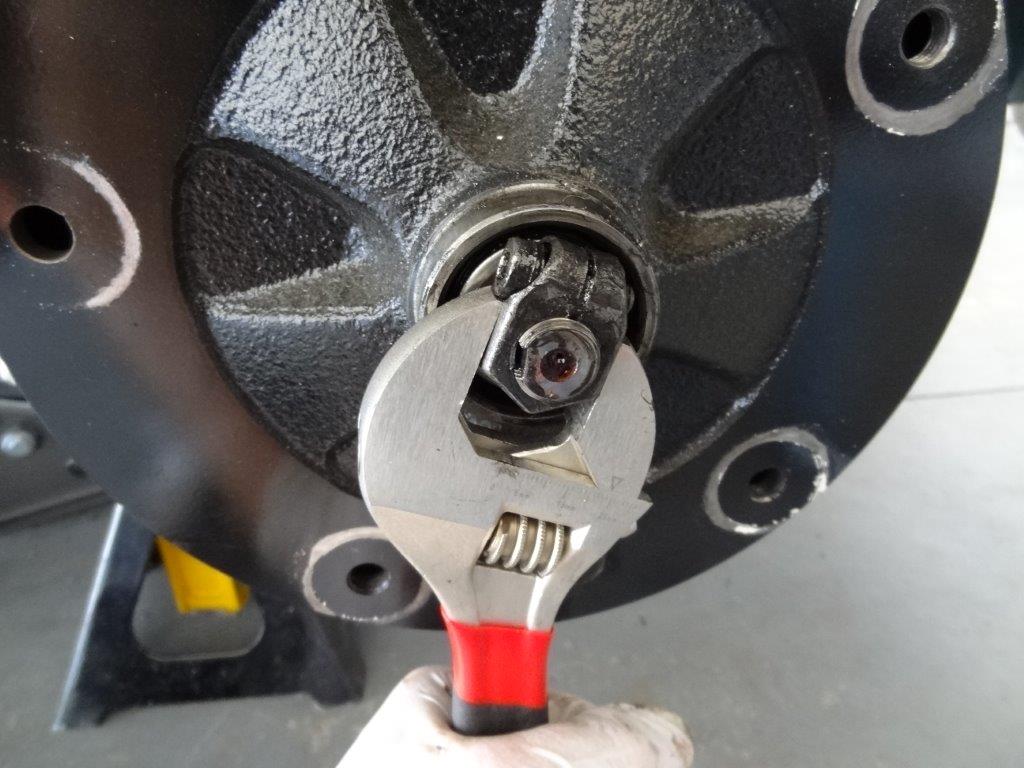
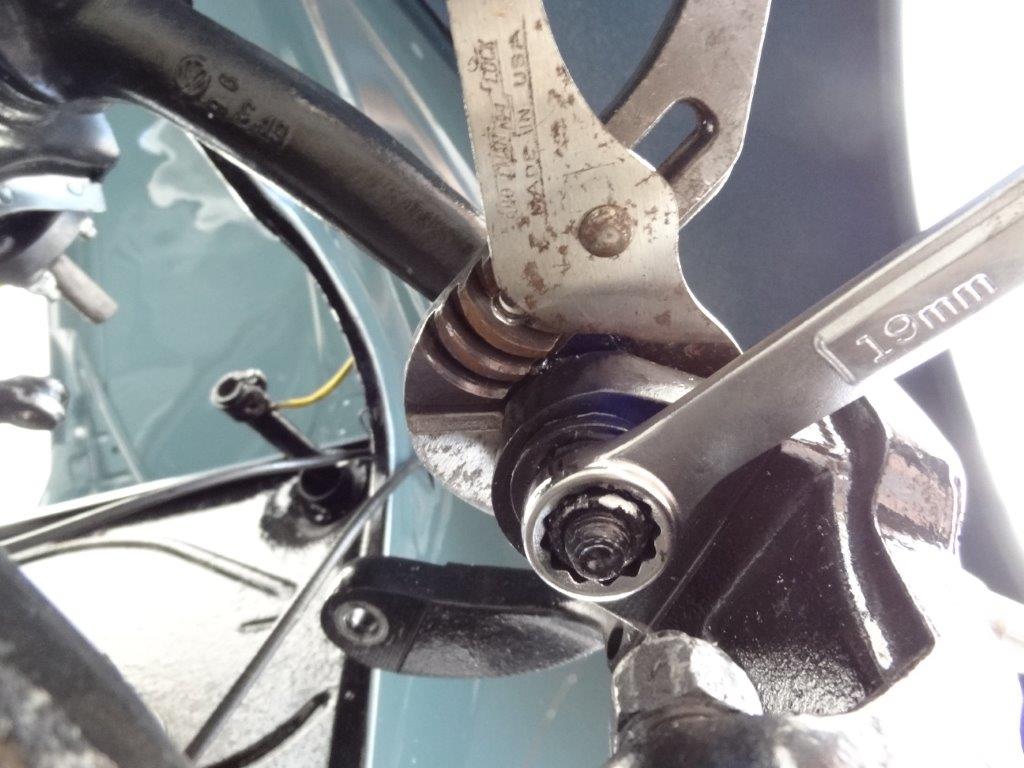
Loosen the wheel bearing clamp nut bolt, and then remove the clamp nut…
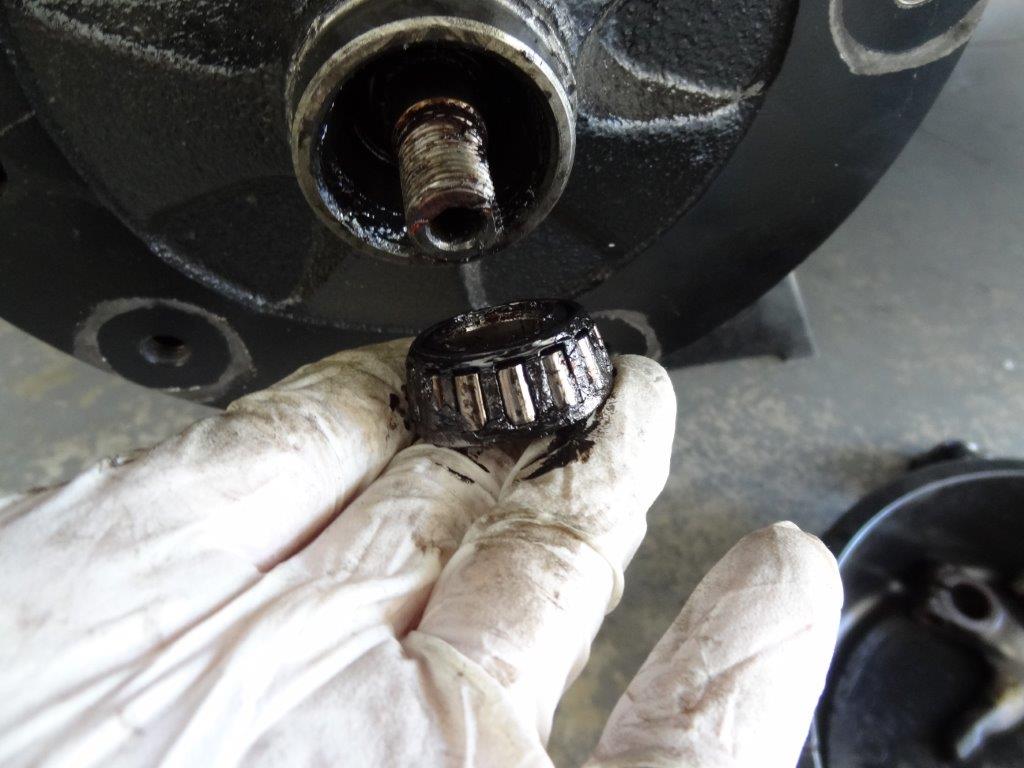
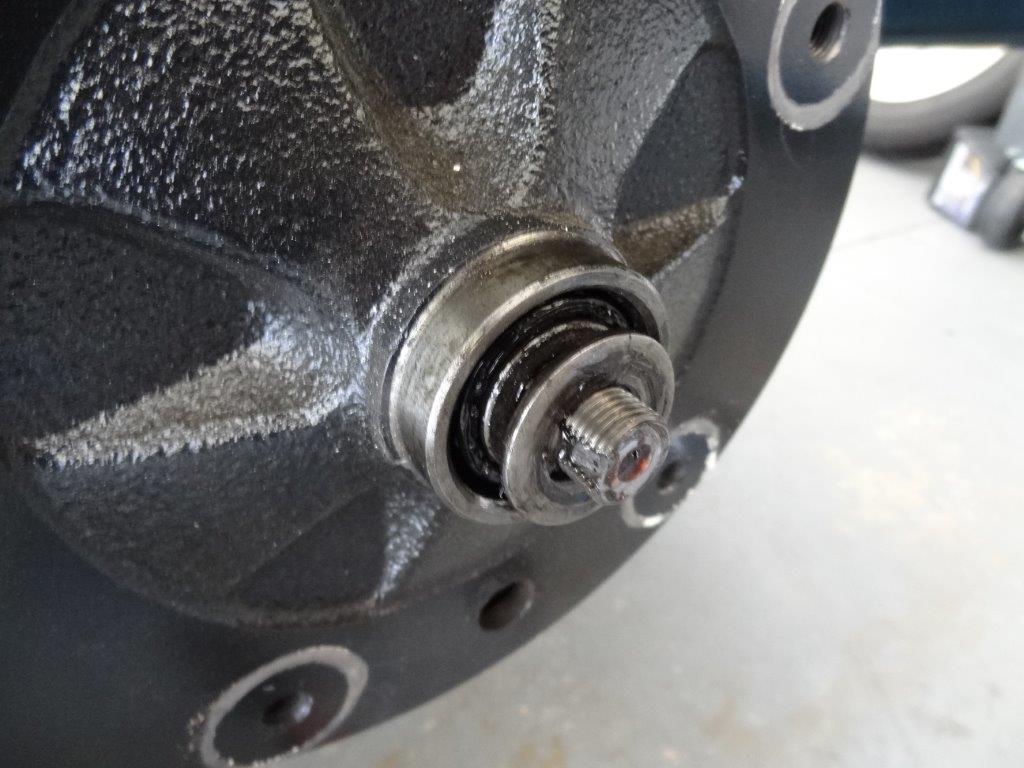
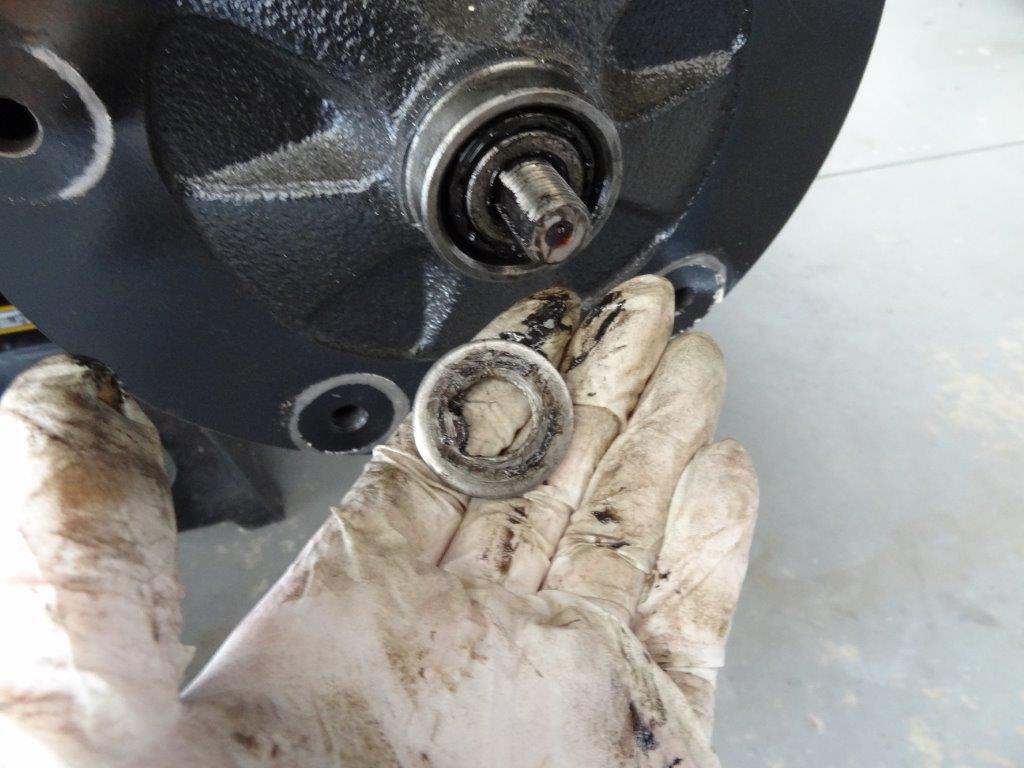
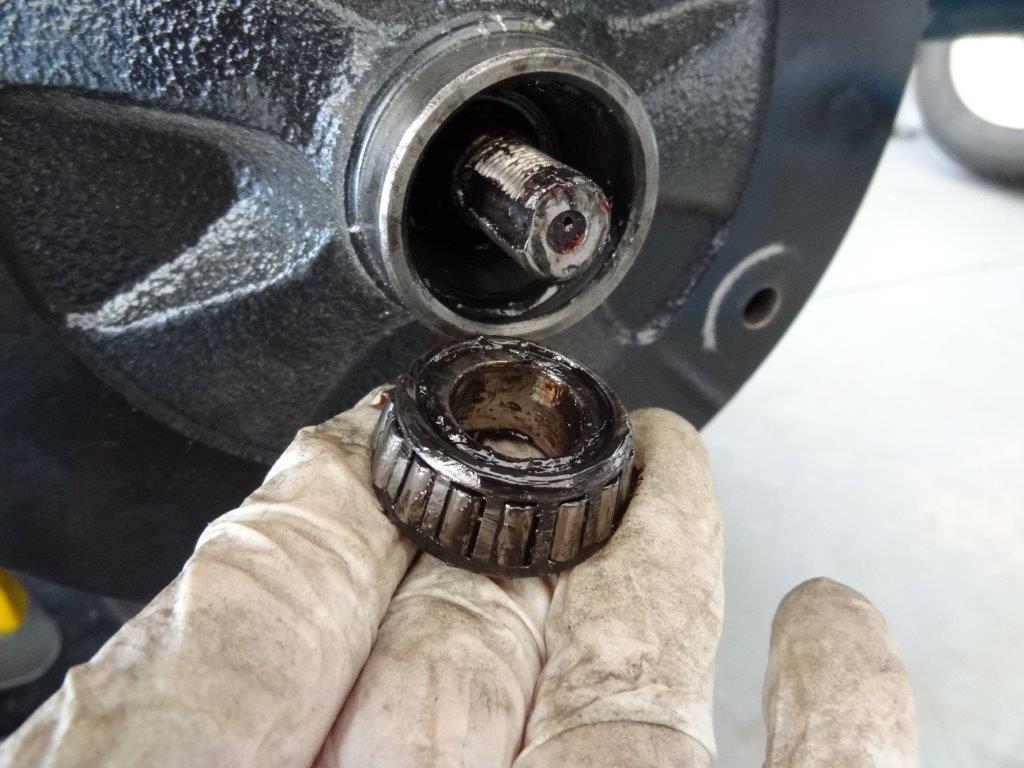
Remove thrust washer and outer wheel bearing…
Loosen brake shoes so drum can be removed.
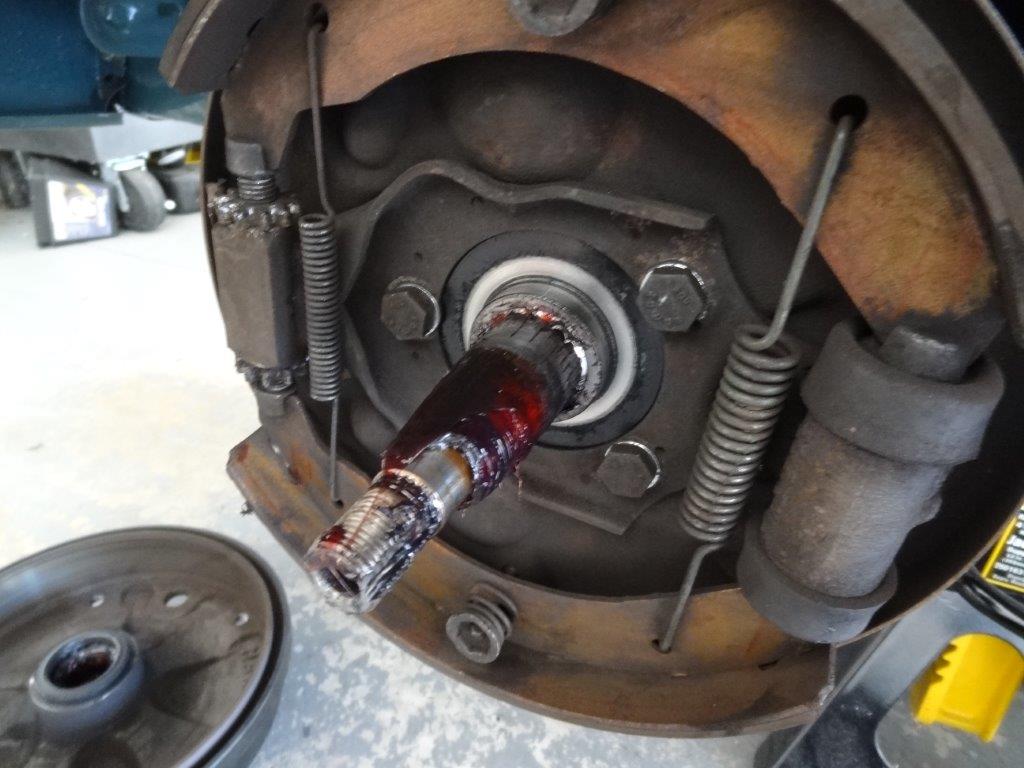
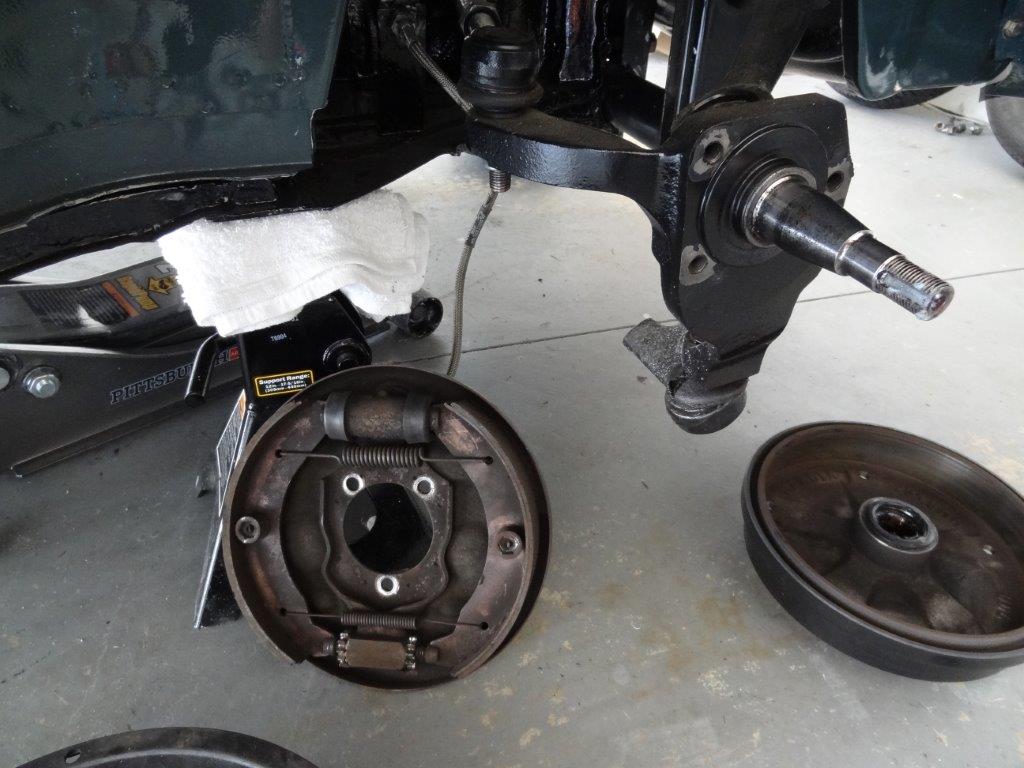
Remove drum…
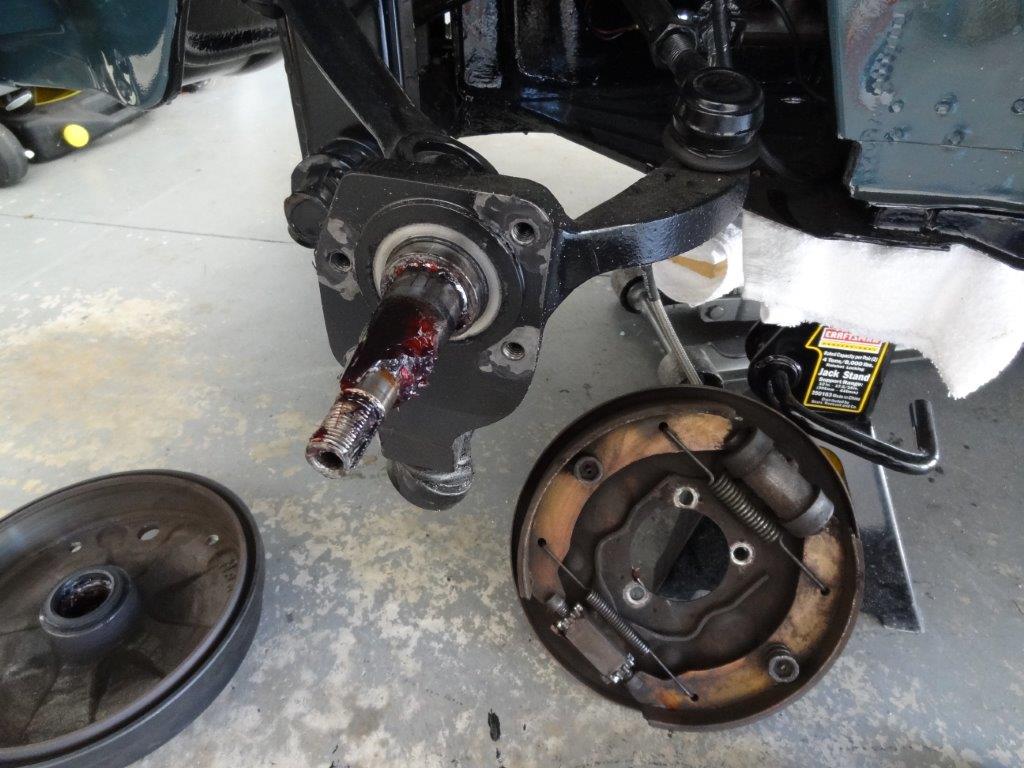
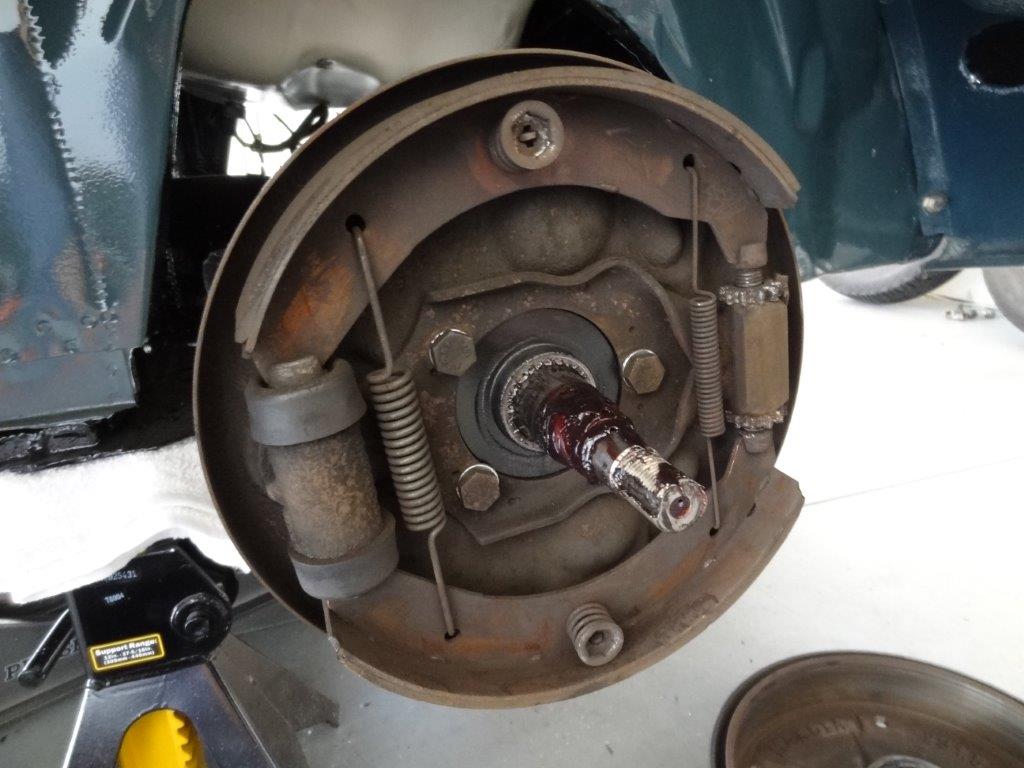
Remove the backing plate via the 3 bolts surrounding the spindle. The backing plate is still connected to the brake line. Set the whole assembly to the side, as shown below.
Repeat on the passenger side. Note there is no speedo cable on the passenger side…
Detach tie-rod from driver side spindle…
Detach tie-rod from passenger side spindle
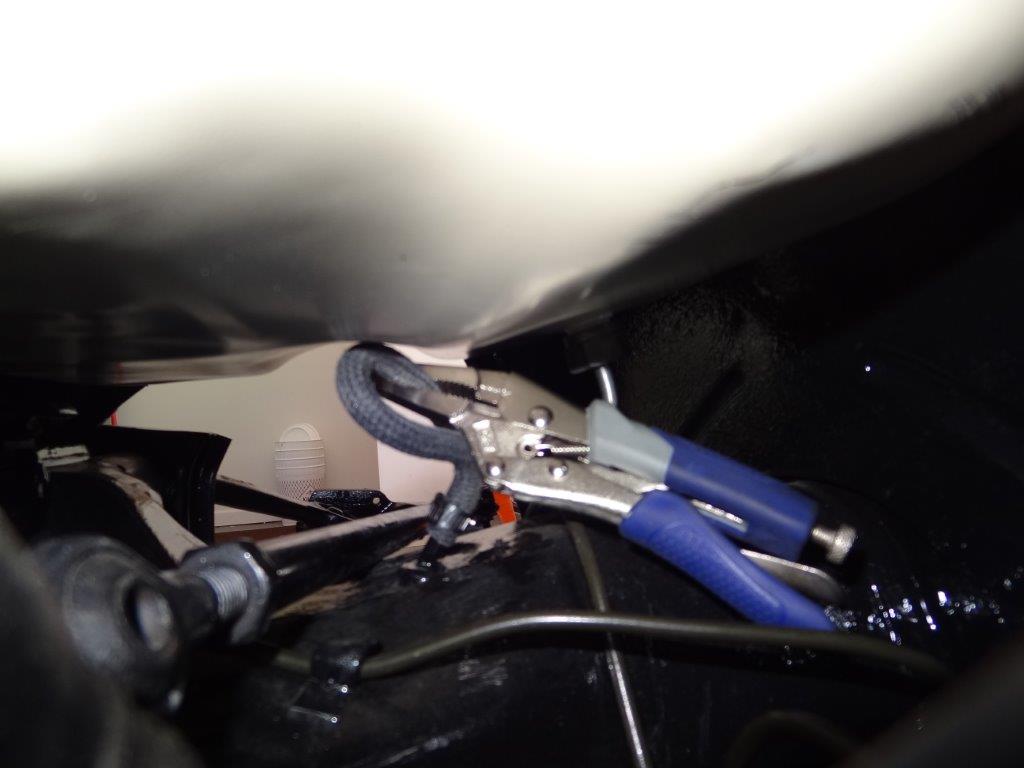
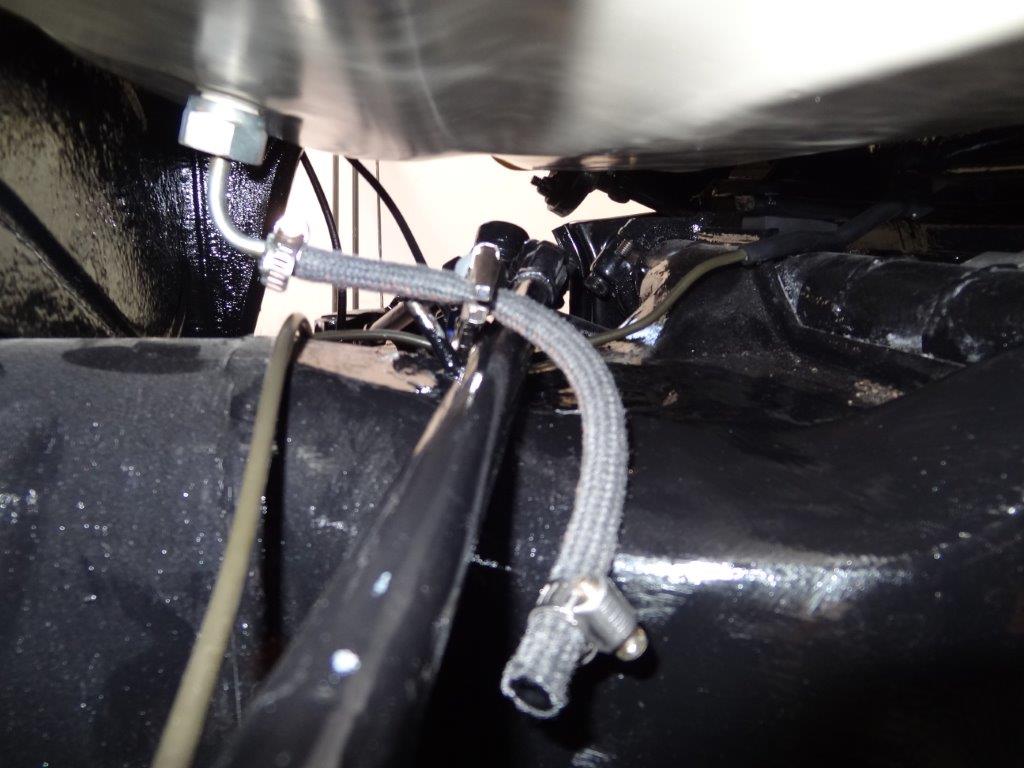
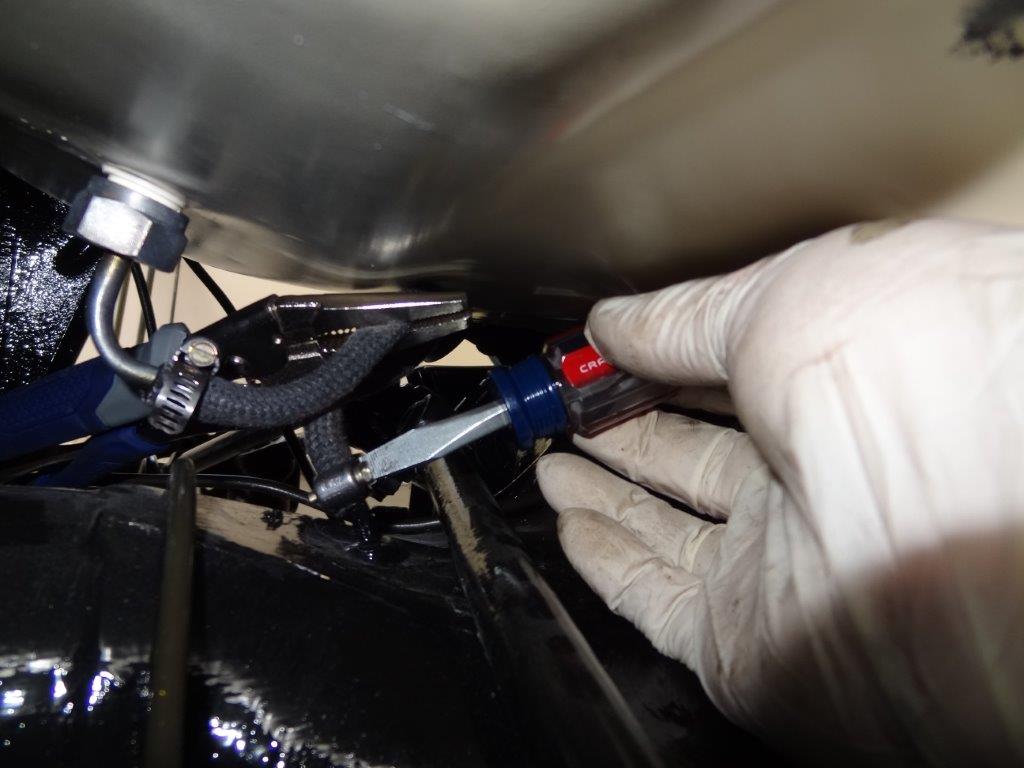
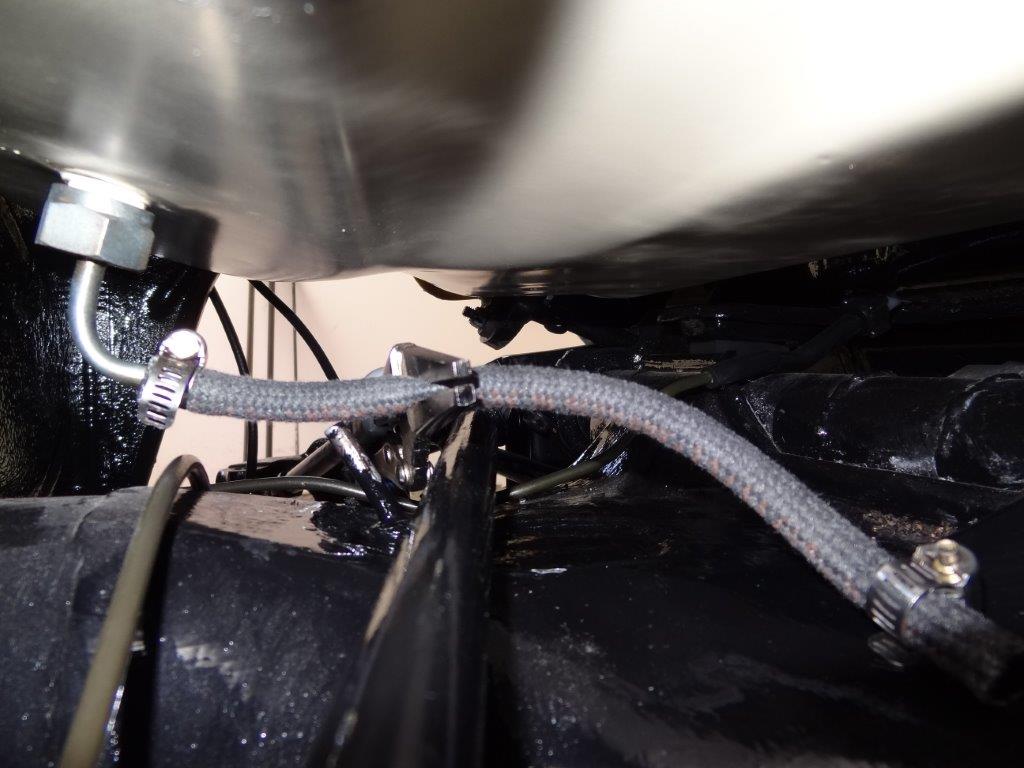
Remove gas tank. First, clamp off fuel supply and then detach from fuel line on chassis tunnel.
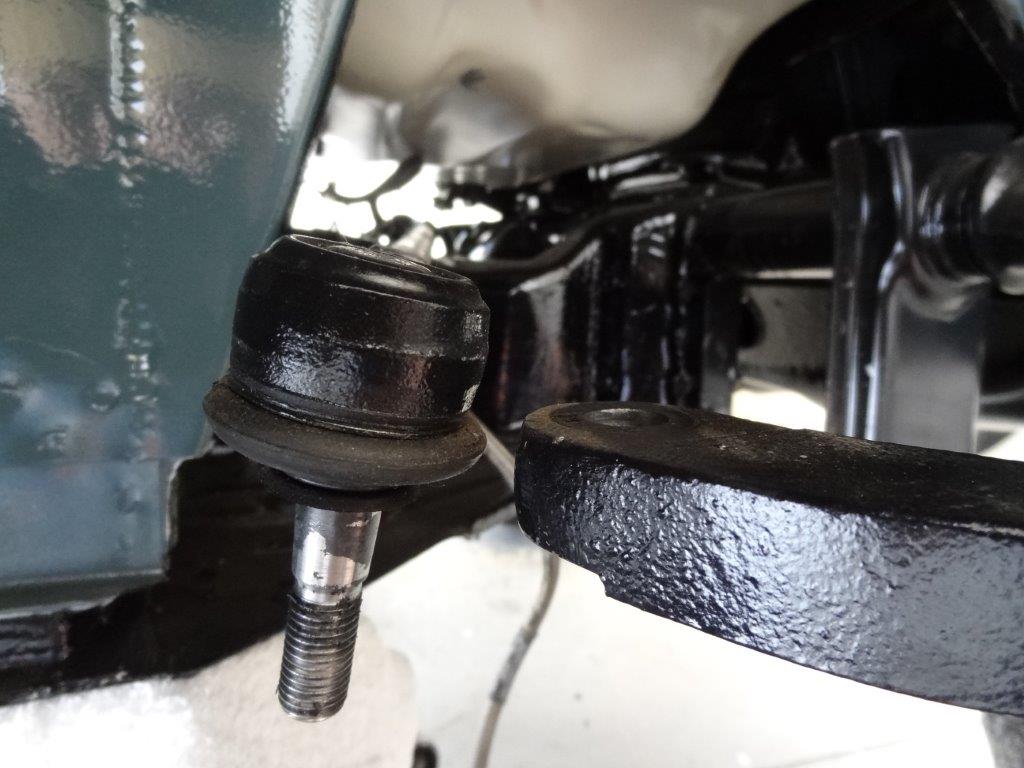
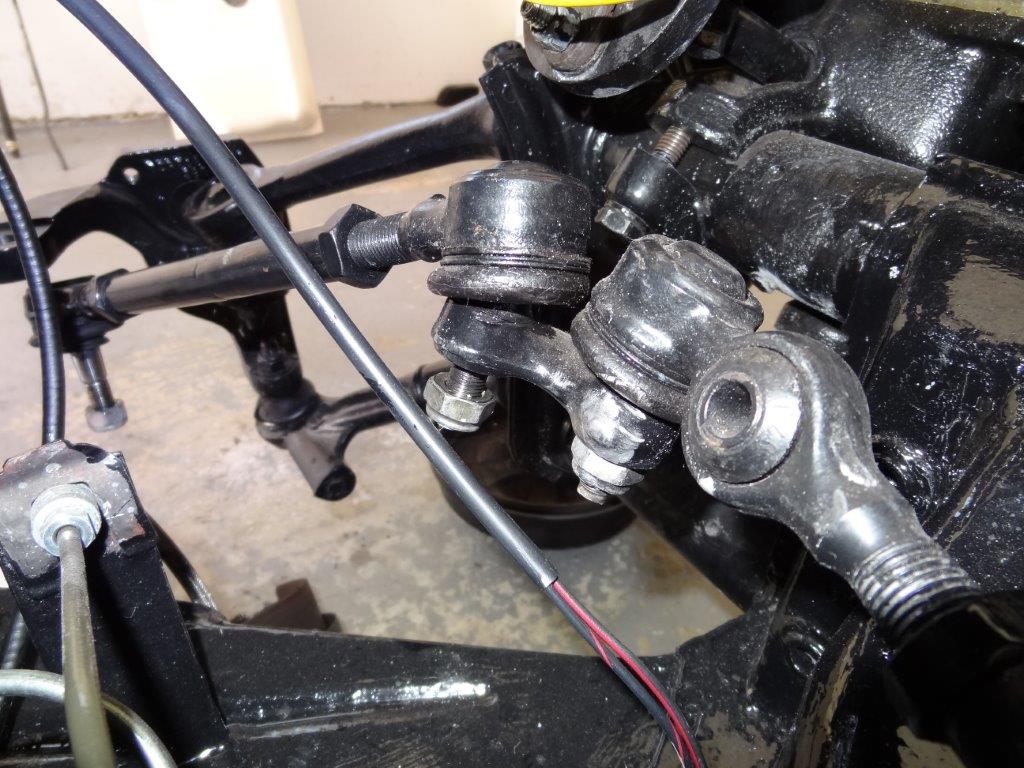
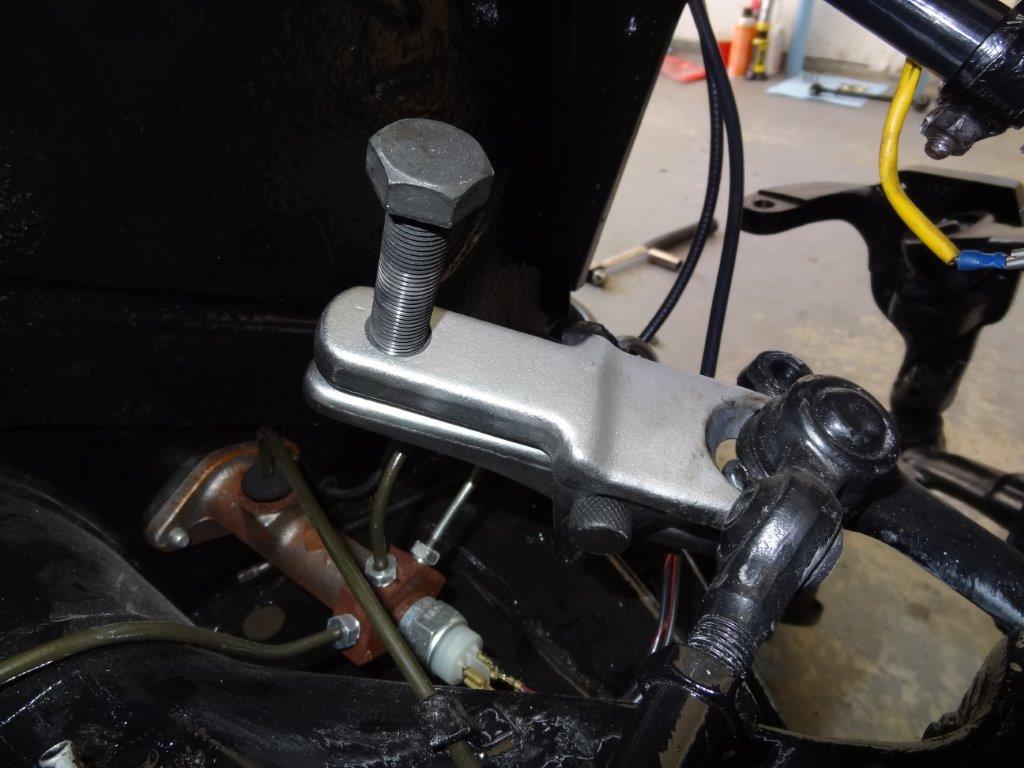
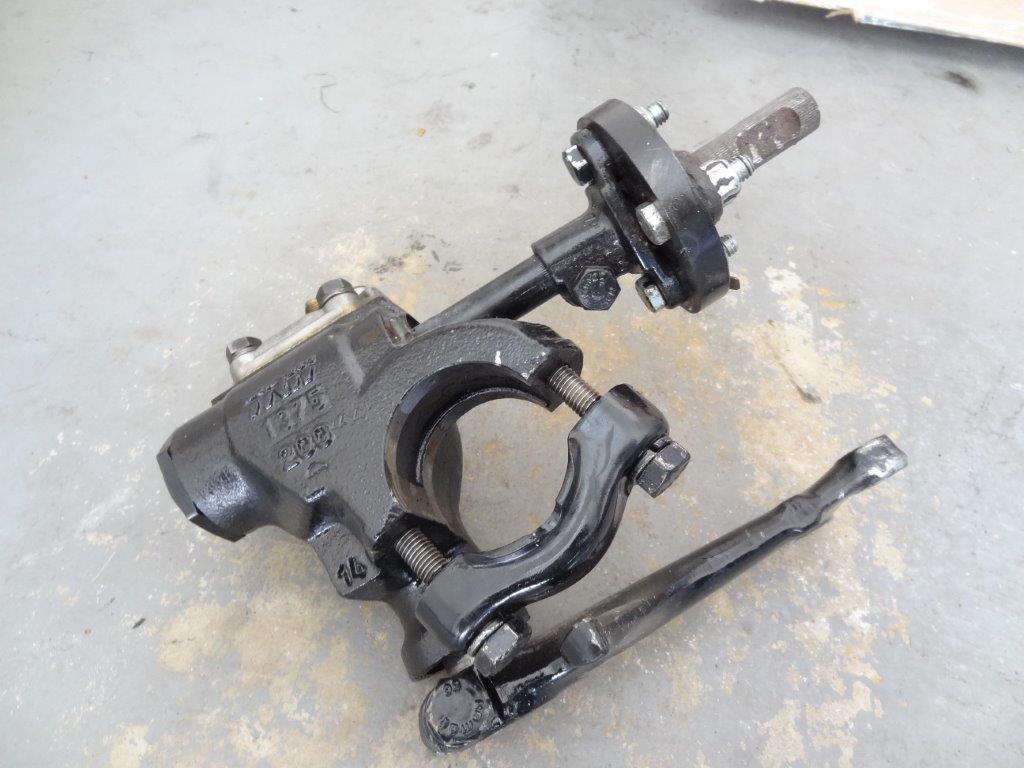
Time to remove the tie-rods from the steering box pitman arm.
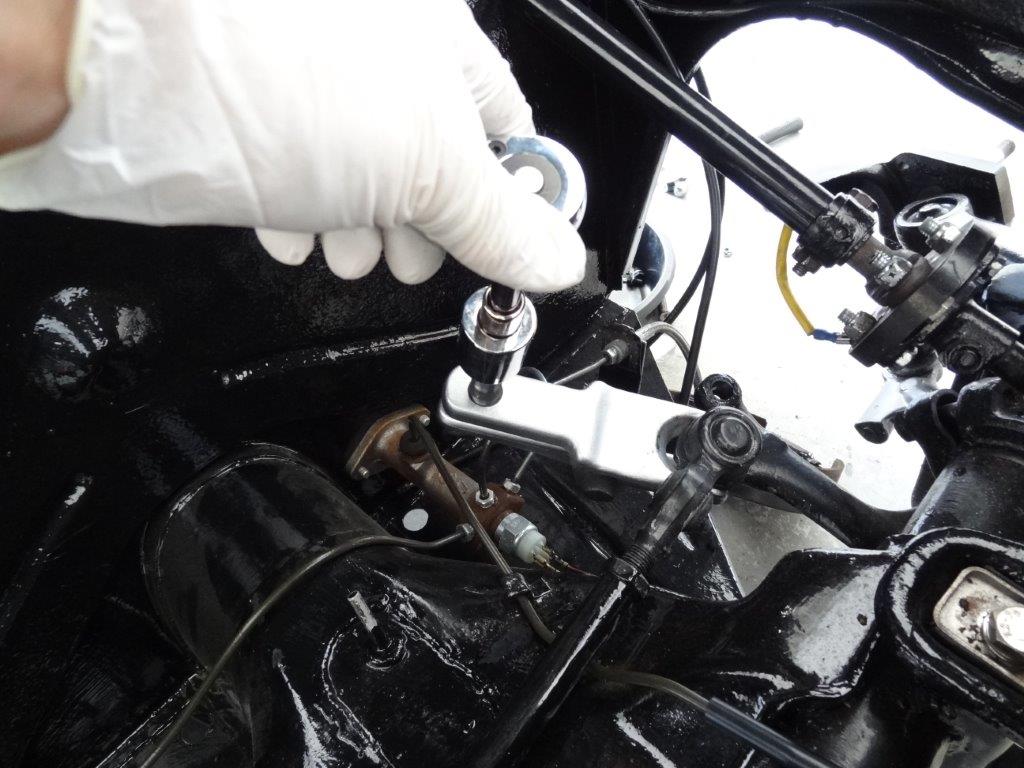
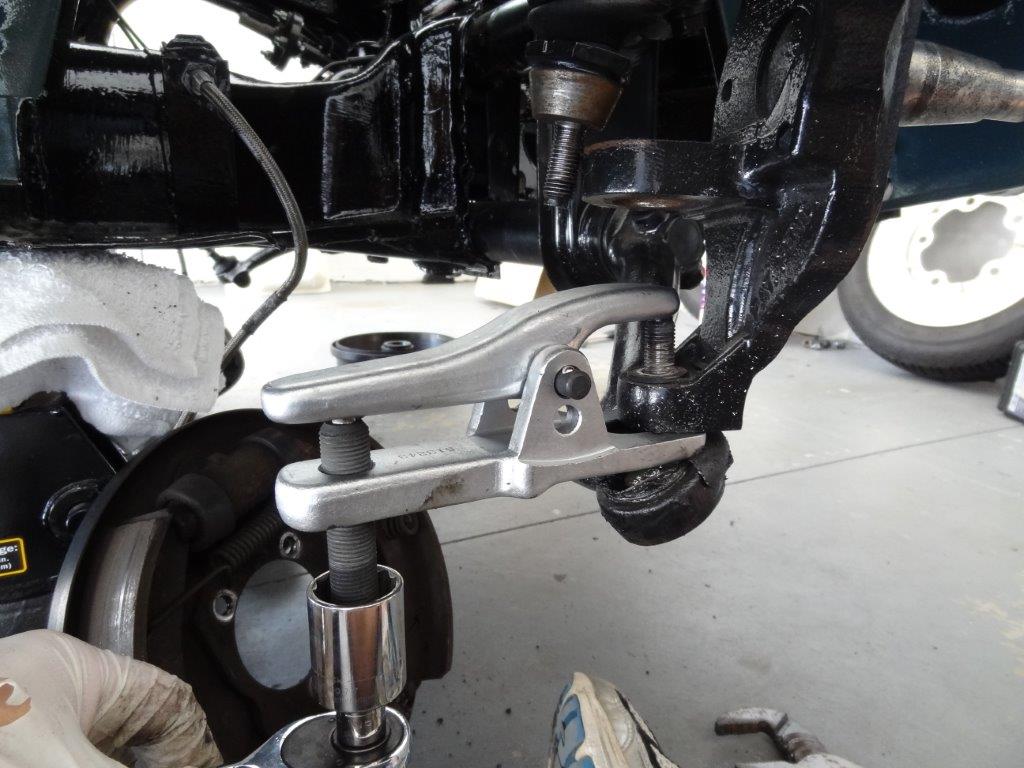
You’ll need a ball joint puller/separator tool in order to remove the tie-rod end from the pitman arm. You can find this tool at most of the online vintage VW parts shops or even Harbor Freight. It works very well. Removing the driver side tie-rod…
Removing the passenger side tie-rod…
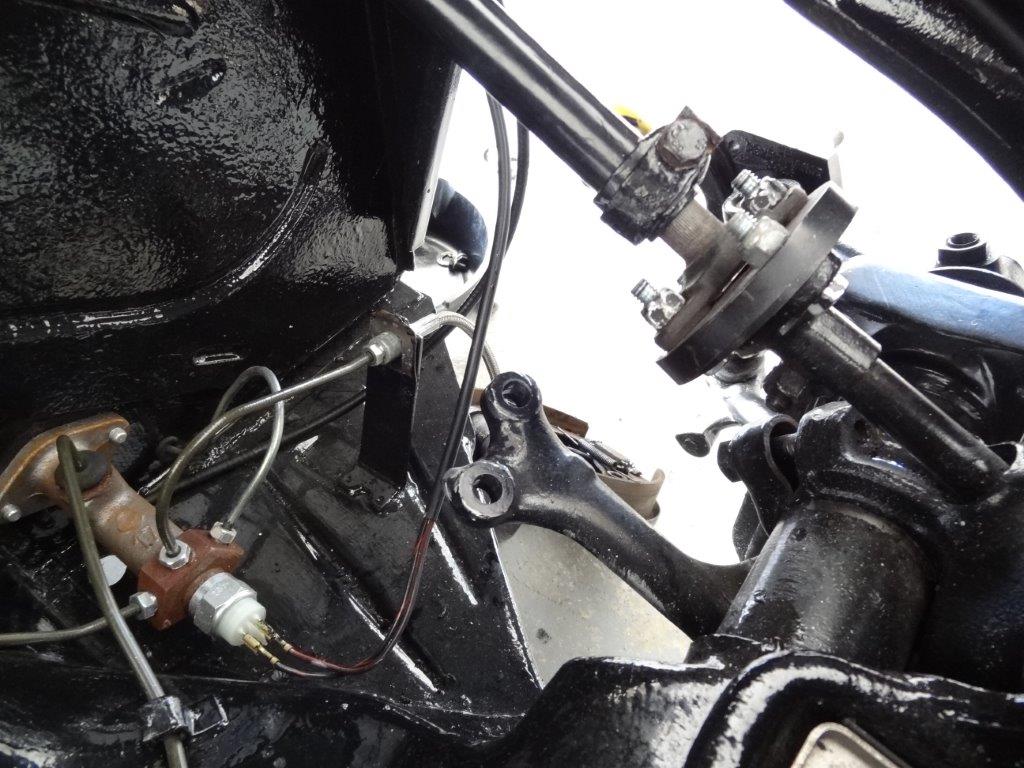
Both removed…
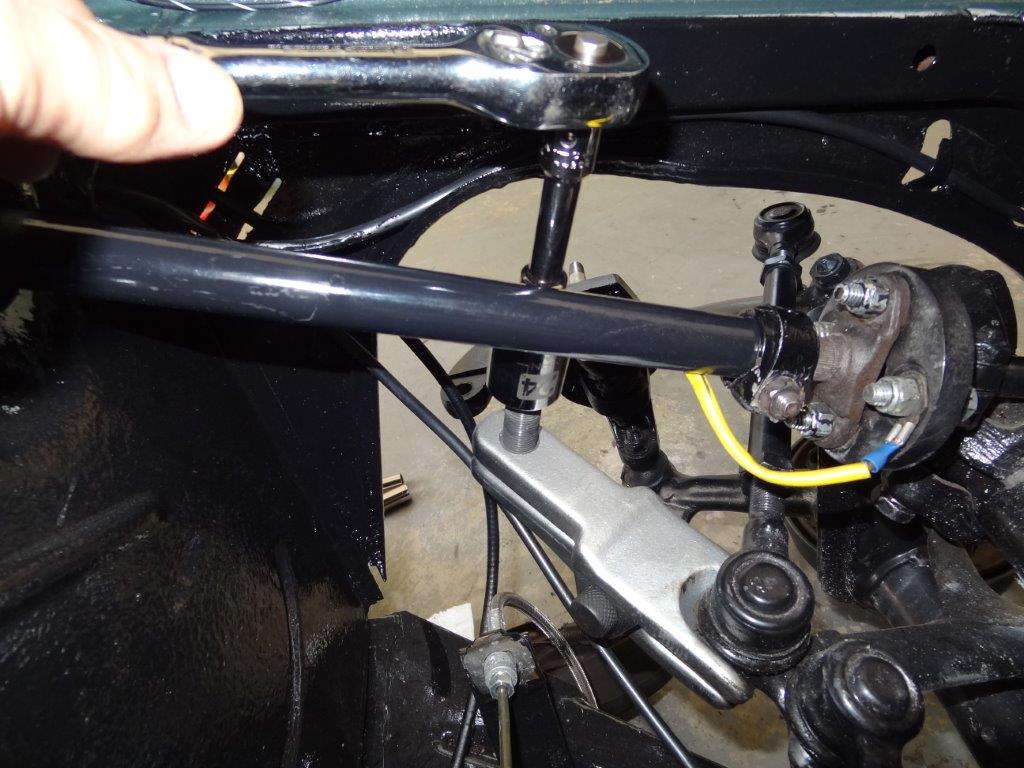
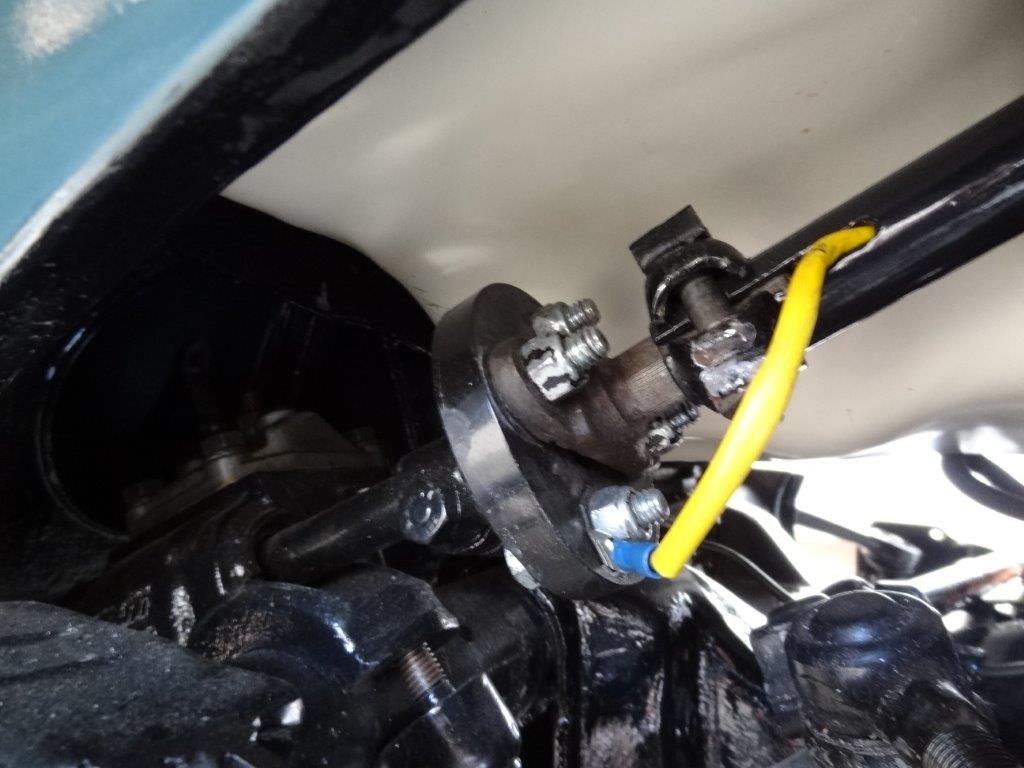
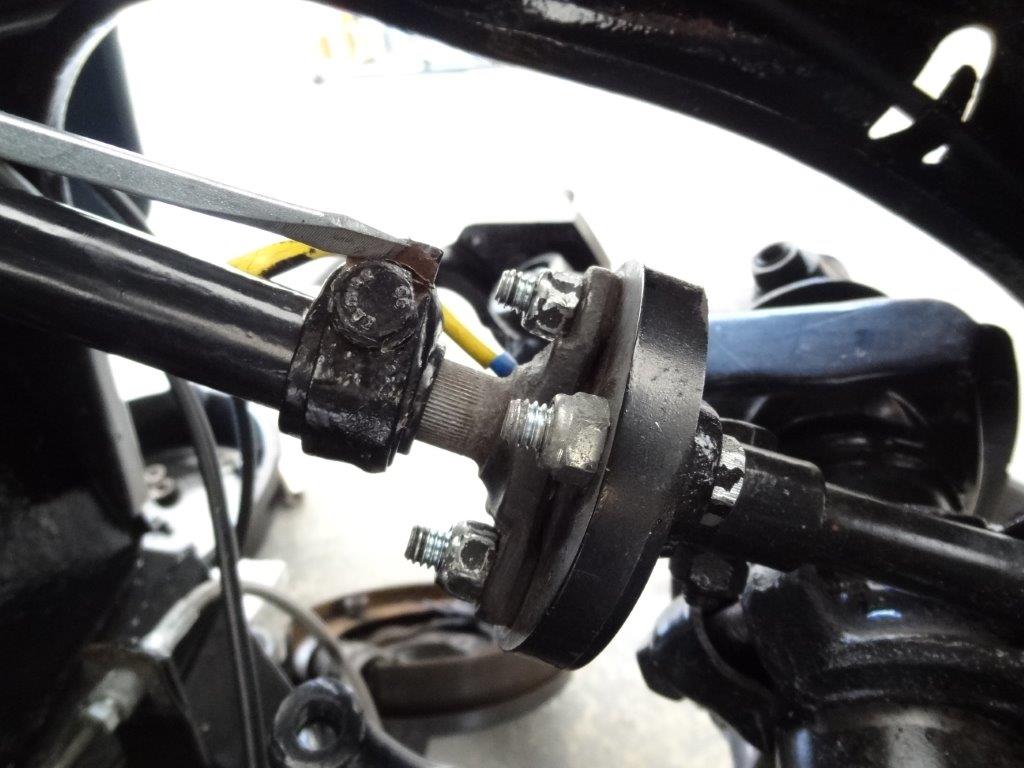
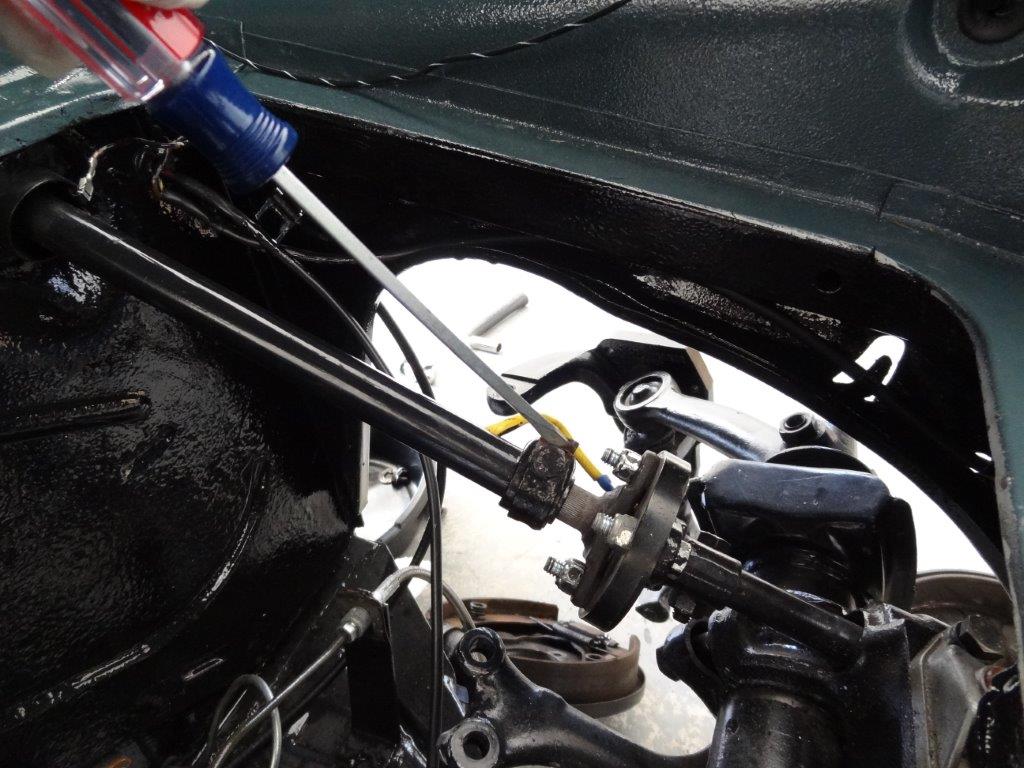
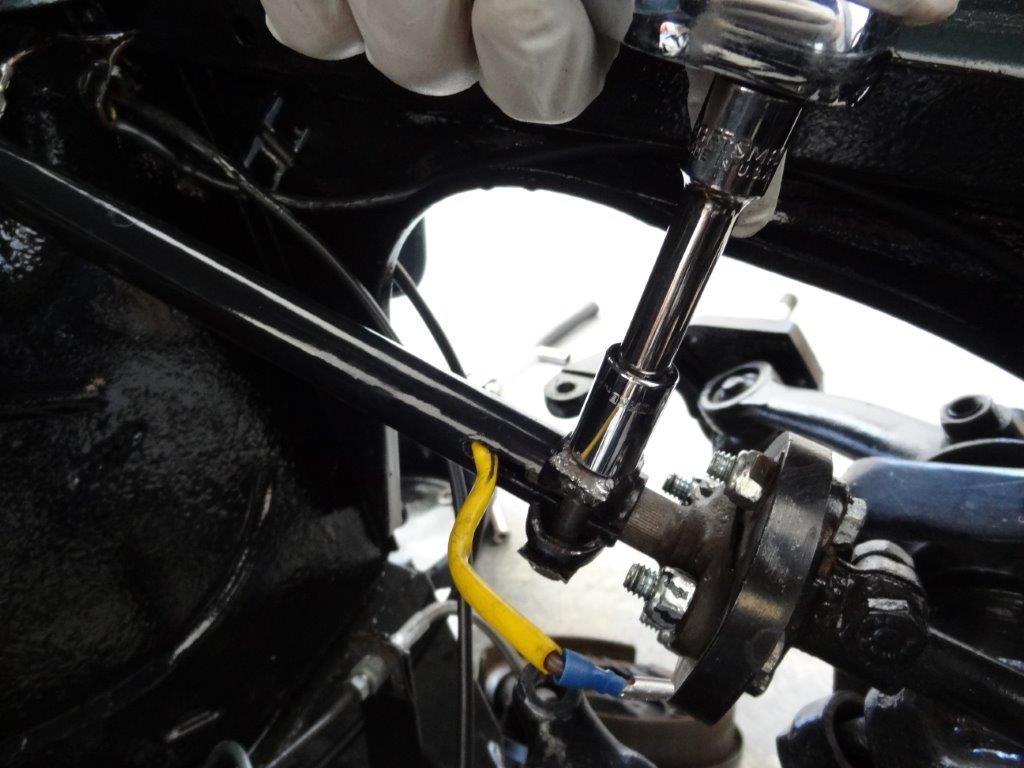
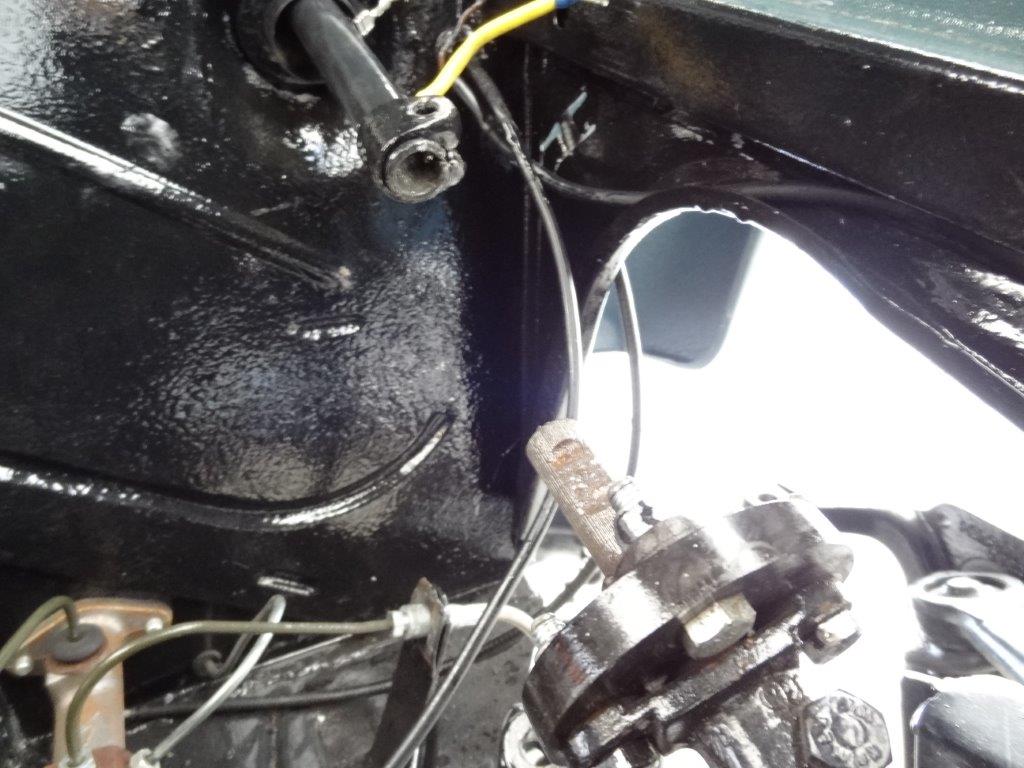
Next, detach the steering shaft from the steering box…
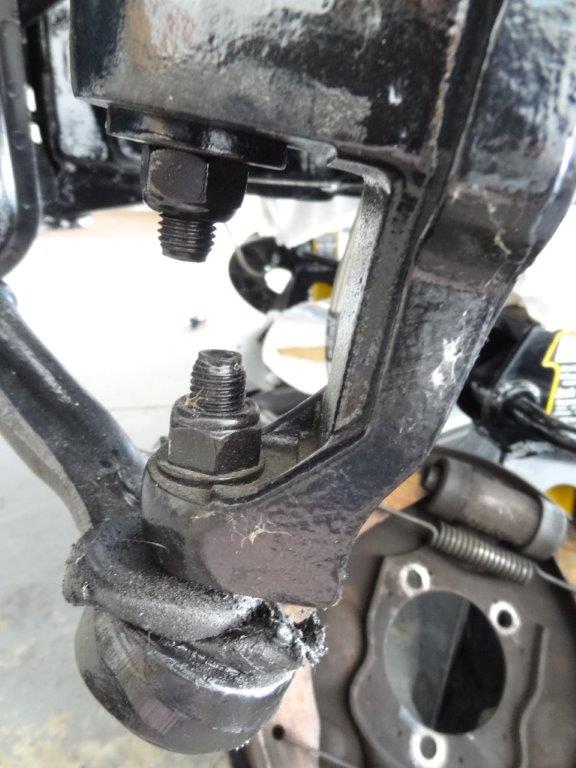
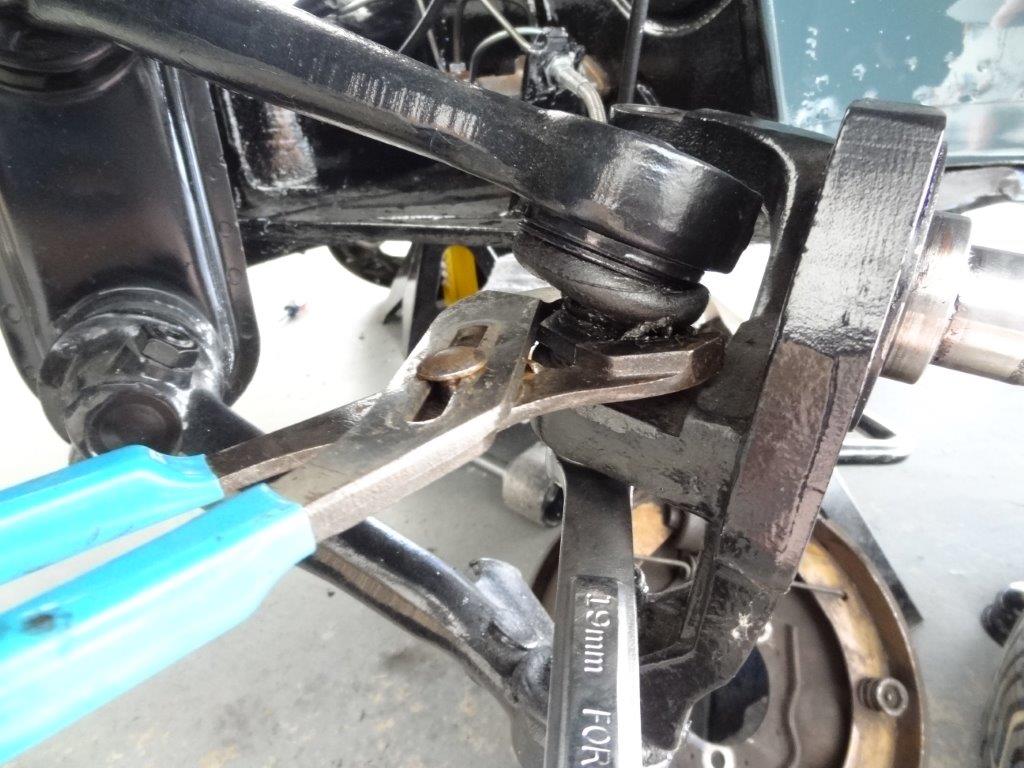
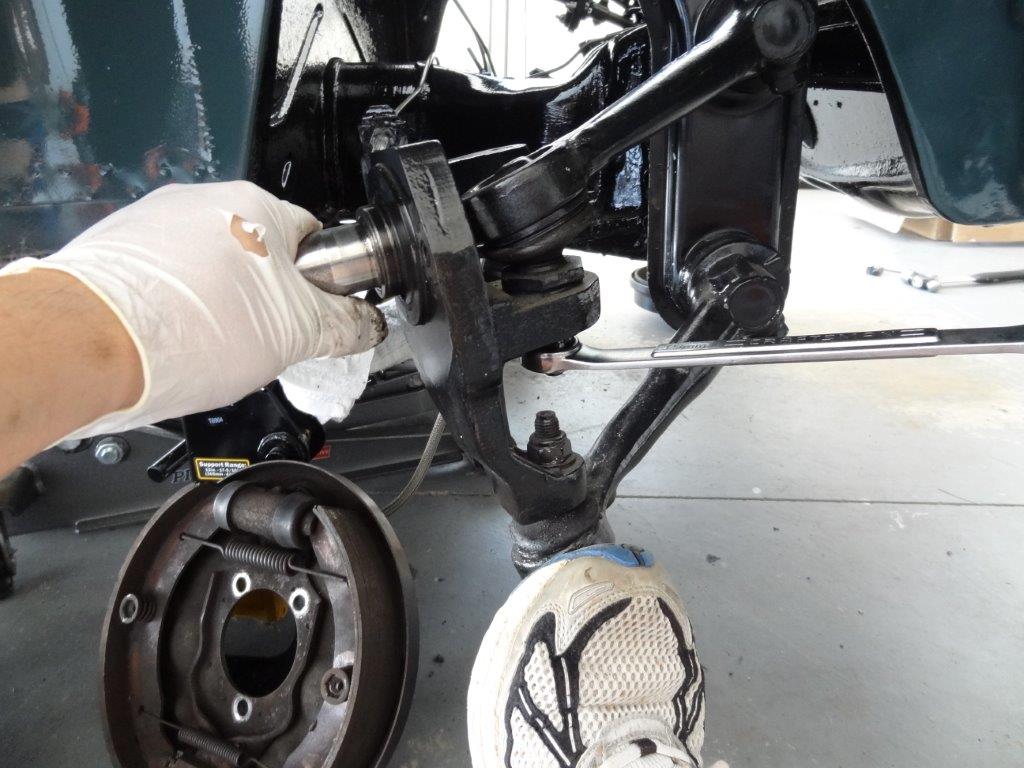
Next, remove the spindles from the trailing arms..
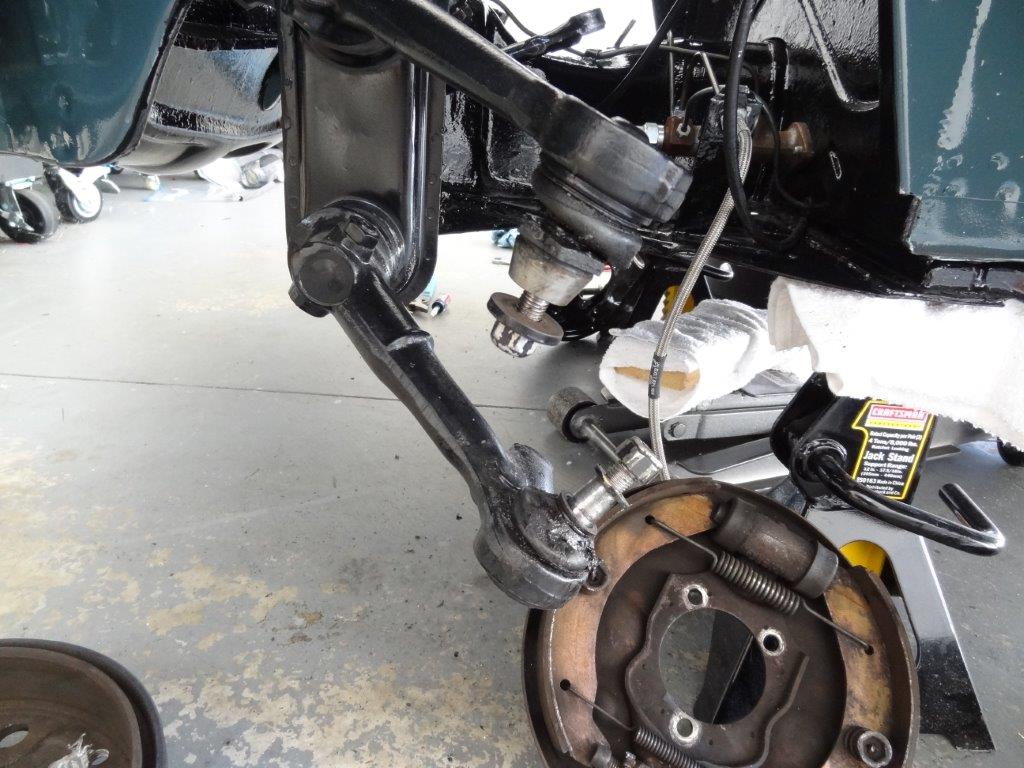
First, the top trailing arm on the driver side:
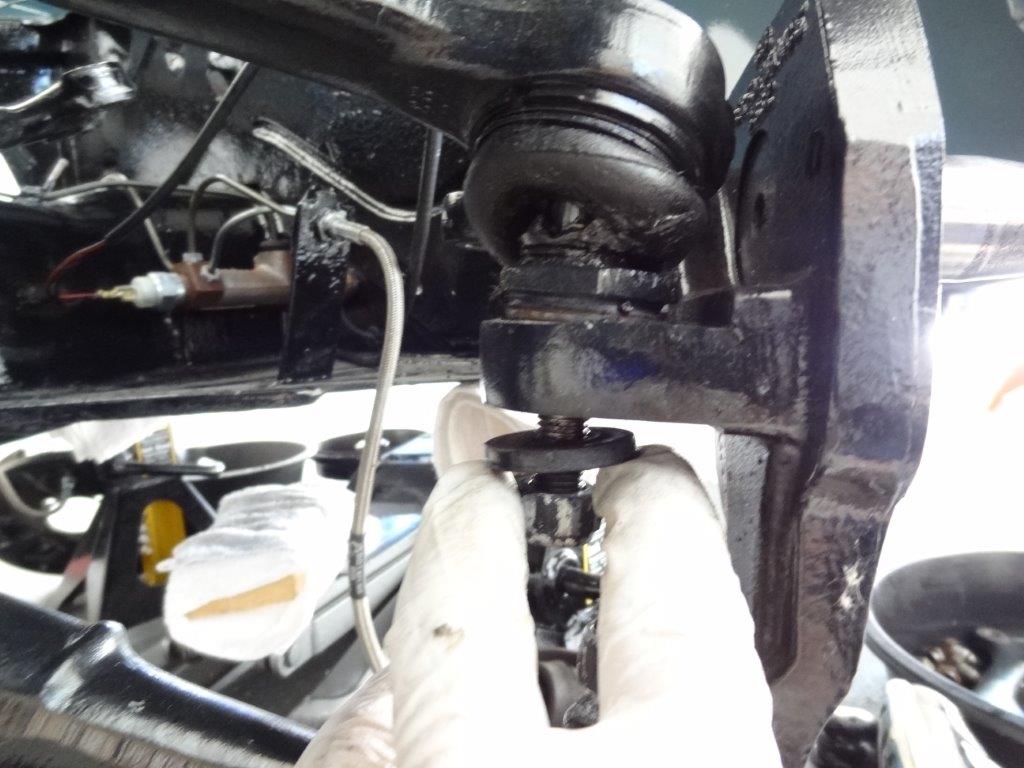
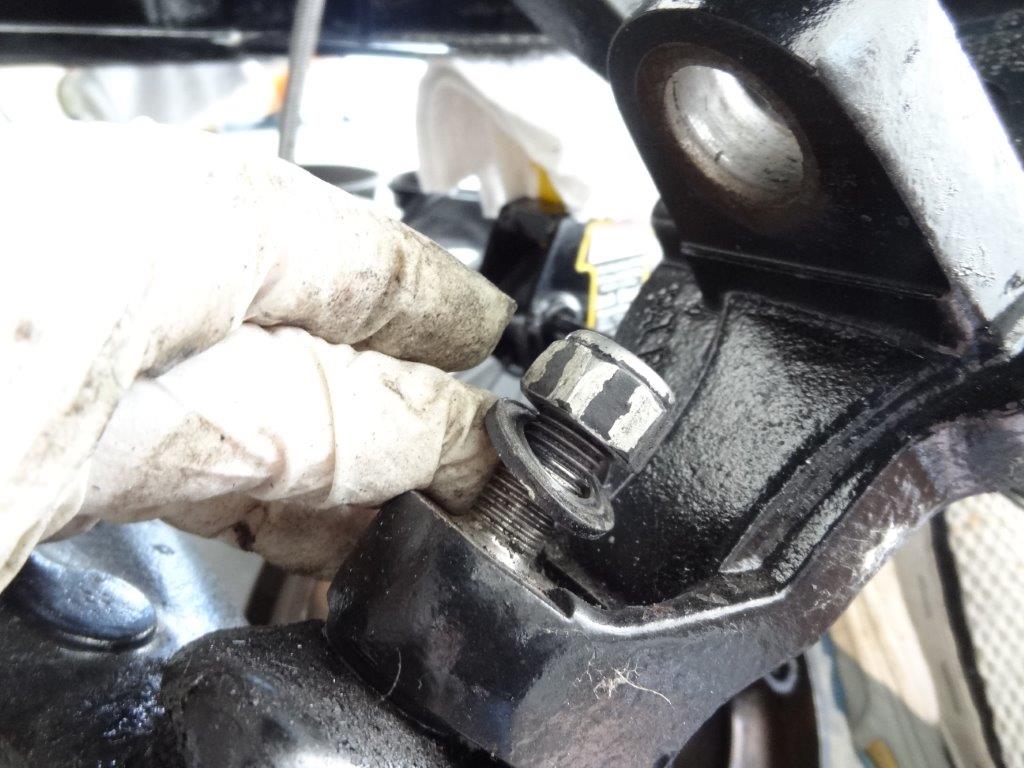
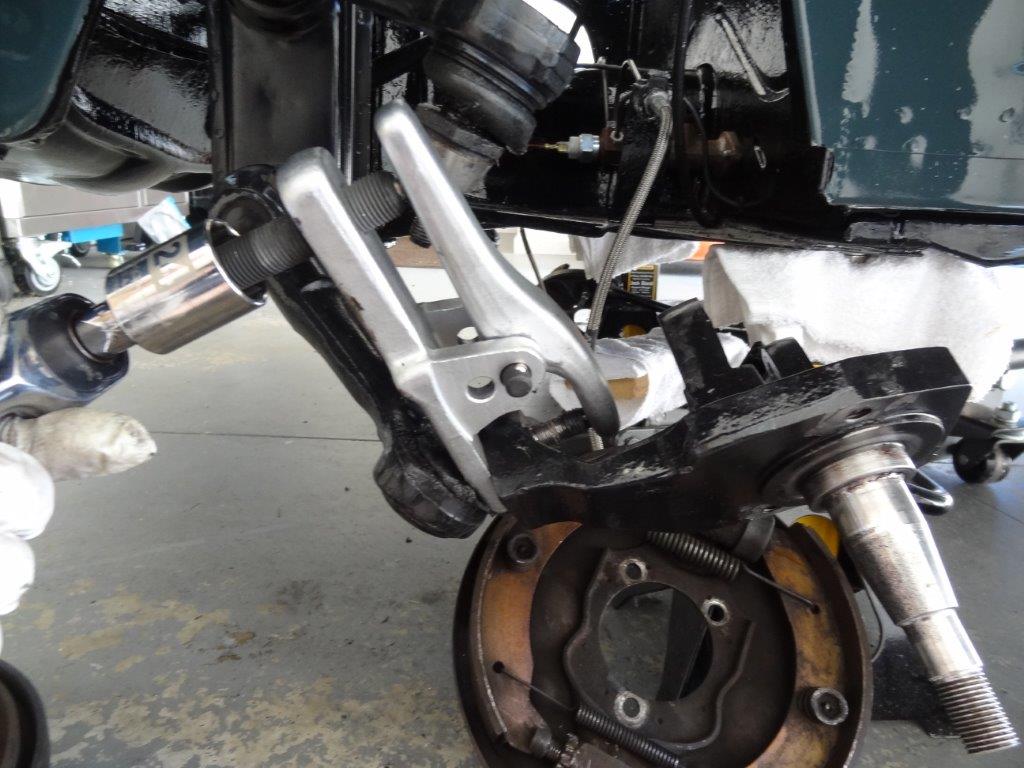
Then the bottom one on the driver side. That ball joint separator tool will be needed again…
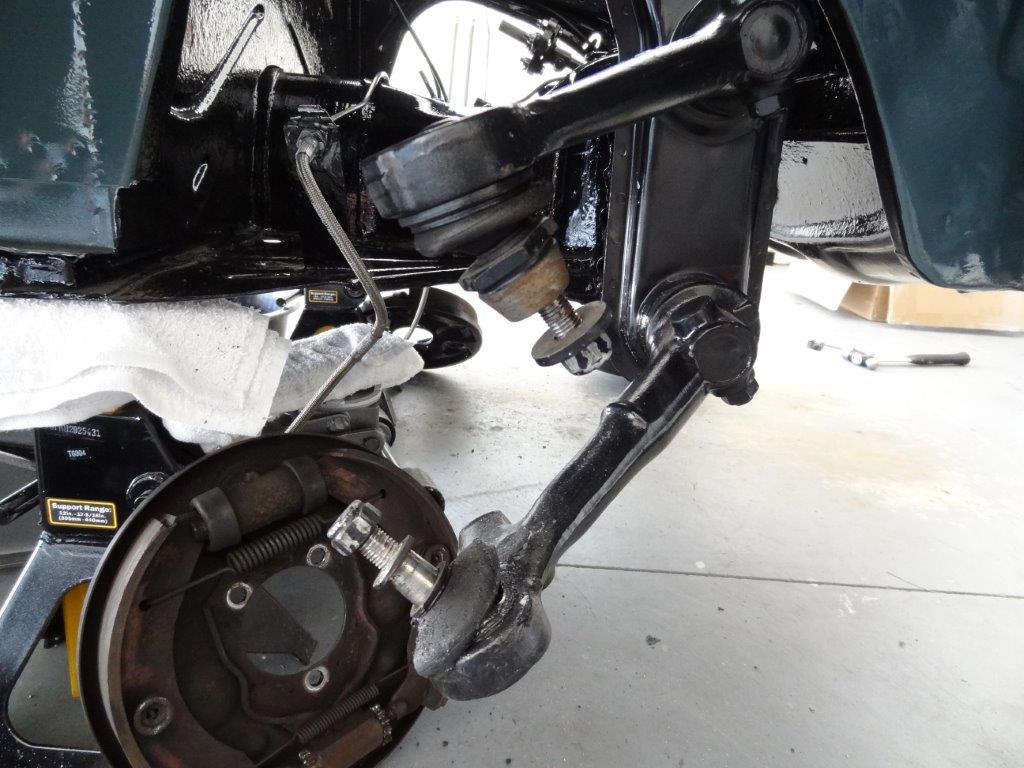
The spindle is now off…
Repeat on the passenger side…
Remove 2 body bolts that hold body to beam. Also, remove steering box from beam…
Finally, remove the beam from the chassis. There are 4 bolts that hold the beam to the chassis. The beam is quite heavy, so I used my jack to support it as I unbolted it from the chassis. Once detached, I slowly lowered it to the floor.
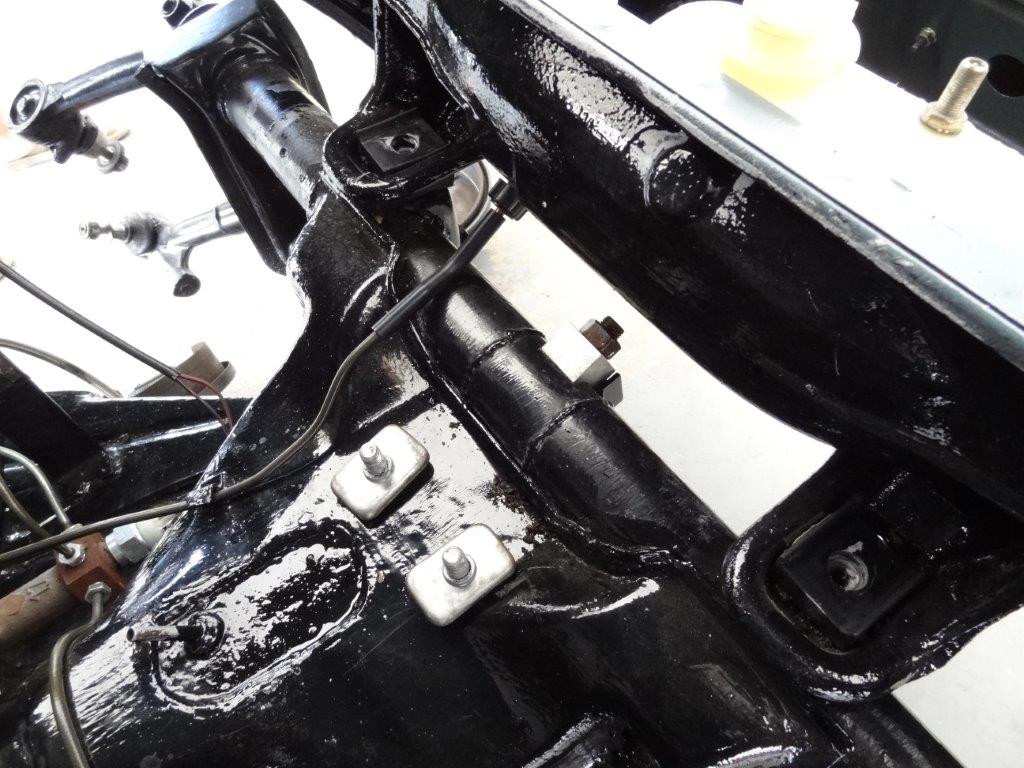
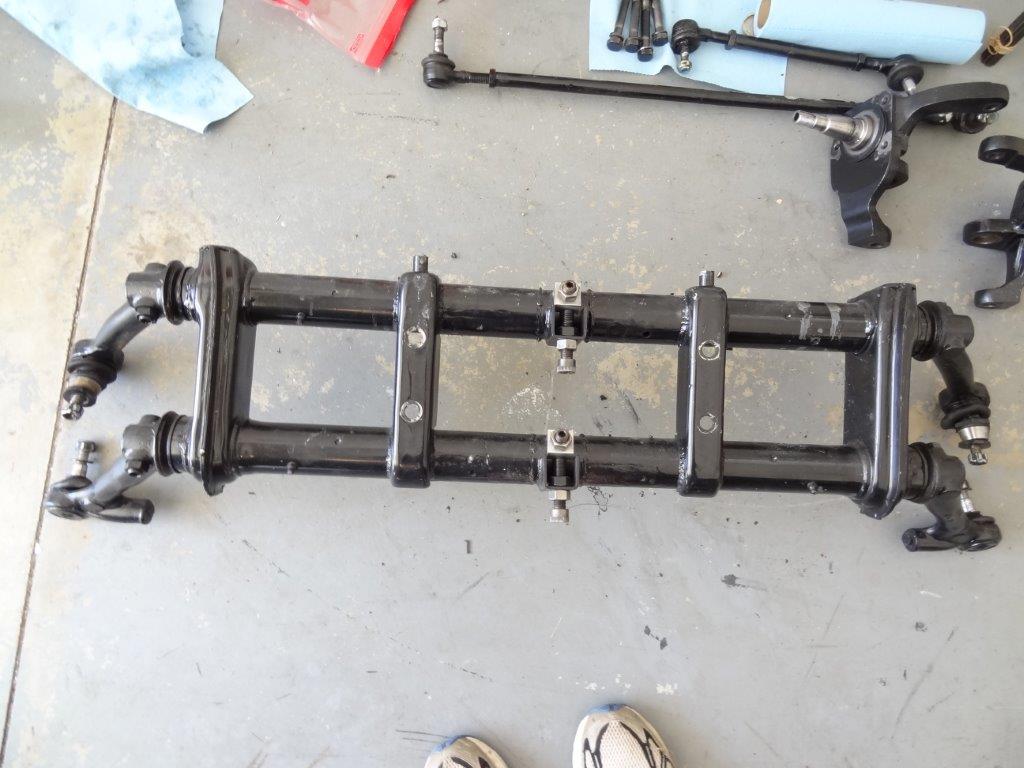
There it is! The beam has been removed…
