
Now that the door mechanics are all installed, it’s time to install the door panels and moisture barrier. The moisture barrier is a good idea because the interior door panels are made of hard cardboard (much more durable than a cardboard box that’s for sure).
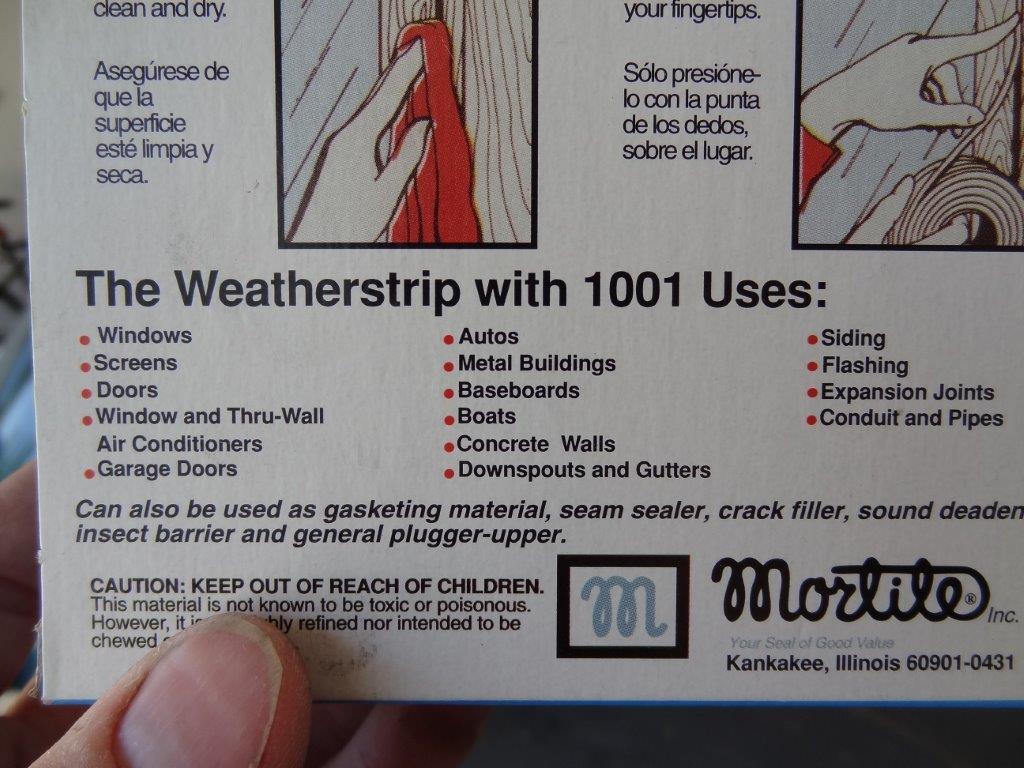
The first thing I did was go down to the hardware store and purchase some “weather-strip & caulking cord”. It’s inexpensive and works great for tacking the moisture barrier to the inside of the door frame. I also purchased some Visqueen plastic sheeting, which serves as the moisture barrier. I got the thickest Visqueen they had, which I think was 6mil (I’d have to confirm though).
Here’s the weather-stripping I purchased:

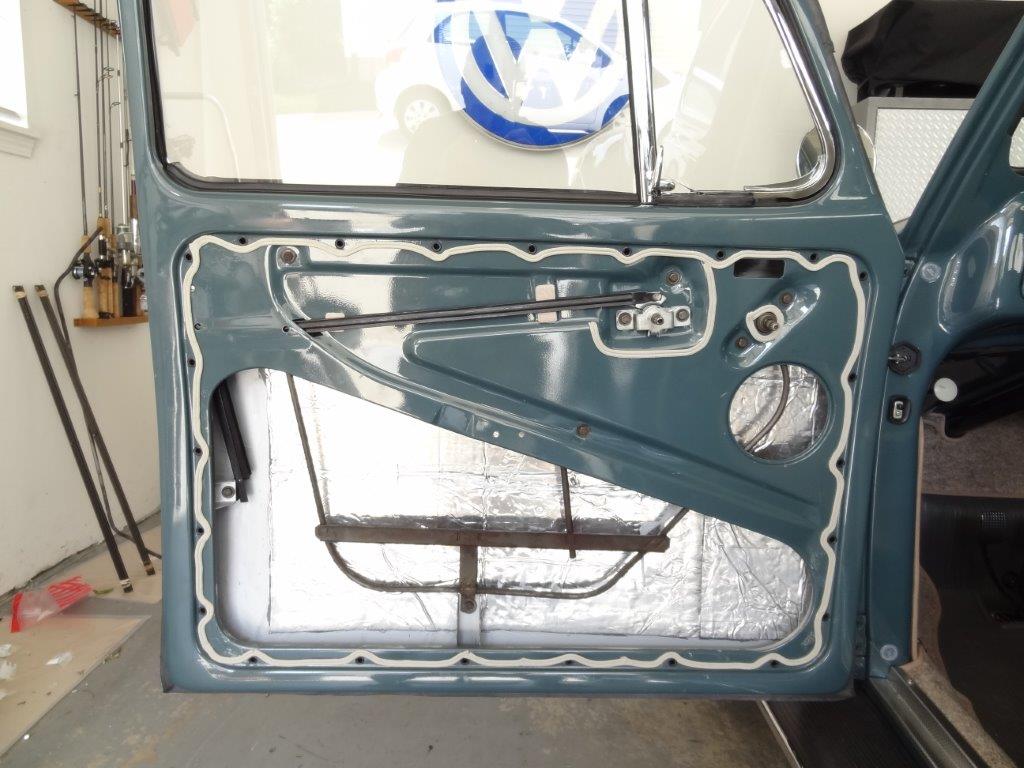
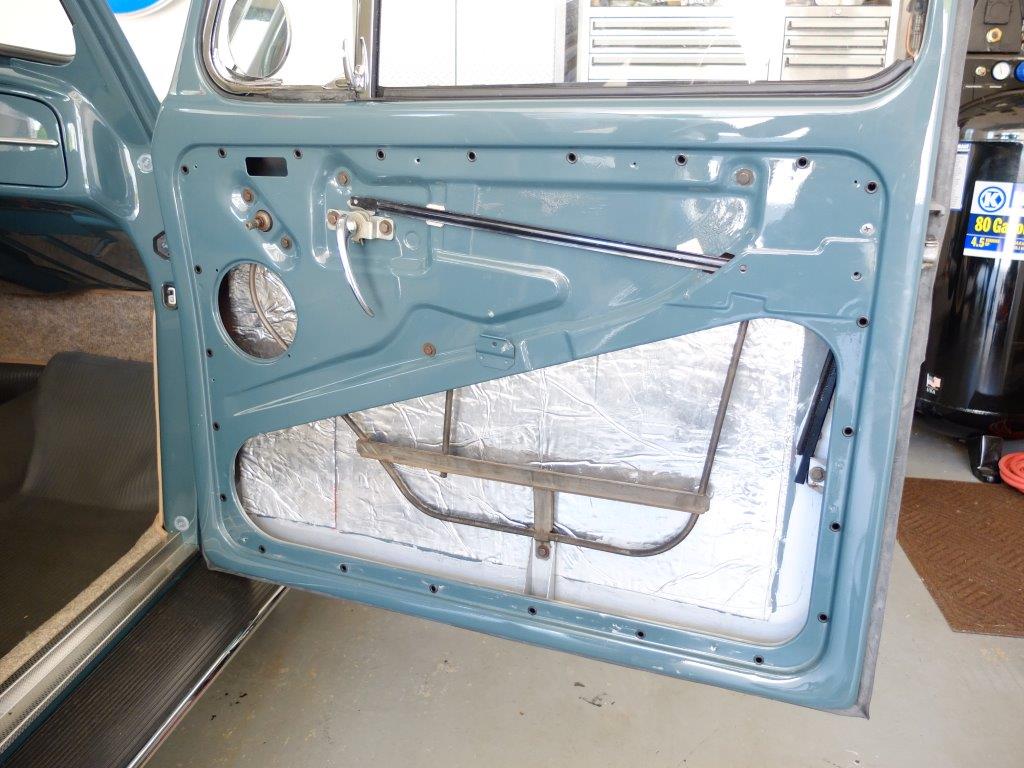
Here’s one of the doors, all ready to go:

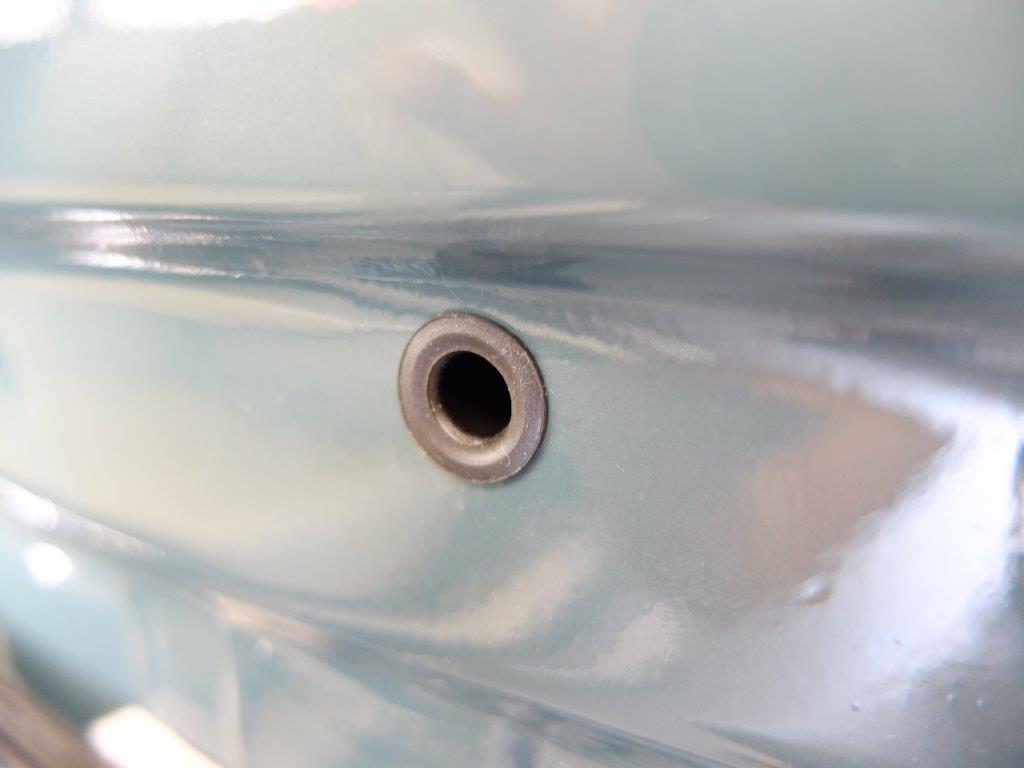
First, install all the rubber door panel clip seals. These get installed in the holes where the door panel clips connect to the door.
Next, install the weather-strip cord around the perimeter of the door, like this.
Cut the Visqueen to shape, and then tack on to the weather-stripping.
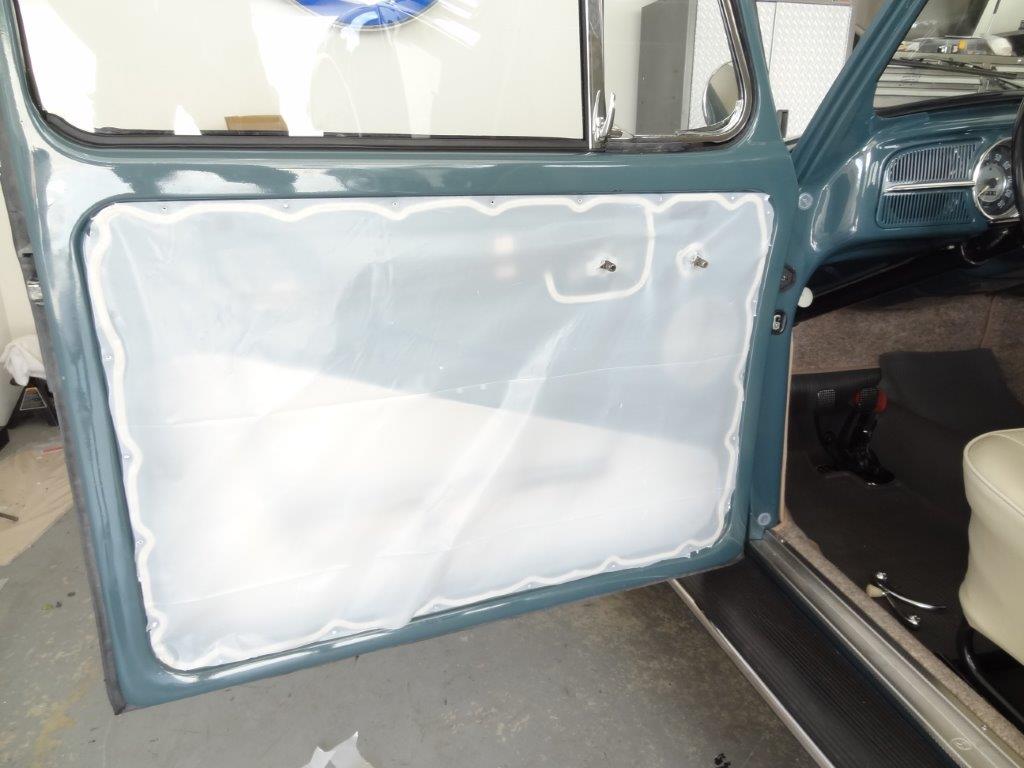
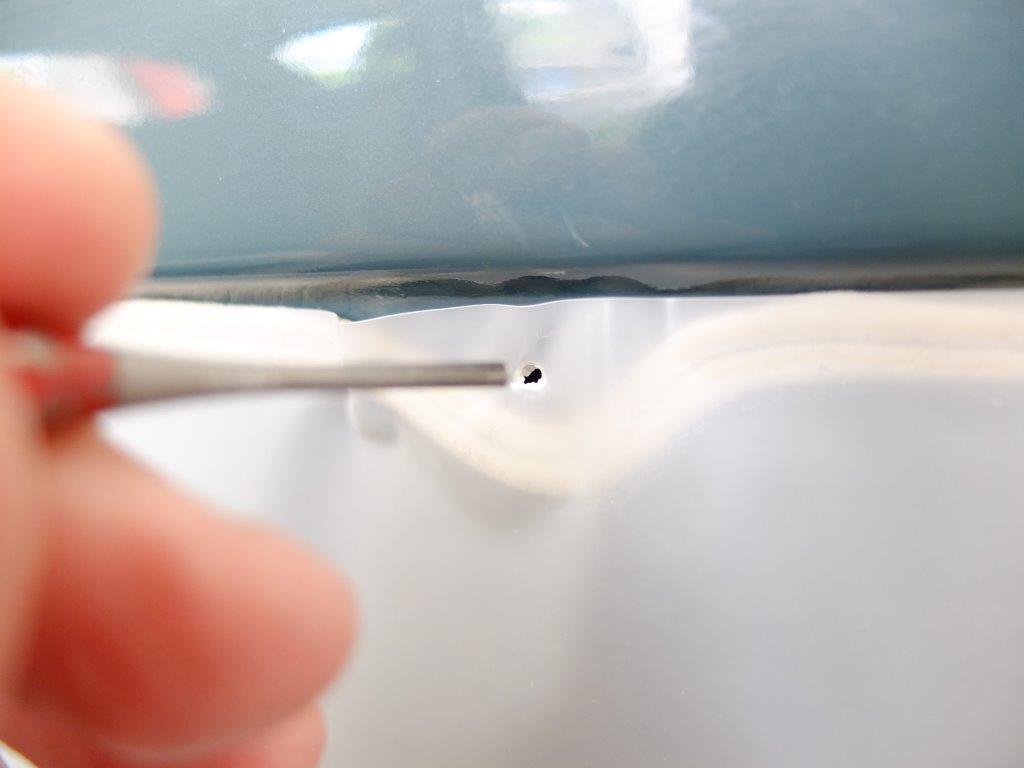
Punch little holes through the visqueen where the door panel clips push through to the doors. These are the holes where the door panel clip seals were installed above.
Repeat for the other door…


Next, install the interior door panels.
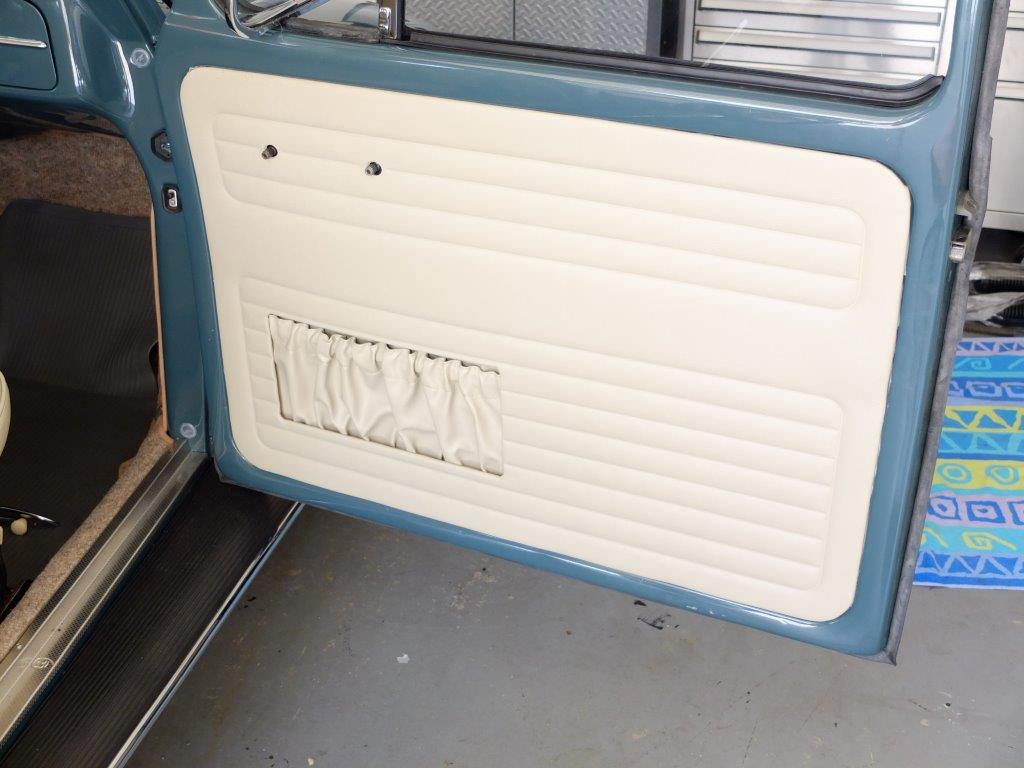
Finally, the door handles and window cranks. I love it! Looks great!
