Today I did the initial alignment (basically just the toe-in) on the new front end. I say “initial” because I plan to take it to a local vintage vw shop to have it done professionally too (I highly recommend it). I want it to be fairly straight/solid before I drive the car over to their shop though. With the tools that I have, I think I did a pretty good job. After performing the procedure below (in addition to what I did in my previous post), it certainly drives straight without any issues at all it seems.
I also highly recommend getting a Bentley manual for your year Bug to help with this procedure. There is a lot of good information in there, and some information may be specific to your year bug. Here’s an excerpt from the Bentley manual that I think is important:
“Toe is adjusted by lengthening or shortening the tie rods. When tie rods are located behind the front axle (as on the VW), lengthening them increases toe-in. During this adjustment procedure, the steering must remain in the center position, as set by the marking ring on the worm spindle. If center position is disturbed in adjustment of toe-in, it must be re-set. To keep steering centered while toe adjustment is made, you must be careful to lengthen or shorten both tie rods by same amount”
The left ends of both the long and short tie-rods have left-hand threads. Therefore, lengthen rods by turning adjusting sleeves (or tubes) toward front of car. Shorten rods by turning sleeves toward rear of car.”
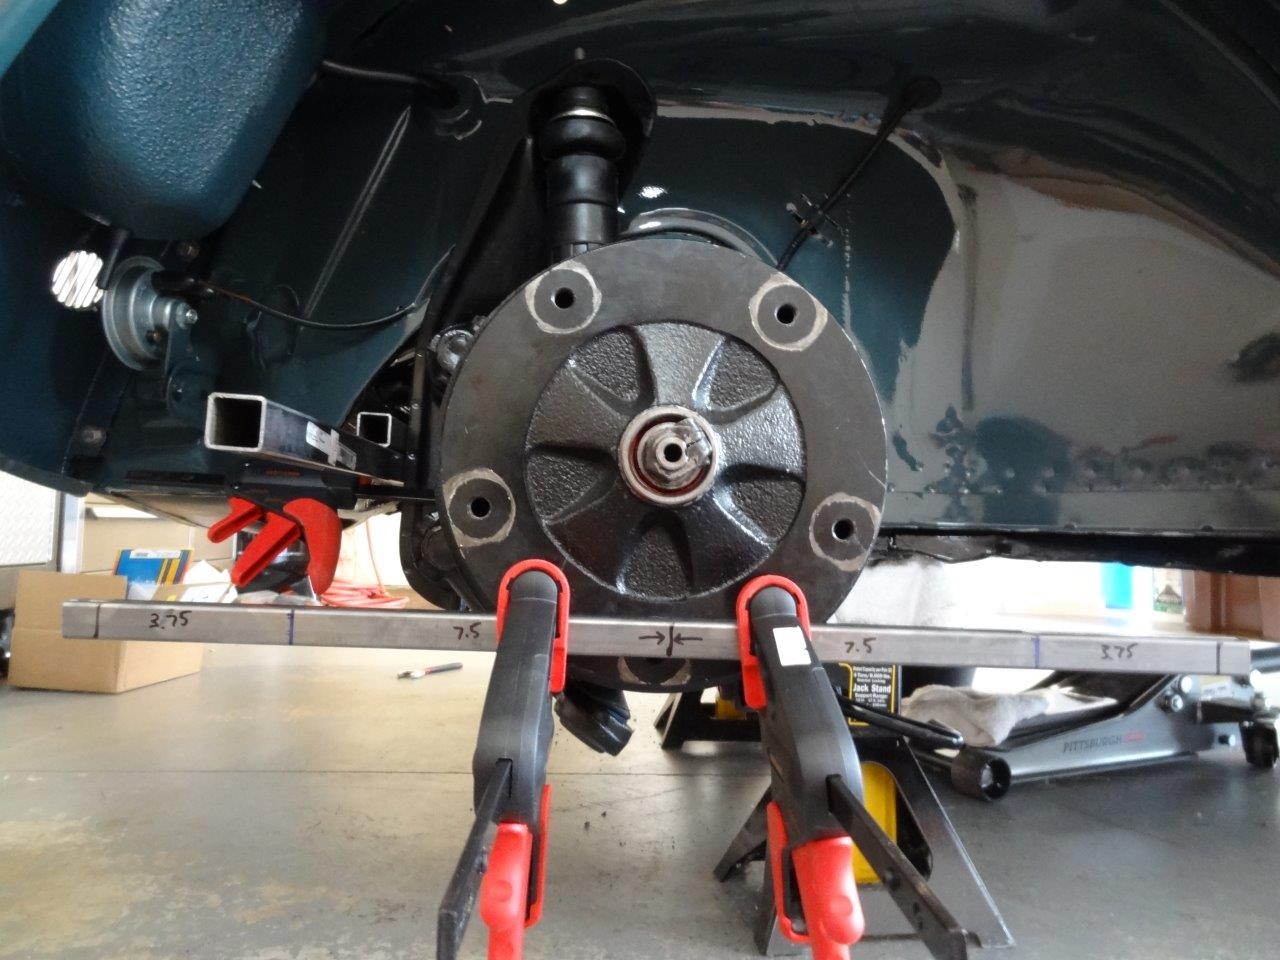
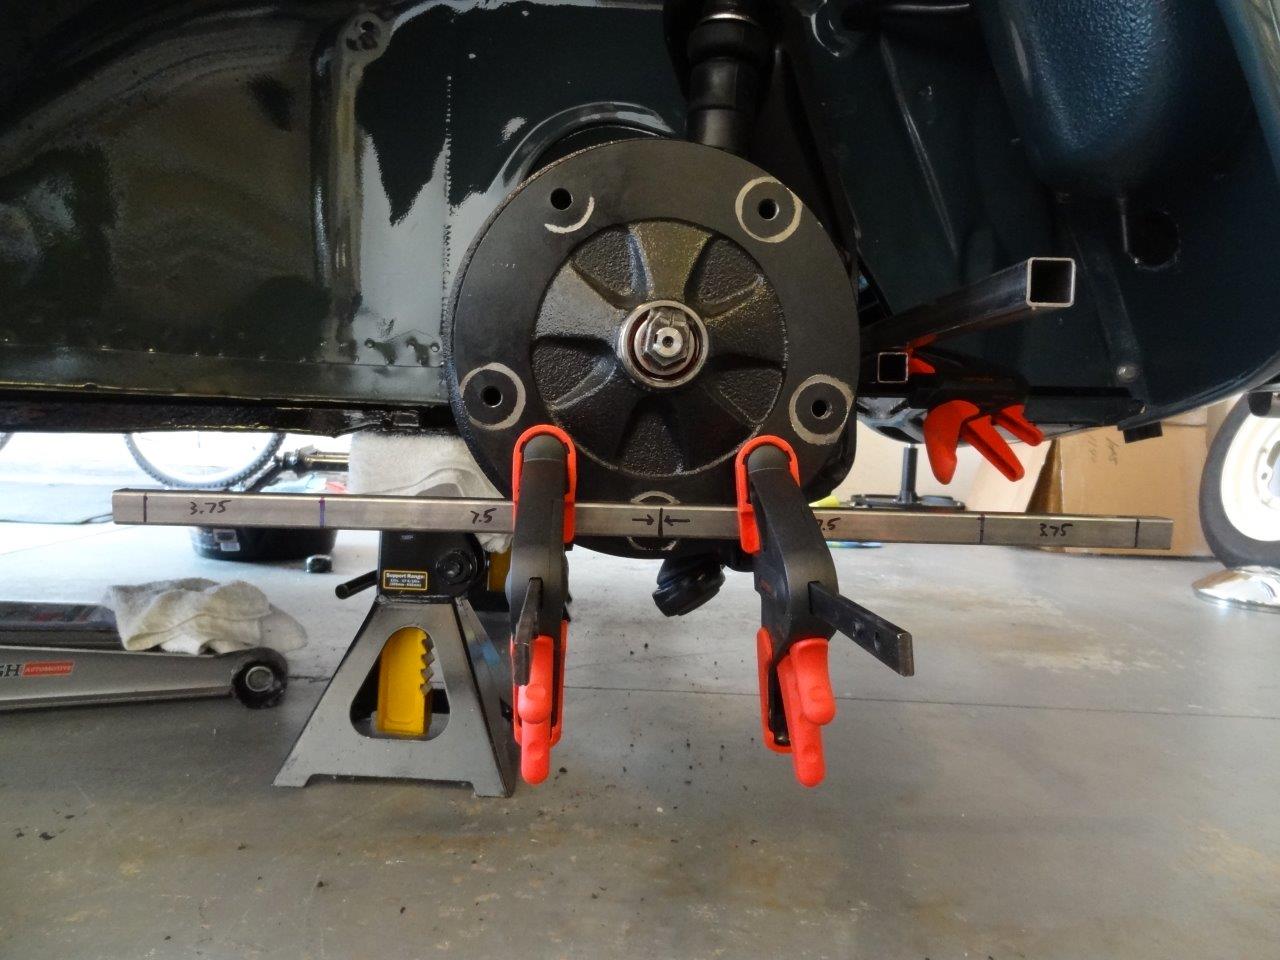
The first thing I did was take a couple of the square pipes from my last blog post and mark the distances of my 15″ wheels and tire height on them. I then clamped the square pipes to each front drum, as shown below. I lined up my center mark on the square pipe with the center of the spindle.
Driver Side:
Passenger Side:
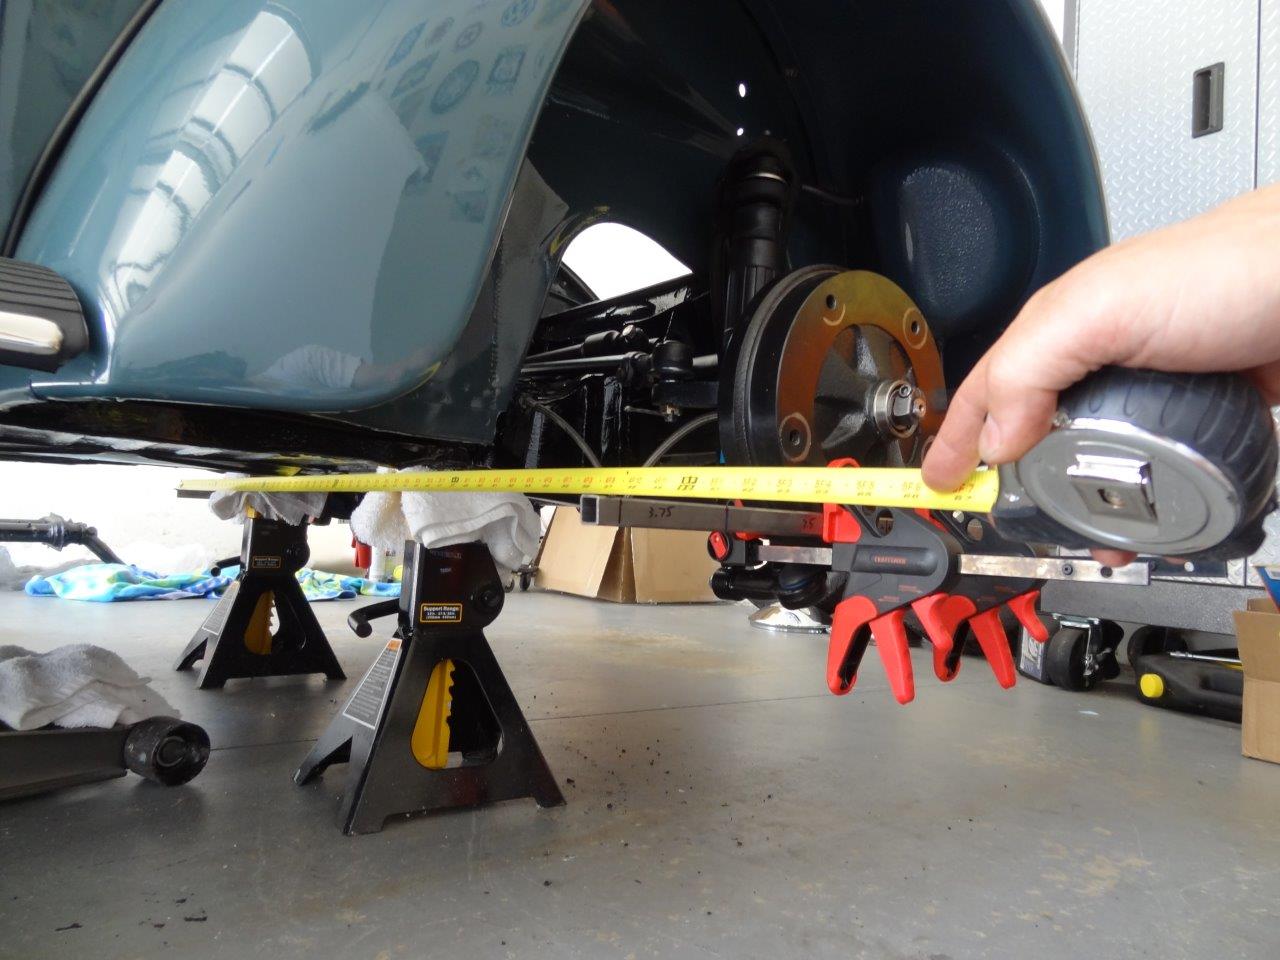
Once I had the square pipes into position, I then took some measurements using a tape measure. I measured from the point on the square pipe where the tire tread would be (the outer lines on the pipe) on the front of the tire and the back of the tire.
Here’s a wide shot of me measuring the back side (toward back of car) of the tires (I did the same measurement on the front side of the wheel at the same marking on the square pipe):
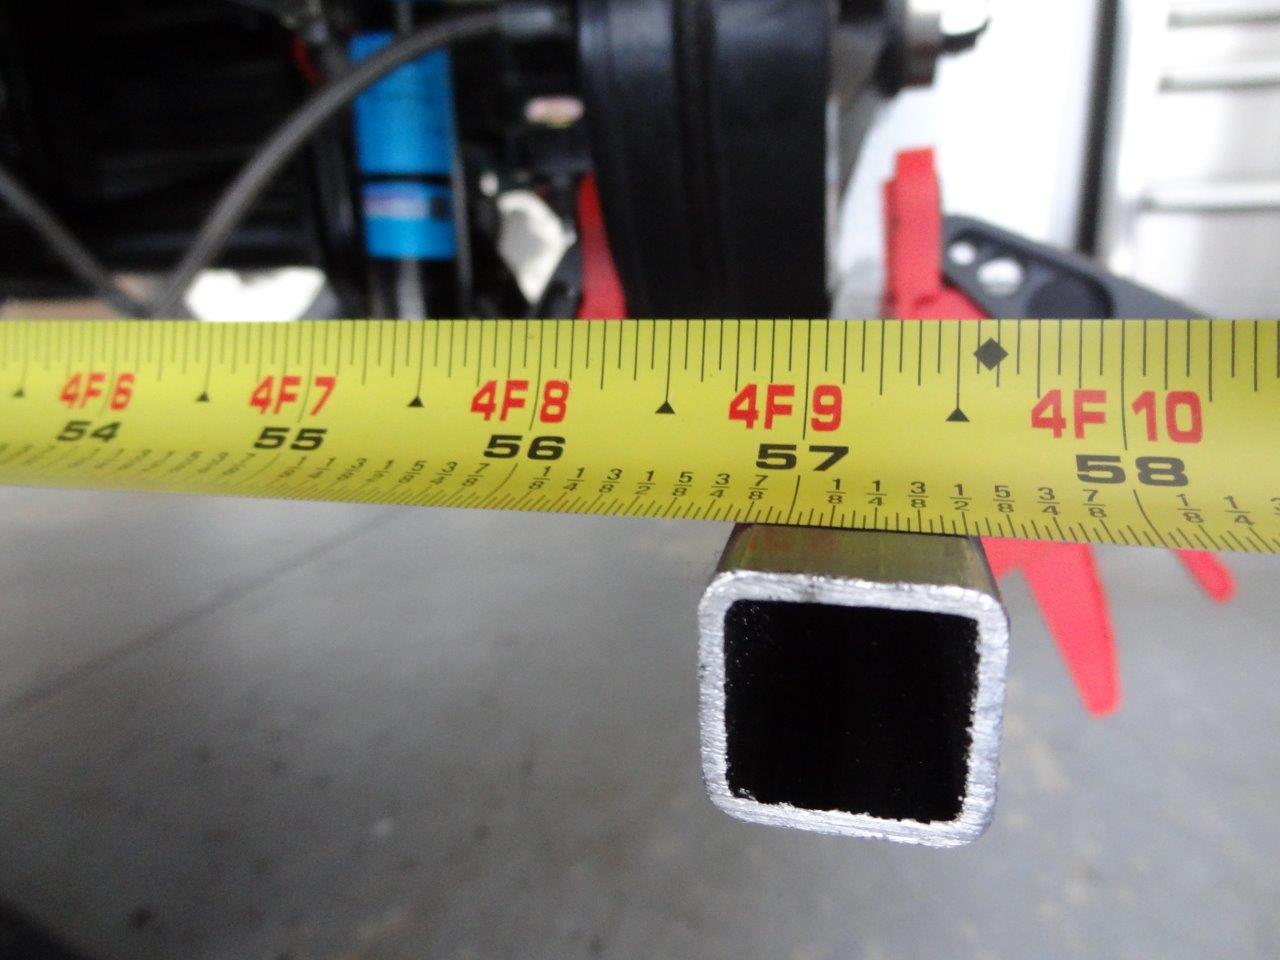
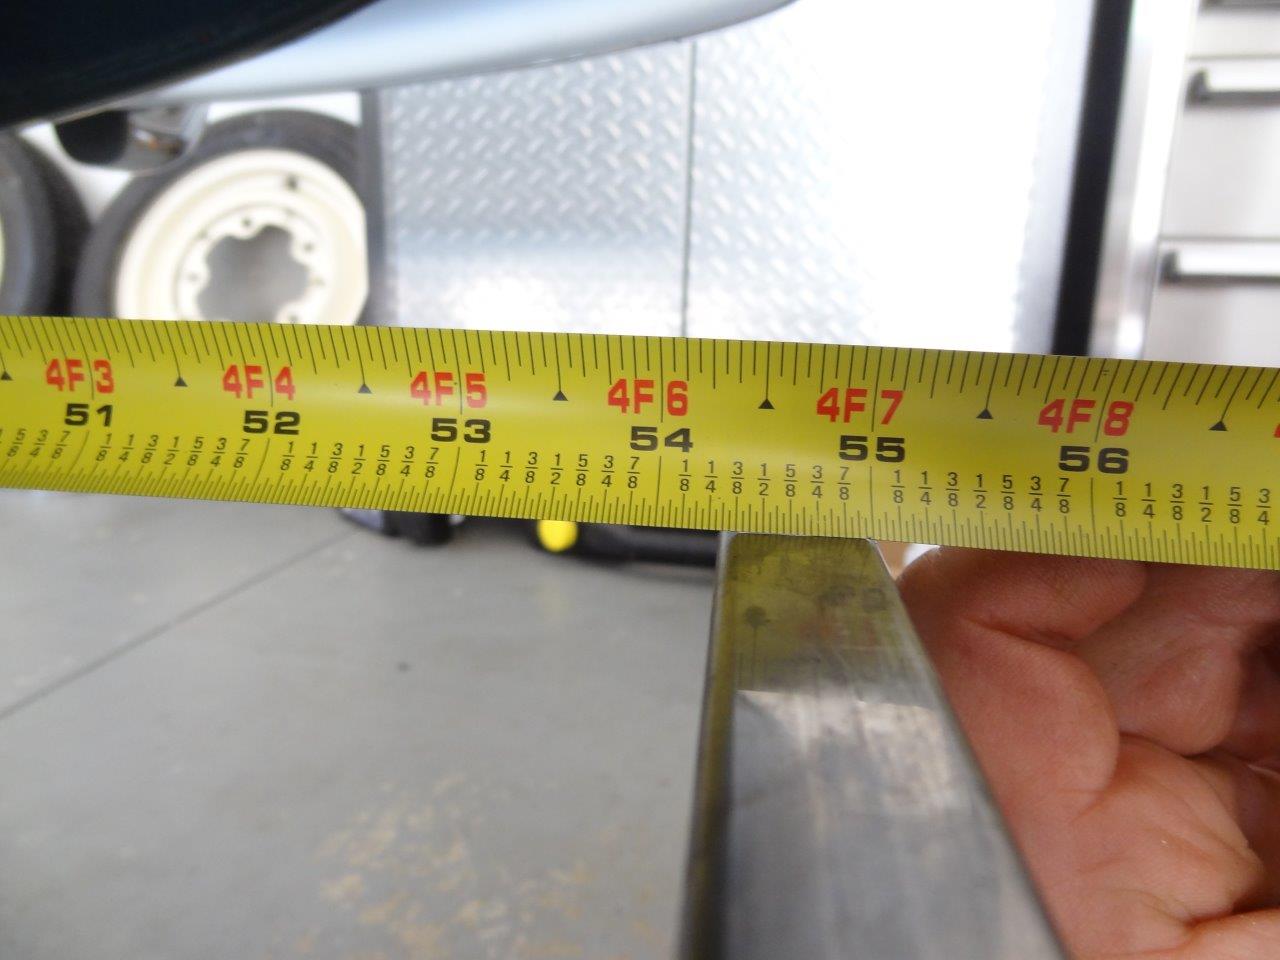
Here’s a close-up shot of that reading (Distance: 56-13/16 inches):
Here’s a close-up shot of the front measurement (Distance: 54-5/16 inches):
As you can see, the distances were off by over 2 inches. Since the front distance is the shorter distance, I had too much toe-in. Here’s a picture of my notes from today:
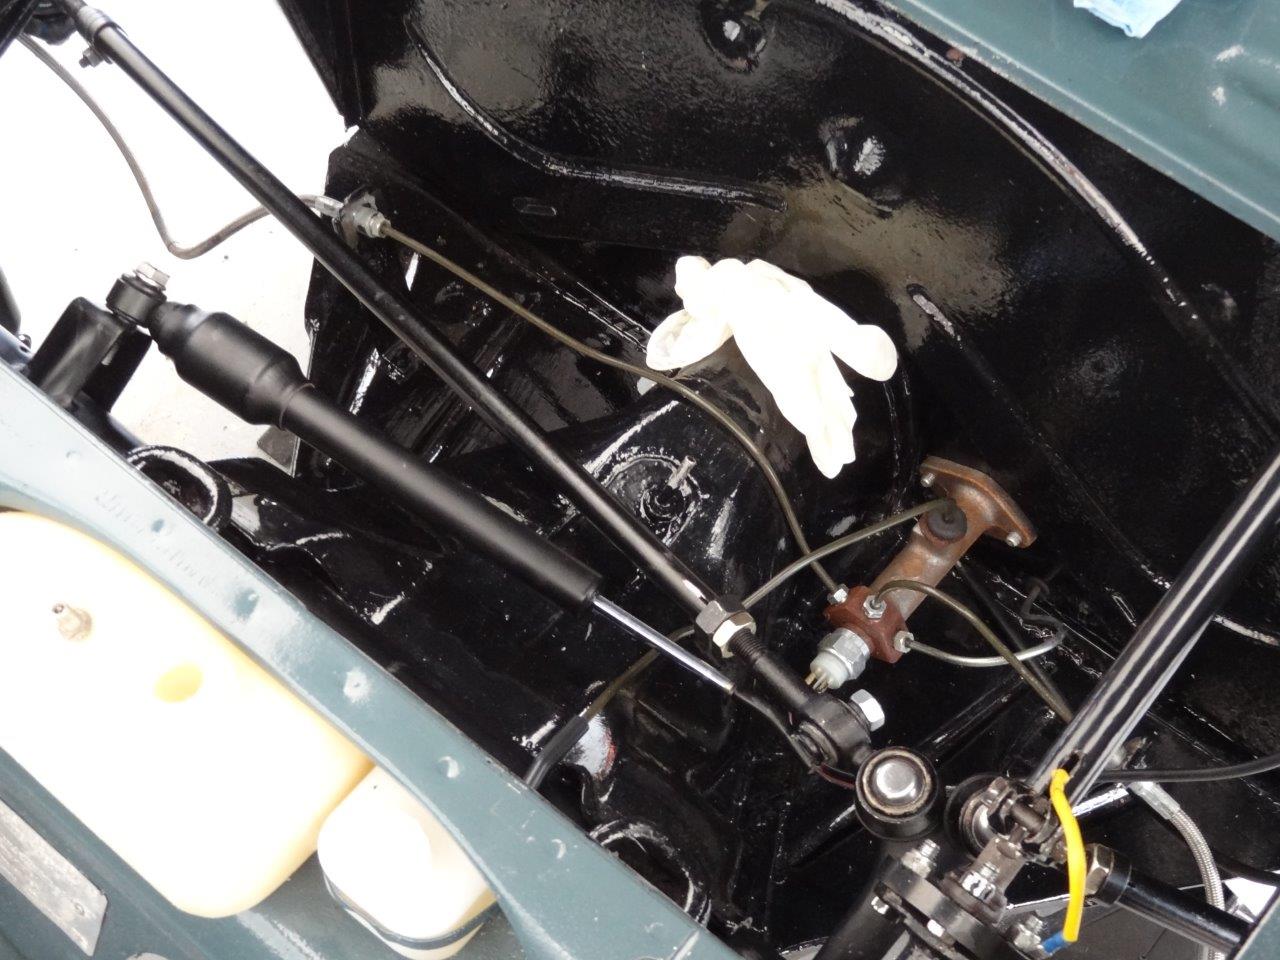
I needed to lessen the toe-in pretty considerably (I guess I should have matched the driver side spindle to the passenger side spindle in my previous post instead of the other way around. 😉 ). I turned the driver and passenger side tie-rod sleeves 2 full turns backward (toward rear of car) to decrease the amount of toe-in. Remember, turning them backward will shorten the tie-rods.
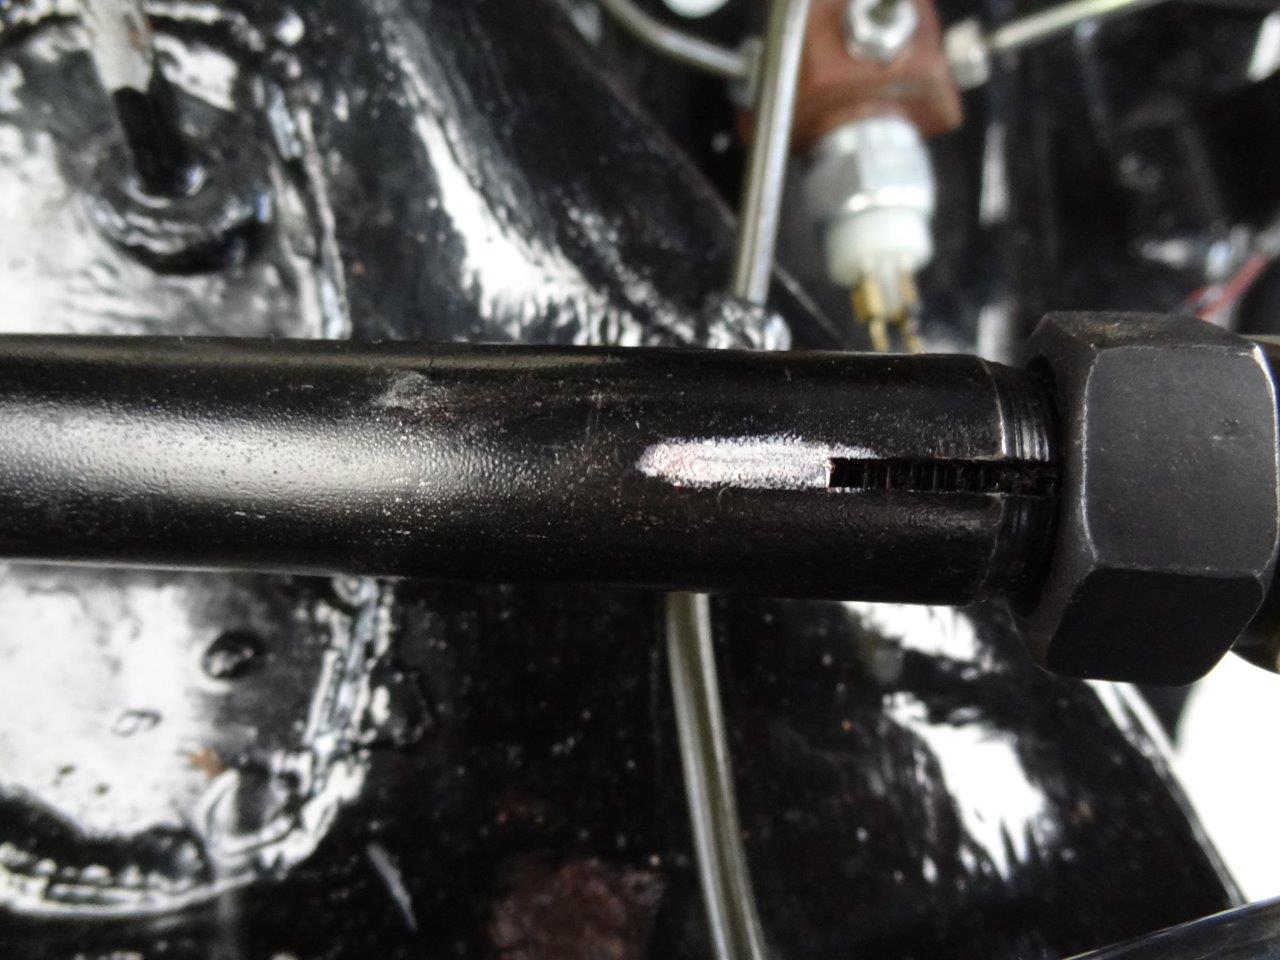
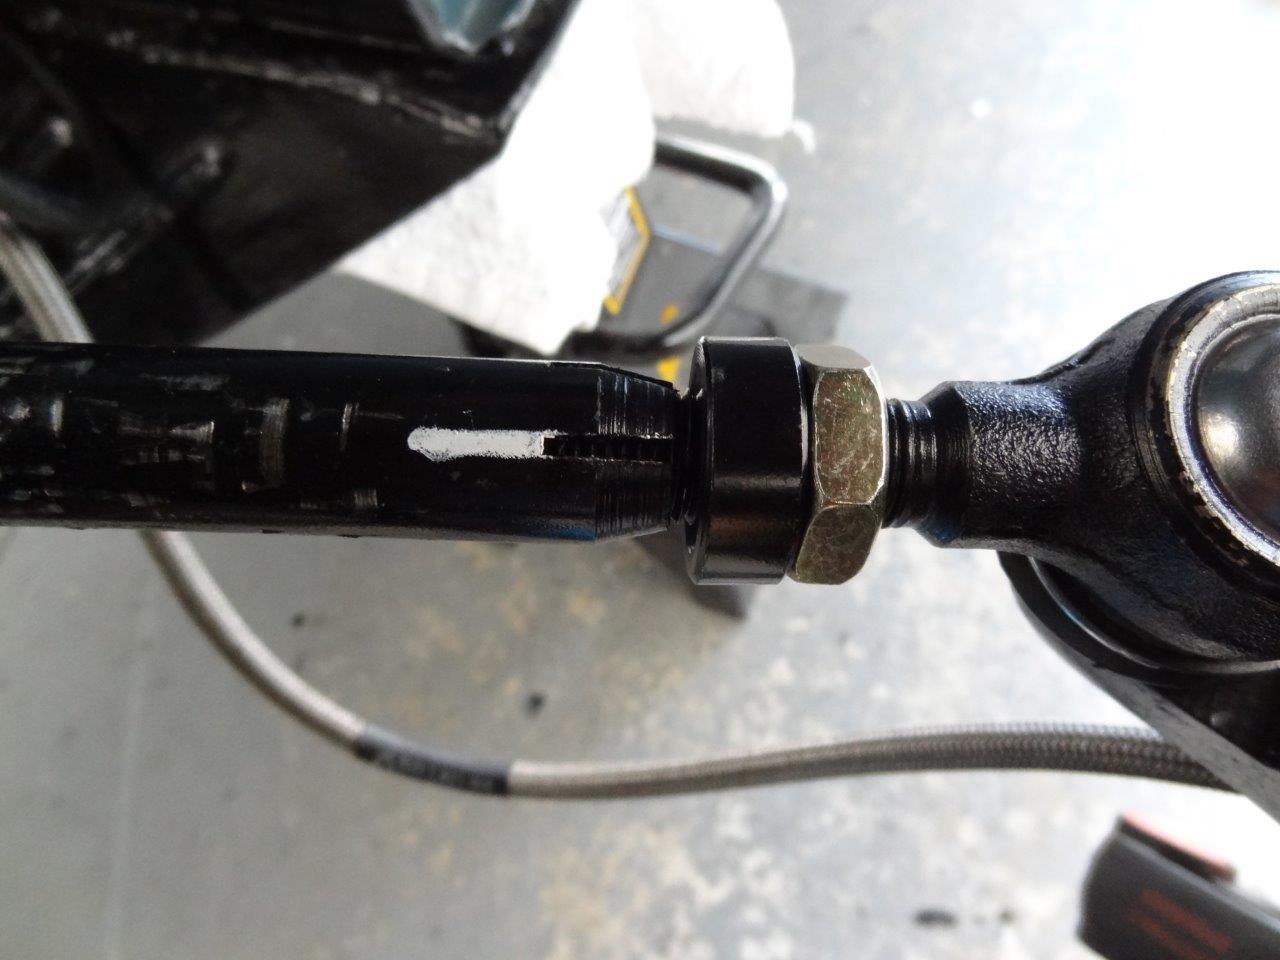
I made a white mark on each tie-rod so I could easily see how many times I spun them.
Here is the white mark on the passenger side tie-rod:
Here is the white mark on the driver side tie-rod:
My new measurements, after spinning the tie-rods 2 full turns, were:
Front Side Of Tire: 55-6/16″
Back Side Of Tire: 55-9/16″
Difference: 3/16″ (shorter on front)
According to the Bentley Book, the total toe-in (for 15″ wheels) without pressure on the wheels should be +30′ +- 15′. 10 angular minutes equals .05″ (10’=.05″). As you can see, the difference is 3/16″ (.1875″) which falls within the spec of (+30′ +- 15′). I hit .1875″ with my first adjustment.
I hope I described that pretty well. If nothing else, it will give you a very basic understanding of how to get yourself going somewhat straight down the road before driving your v-dub down to the local shop for a professional alignment. I HIGHLY recommend having a professional do it. I will, even though I feel the car is driving really well with just my adjustments as described above. A professional shop will set your wheel camber and caster as well, if needed. (I just realized I didn’t describe setting my camber in my previous post. I should have done that.)


GREAT EXPLAINATION!!! Finally someone who gets it! I’m very familiar with “how”, just wasn’t sure if the proper toe-in setting! I read the whole post anyway, and was very impressed. Anyone with basic hand tool knowledge should easily be able to understand exactly how to do this by your detailed instructions and photos. I personally just use toe-plates made for oval track race cars. They’re only about $40 from longacre racing, and to get basic adjustments to get everything straight until getting to a shop, you can use them with the tires on. I also typically keep the weight on the car, since that’s how it needs to be while driving, and tire pressure can throw weighted readings off a lot, as well as many other factors while adjusting up in the air, than putting back on the ground. Some say one way, other think another. Just personal preference I guess. Anyways, GREAT JOB!! THANK YOU!
hi there
i have followed your instructions and still have a problem. i have a 1970 LHD Karmann Ghia that i have just acquired. the car drives straight but when i turn the wheel on full lock (one and a third turns from center) the left scrubs the ground and does not turn. i have checked that the wheel is not catching the suspension. the problem seems to be the LH wheel is turning more than it should. have you any ideas. i have checked the Pitman arm and tie rods which have no play and are correct length.
Is your steering gear box centered, turn to lock and count very accurately, turn it all the way to opposite lock, then half that count, then go back that many turns? stop. look at pitman’s arm and your wheels, are they straight if not don’t move the steering wheel, but turn tie rods to center wheels.
Also make sure that you have the correct tierods, in length for each side.
Hope this helps