Monthly Archives: March 2012

Installed Solid State 12V Voltage Regulator – 1966 VW Beetle Project

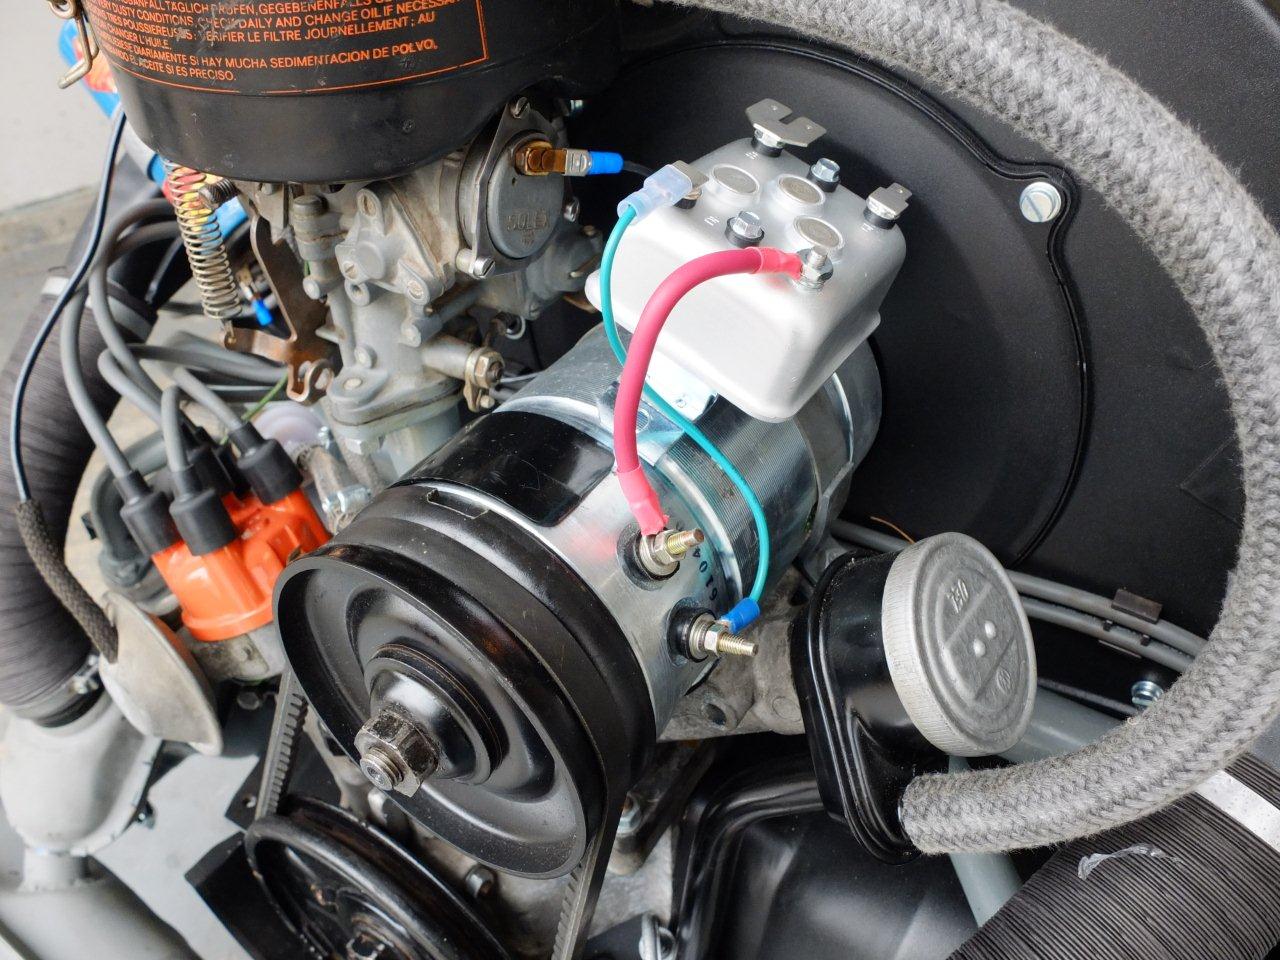
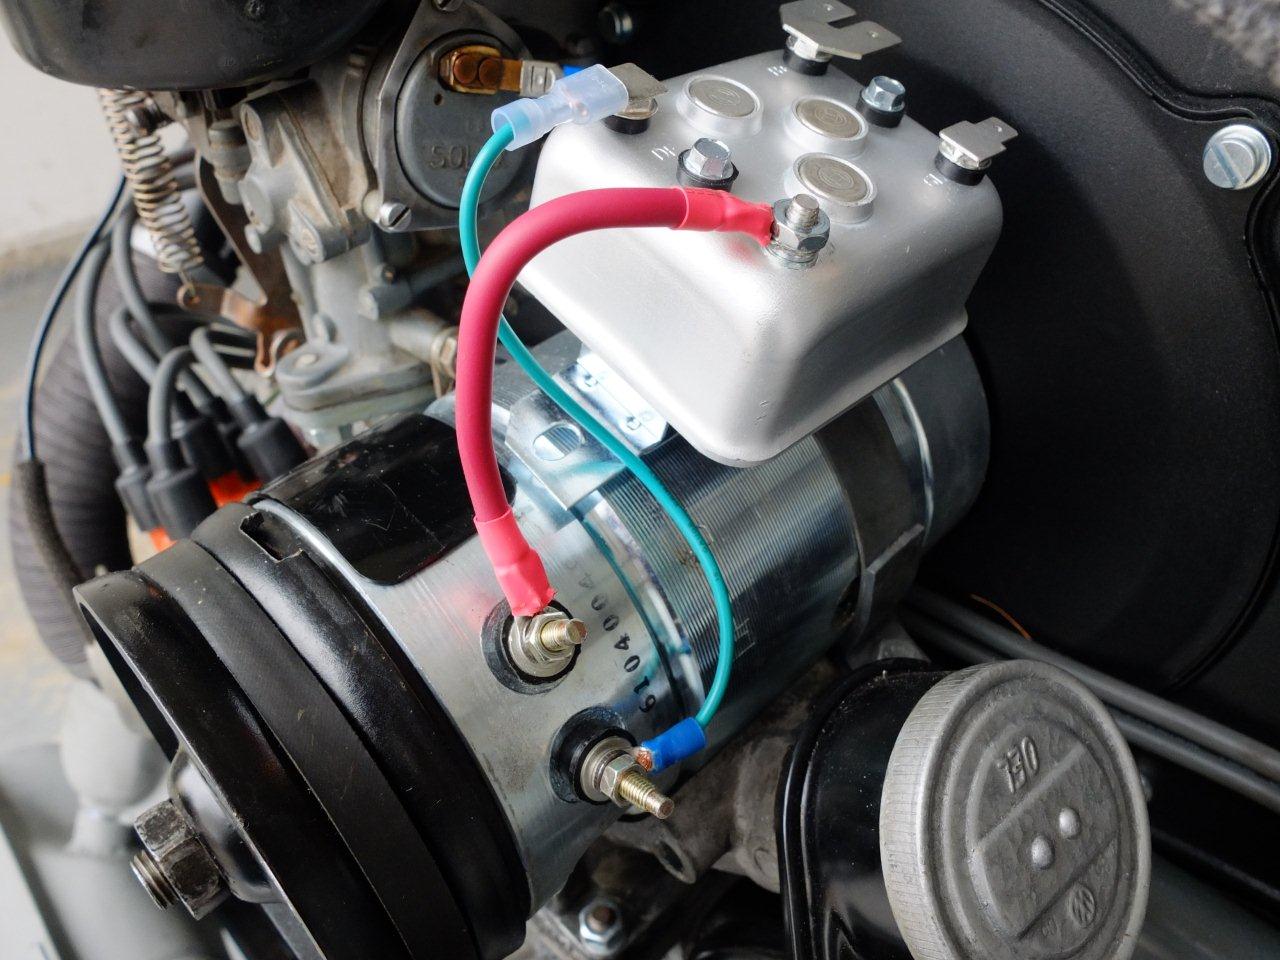
Today I installed a 12V solid state voltage regulator. It’s probably the ugliest voltage regulator I’ve ever seen. You’d think with today’s technology, they could have made it the same size as the original 12V non solid state voltage regulators. I plan to replace this with a non solid state voltage regulator in the new future, just so it looks better sitting on the generator. I installed it in the same place the original 6V voltage regulator would be installed. I’ll need to drill a hole in the 12V generator, and thread it, so I can attach the rear side (towards rear of car) of the regulator to the generator. For now, it’s attached to the only hole on the generator on the front side (towards front of car) of the voltage regulator. It’s nice and secure with just the one bolt, but I would prefer 2 holes for attachment.  It’s too bad the new 12V generators don’t come with both threaded holes.  It would be nice for all the 6V to 12V conversions out there so they look “correct”.  I also created some wires to connect the voltage regulator to the generator (red and green wires in pictures).  Here are some pictures:

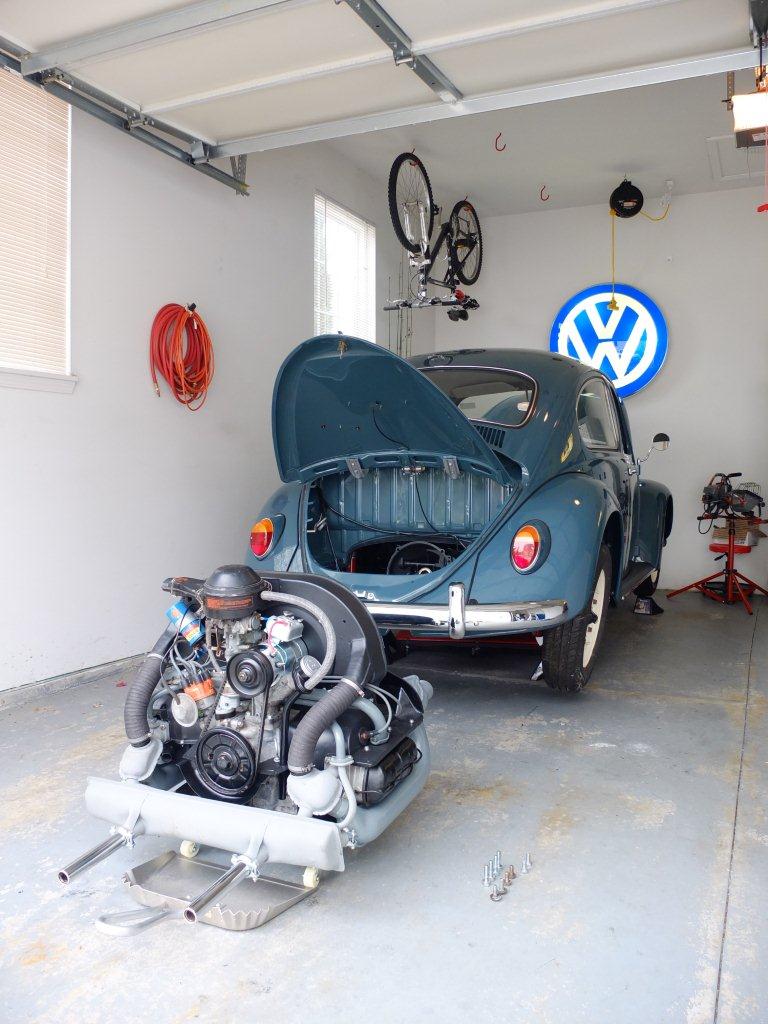
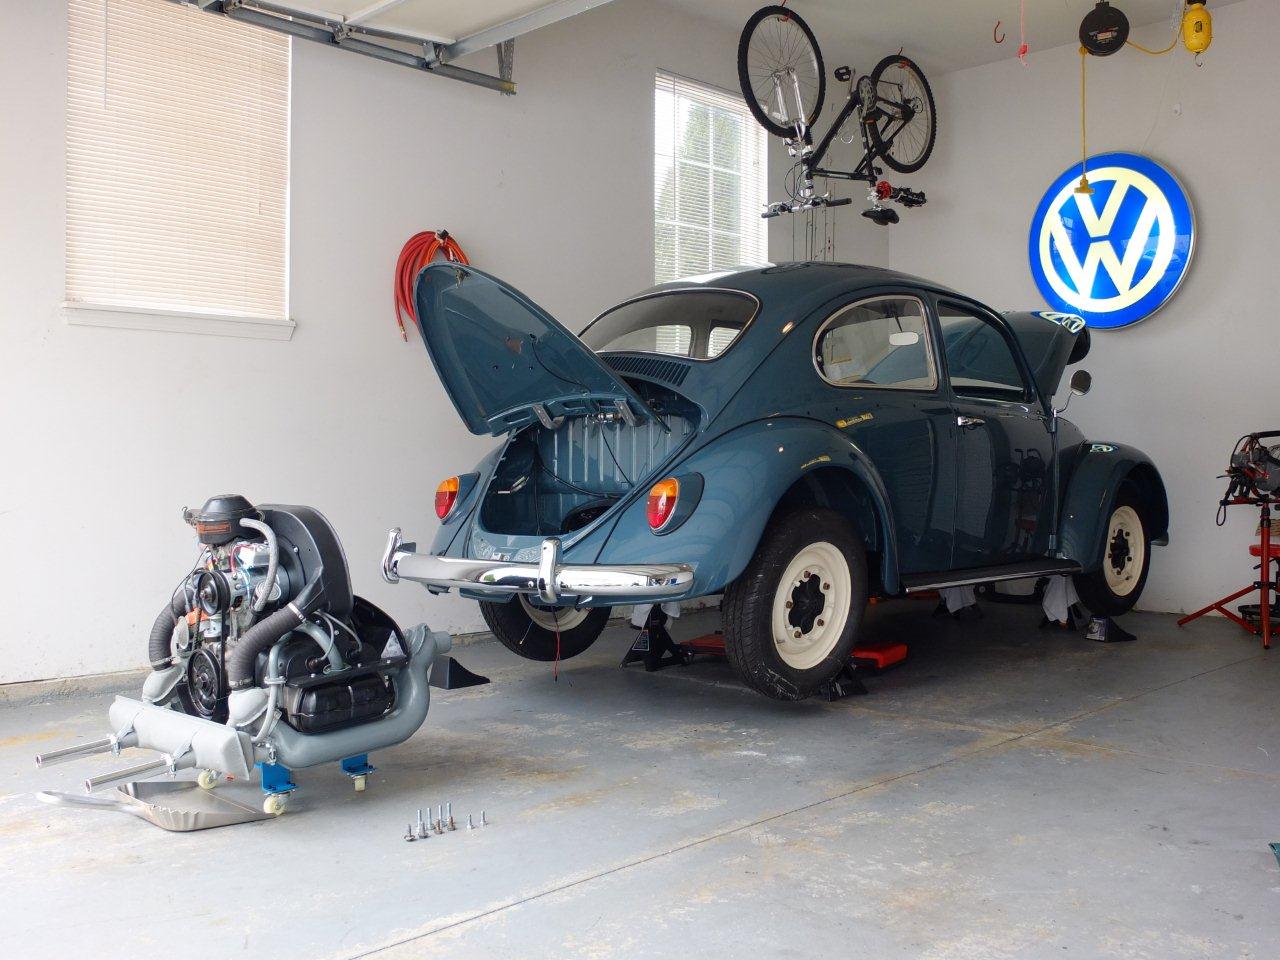
Engine Sitting On It’s Dolly Just Itching To Be Installed!  =)
New Engine Seal and Running Boards Installed – 1966 VW Beetle Project

It’s been an unusually warm March this year, so I decided to get back to work on the Beetle. I had planned to work on the car during the winter time with my gas heater in the garage, but it just didn’t happen.

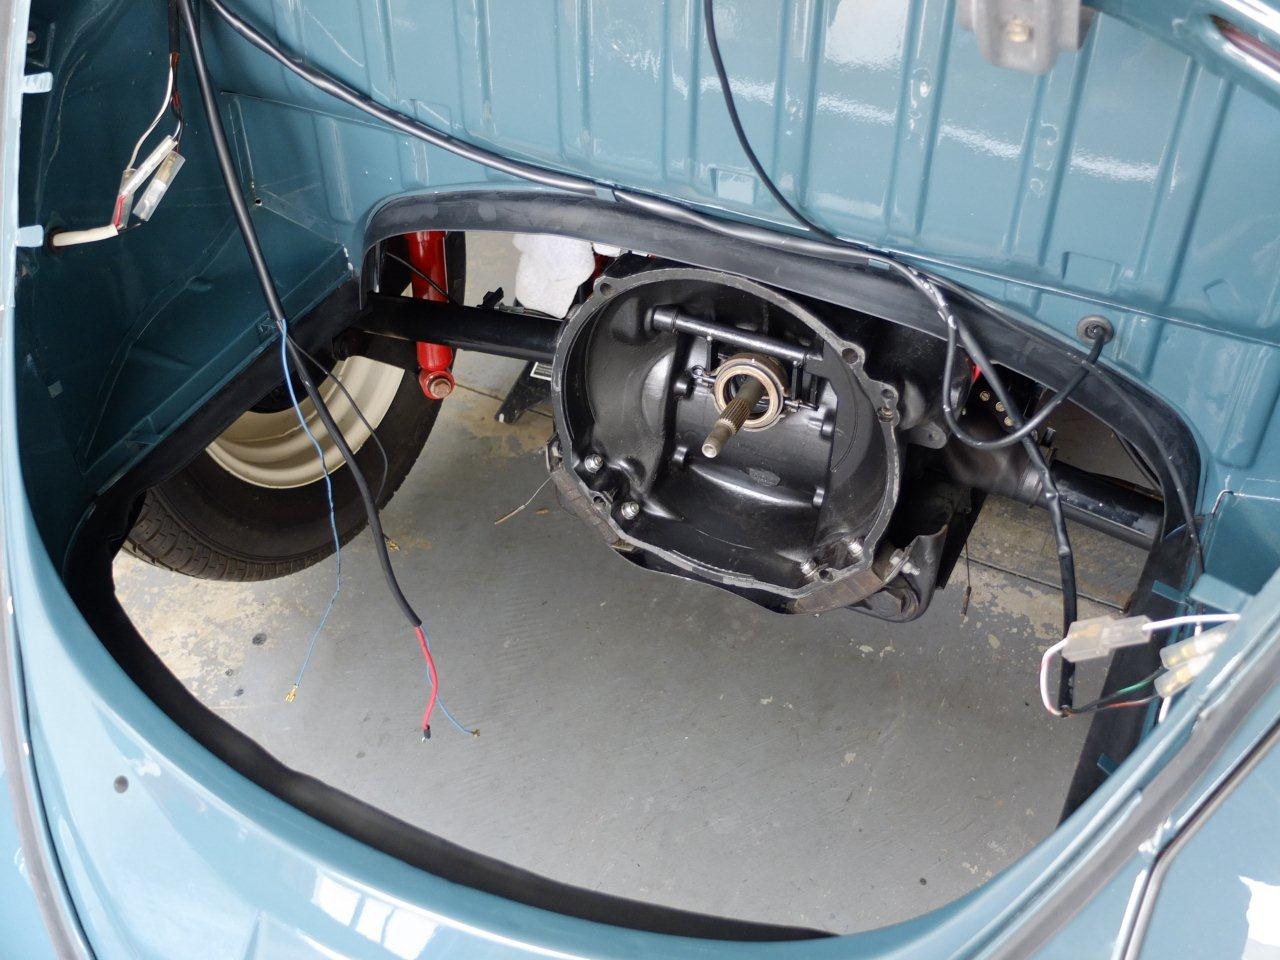
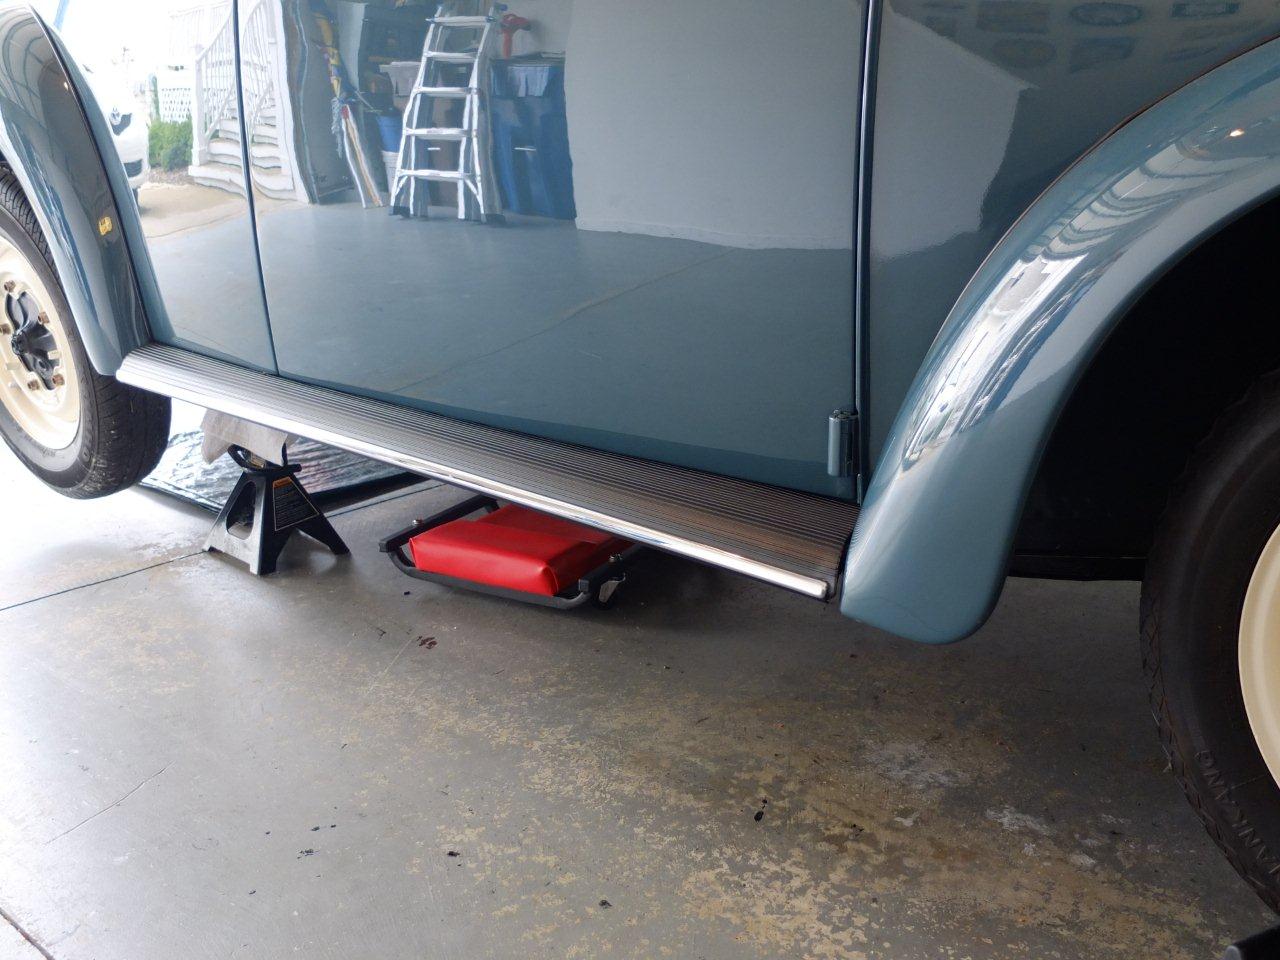
Today I decided to install the engine seal in the engine compartment, as well as the running boards. While installing the engine seal, I realized I got some paint on the wiring harness while doing the undercoating of the car last summer. I tried removing the paint from the wires, but I ended up stripping some of the tracer colors off the wires as well. I know that most people won’t even notice this, but being the anal person that I am, I decided to order a new “main” wiring harness from Wiring Works. They were kind enough to let me order just the “main” wiring harness, without ordering the entire kit. That saved me some money. The rest of the wiring was in great shape and had no over-paint on it, so I didn’t need to replace it. Stay tuned for another post in the near future where I replace the “main” wiring harness.

The engine seals fit into a channel/groove in the engine compartment. It can be a little tricky to squeeze into the channel. I ended up using a thread burnishing tool (from my fishing rod building toolkit) to help squeeze it in. It really helped a lot. Here’s a picture of the thread burnishing tool:

Anyway, the engine compartment and running boards are looking great! Here are a few pictures from today:

Engine Seal Installed

Running Board – Passenger Side