Monthly Archives: August 2011

Sound Deadening Material Added To Roof – 1966 VW Beetle Project

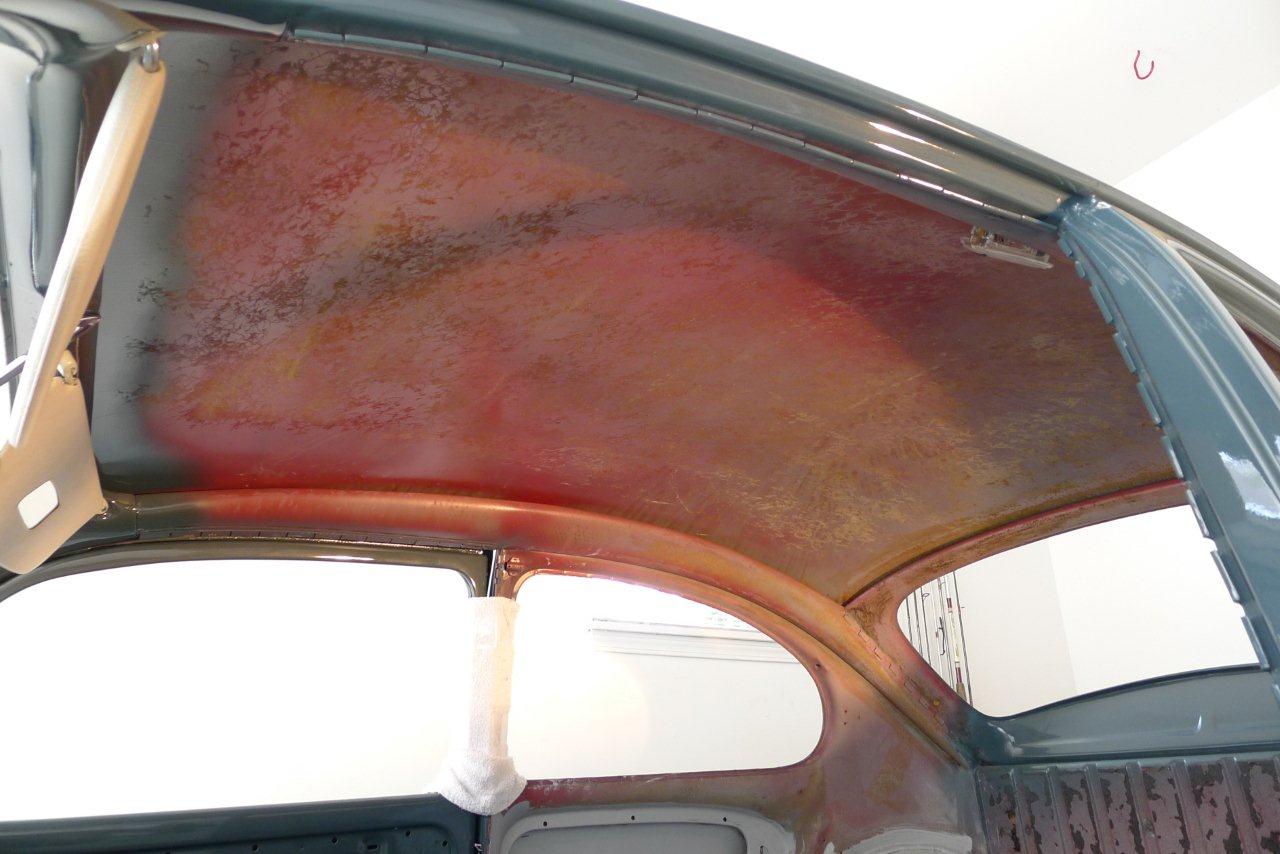
I added some sound deadening material to the roof today, before the car gets shipped off to State Of Mind Customs tomorrow for the headliner installation (among other things).   I’ll write more about State Of Mind Customs in future posts.  I’ll add additional sound deadening material to the body once it comes home from State Of Mind Customs.  I included some pictures and a demonstration video that illustrates the affects of adding sound deadening material to the sheet metal on your car’s body.

Sound Quality Demonstation Video:

http://www.youtube.com/v/ob_i1keNd3Q

Before:

After:

Reattaching Body To Chassis/Pan- 1966 VW Beetle Project

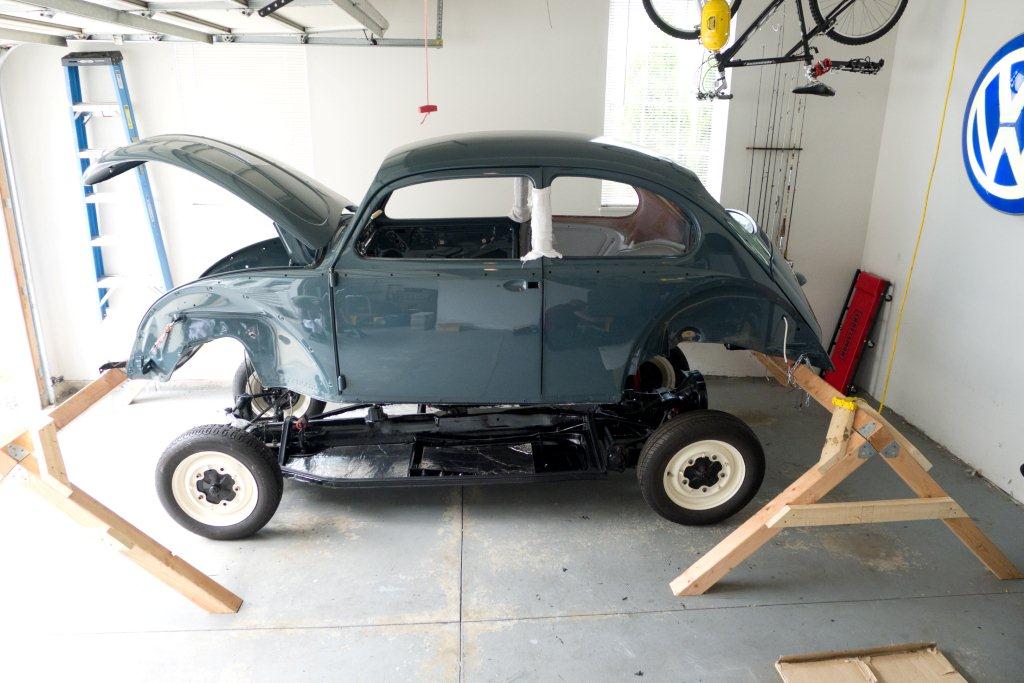
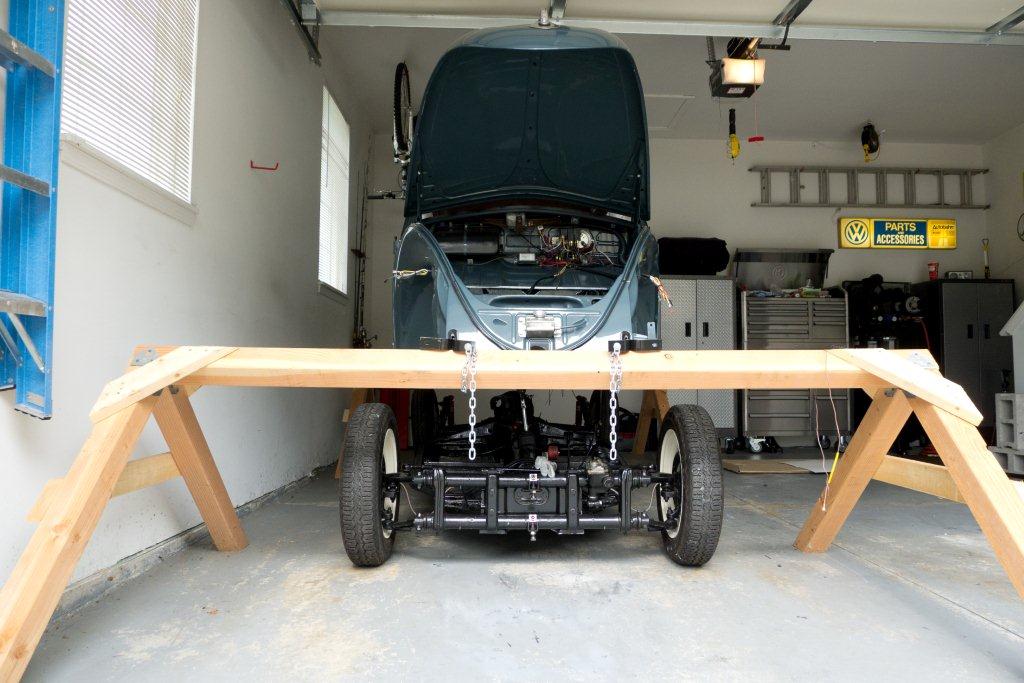
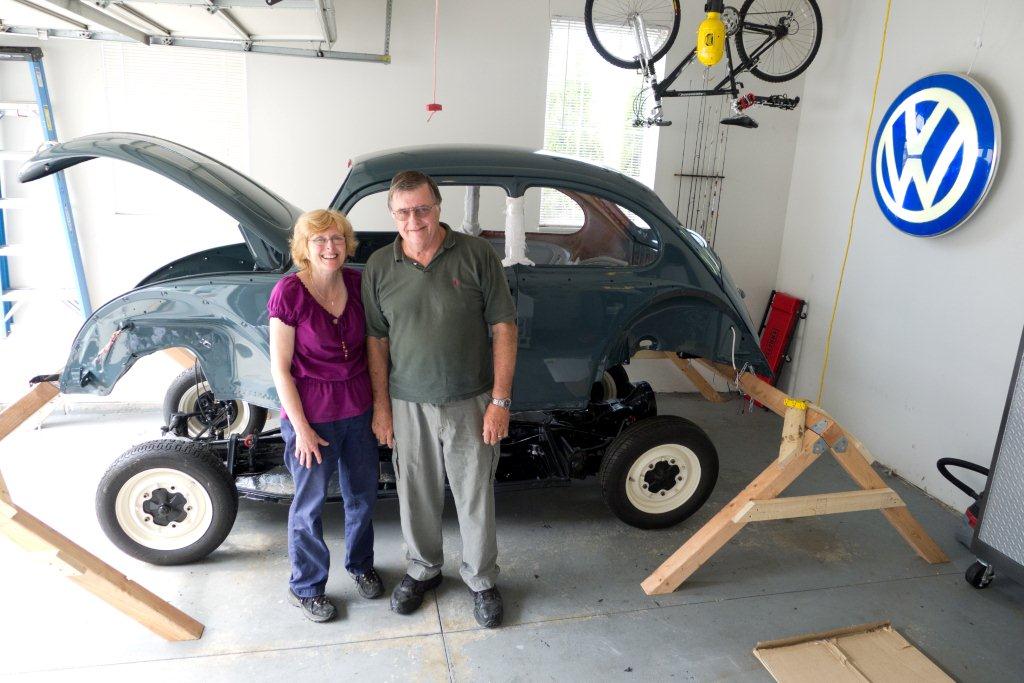
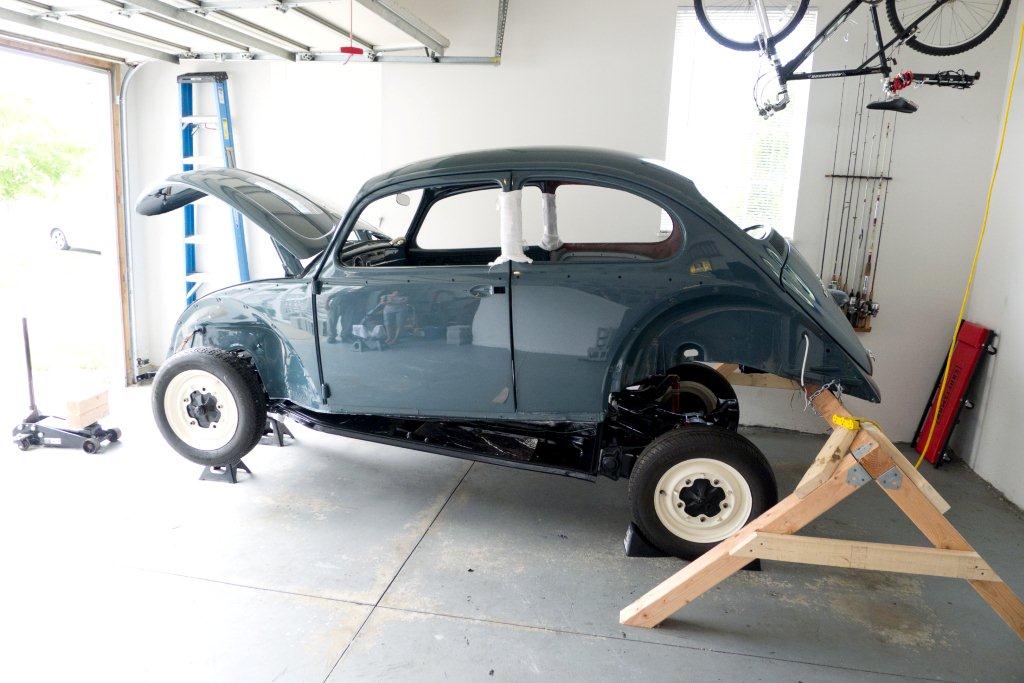
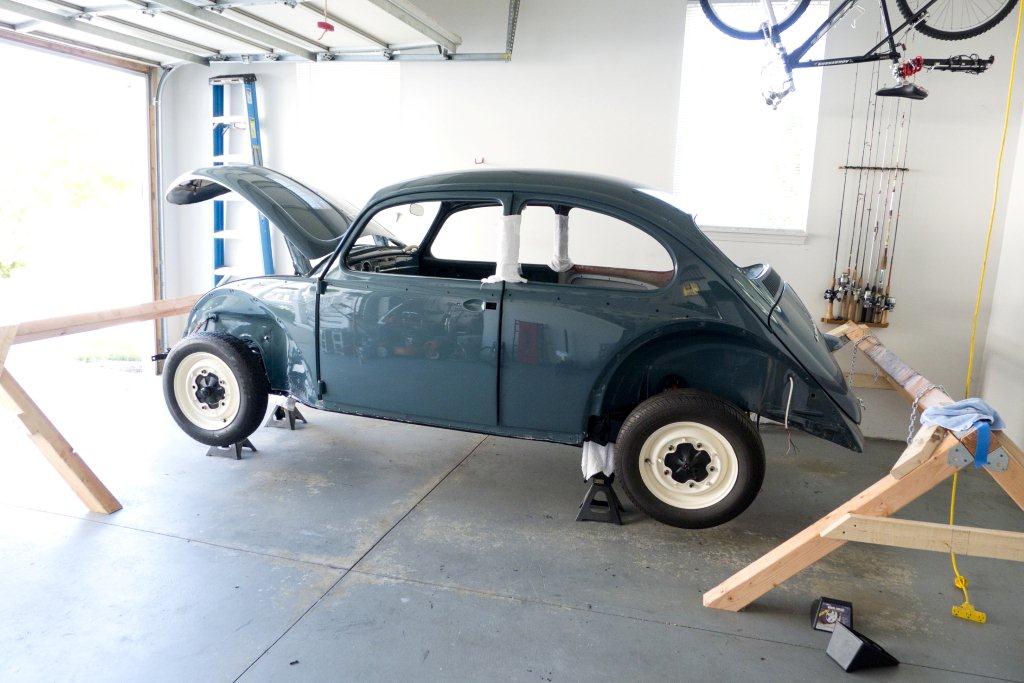
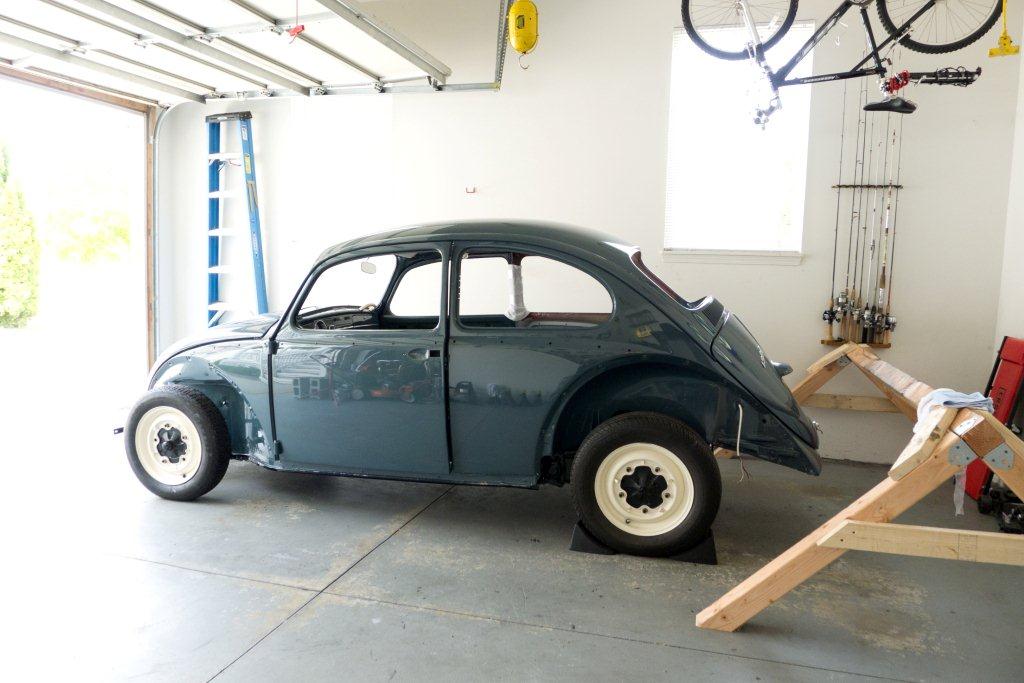
Today was the day!  Dad and Joy came down this weekend for a visit.  It was really nice seeing them.  We put the body back on the chassis while they were here.  It went so much faster with 3 of us working.  Thanks Dad and Joy!  =)  The body basically went right back on in the reverse order that I originally removed it (see my removal post here).  It all went really smooth.  Here are some pics from today:


Chassis Lined Up Under Body…


Dad and Joy…


Here we go…  Front end lifted and loosely attached to body via the 2 front beam body bolts.  The bolts were threaded about 1/2 way in so the pan/chassis could pivot while lifting/attaching the rear.


Back end jacked up and attached to body via shock tower mounting bolts…  The rest of the body bolts were attached once the vehicle was set down on the jack stands.  All the body bolts were loosely bolted on.  They’ll all be torqued (14ft lbs) once back down on the ground.  It’s easier to get them all started when the car is on the jackstands (more room to work under there).


After 2 months, it’s finally back on the ground…  Looks awesome!  I want to drive it around looking just like that.  LOL!  =)

Body Gasket Installed – 1966 VW Beetle Project

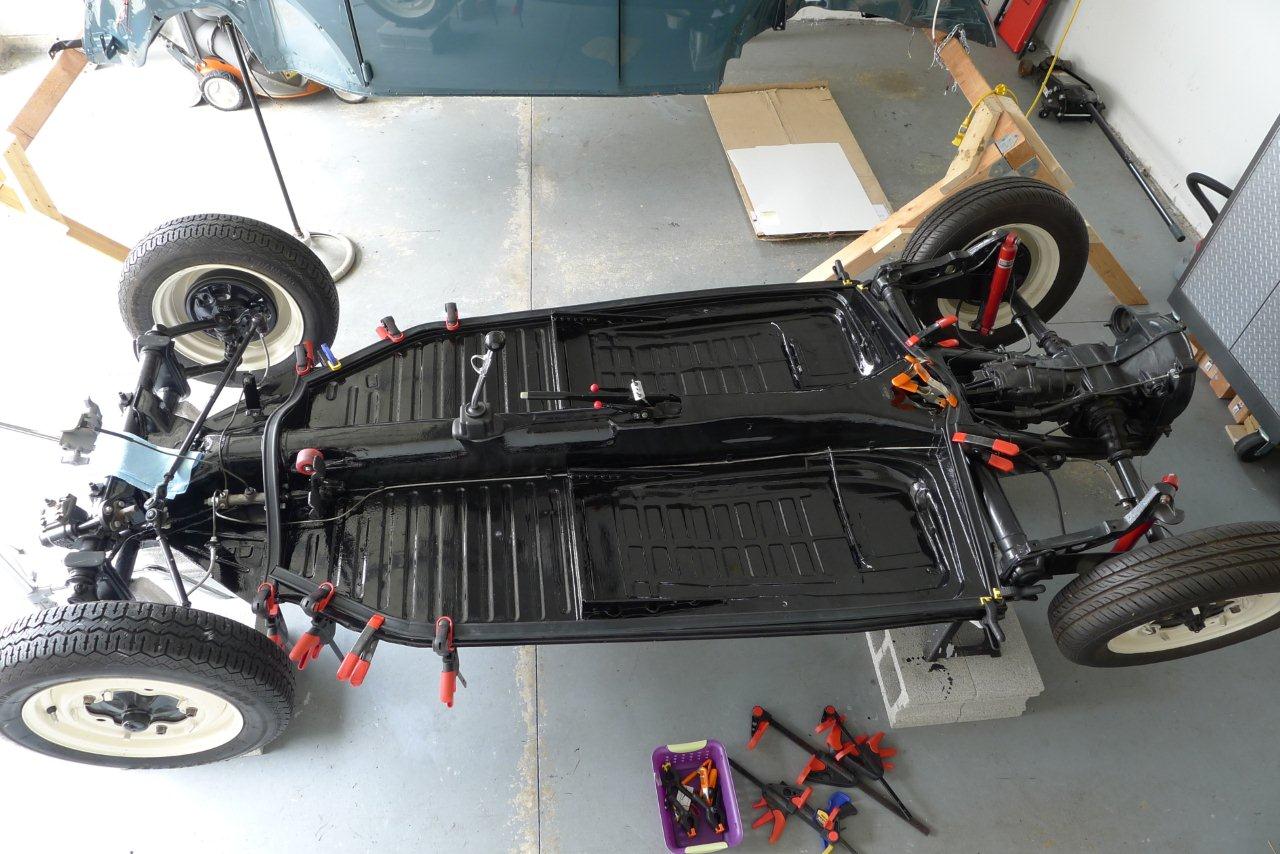
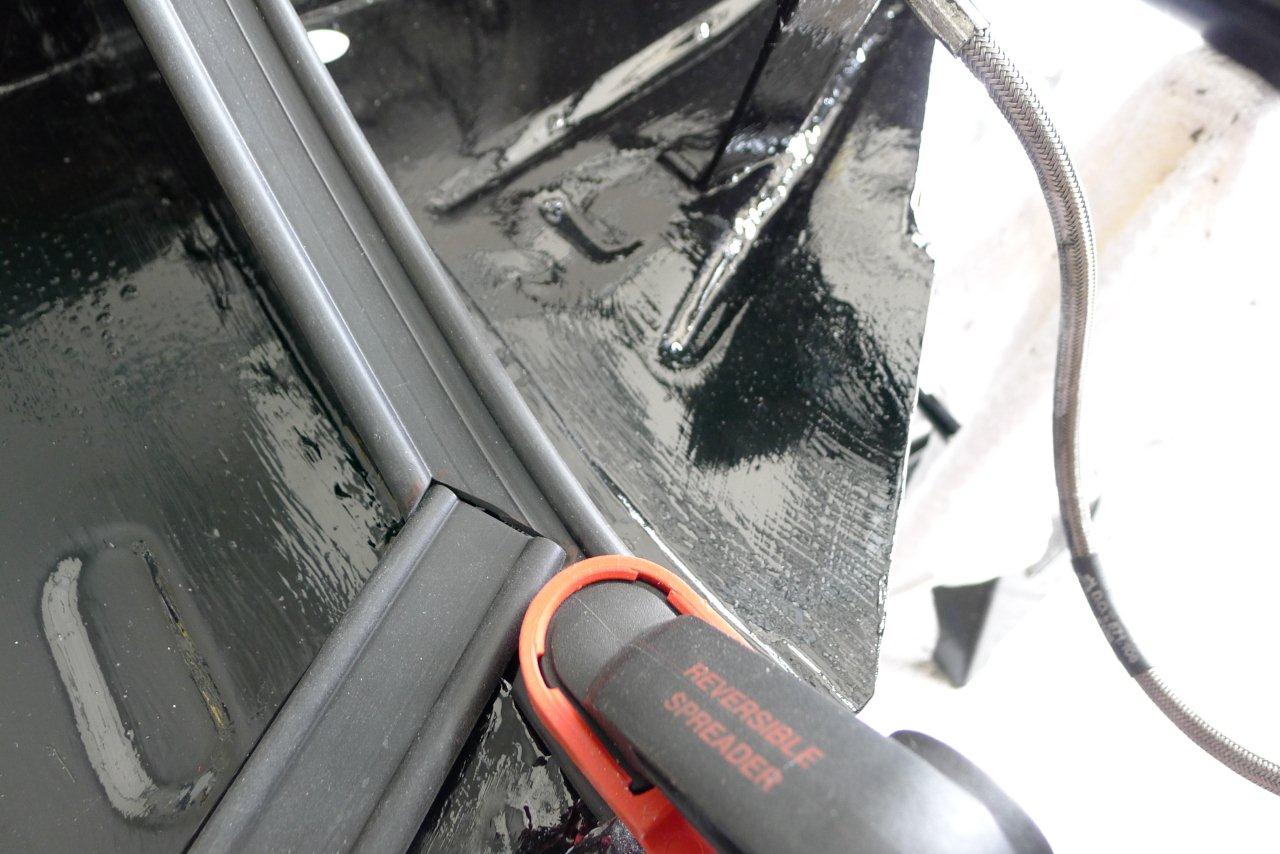
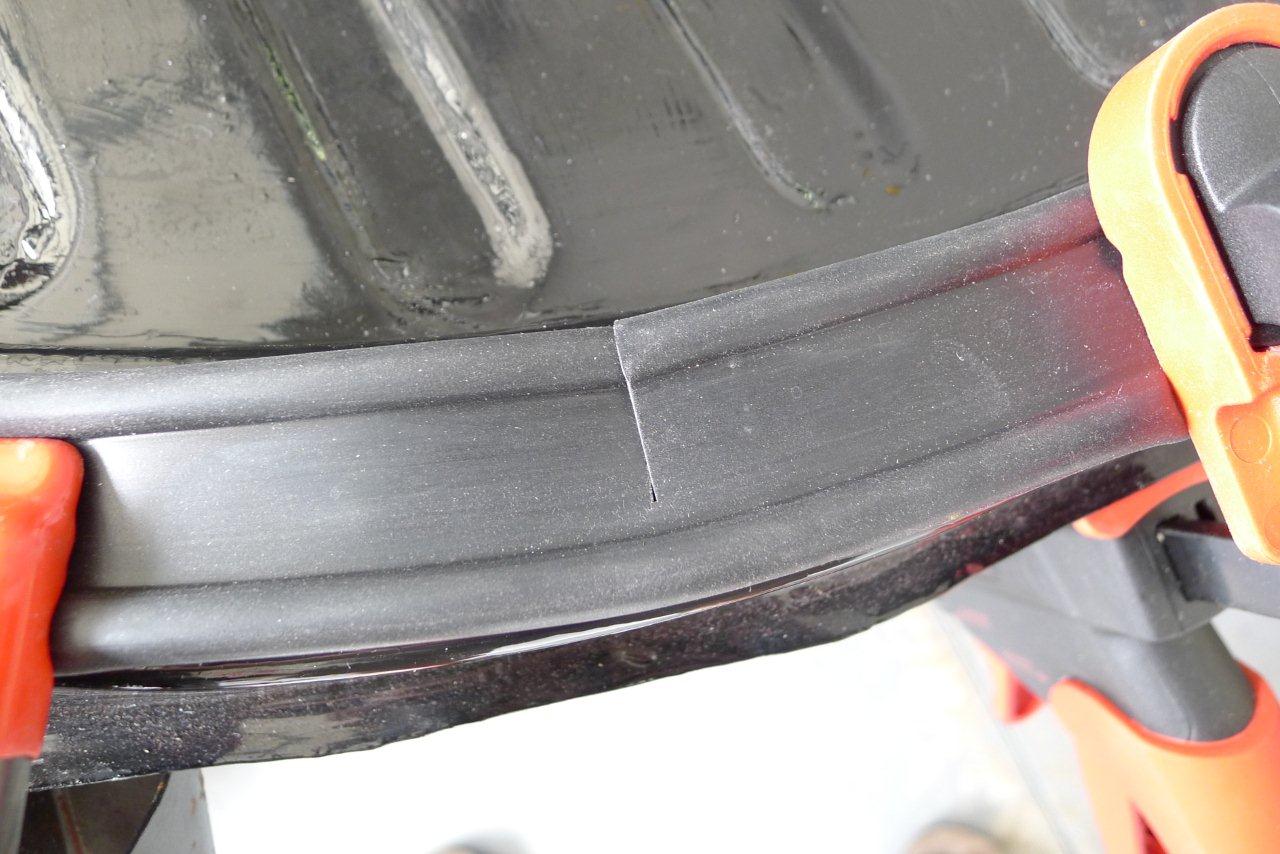
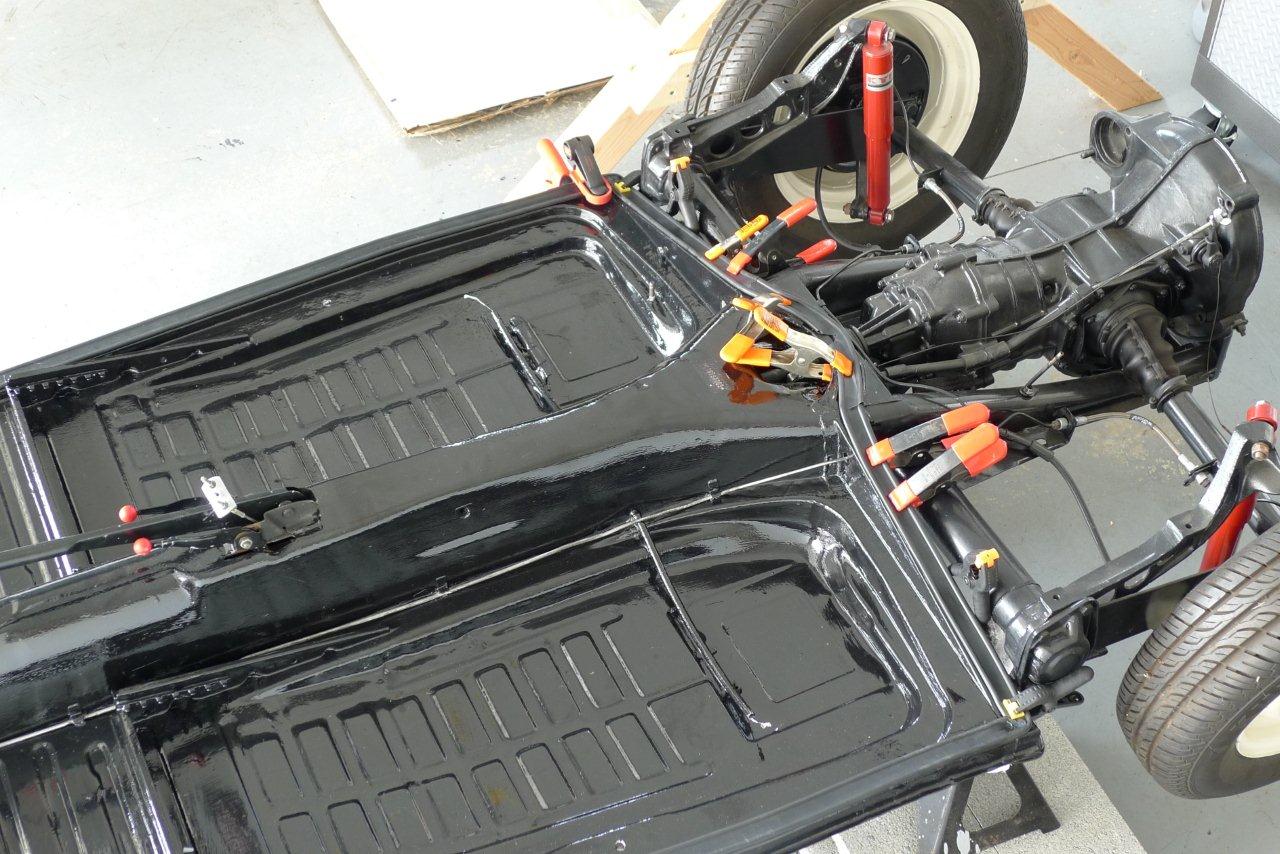
Got the body gasket installed.  I used some clear silicone to hold it all in place.  Small nails were originally used to secure this seal in place at the factory.  I have a ton of clamps, which were really necessary to hold the gasket in place while the silicone was drying.  Joan says, “You can never have too many clamps.”  That’s for sure!  =)  The gasket was cut into two pieces.  One piece for the front cross panel support, and then the 2nd piece for the other 3 sides (driver, passenger, and rear cross members under rear seat).  Looks good!  All ready for the body now!  =)


Pieces cut and held in place by clamps…


Where the two pieces meet at the front cross panel support…


Strategic cuts to make it bend around the corners…


Section on rear cross members clamped while silicone dries…